Swivl and Capture App – Use Guide

The Swivl Capture app allows the user to

1) control the Swivl’s settings remotely;

2) create a video presentation integrated with slides in real time;

3) easily upload and sync presentations with the user’s Swivl Cloud library.

Full use of Swivl Capture requires setting up a Cloud account at www.swivl.com and connecting your device via Bluetooth. Users are able to create a free account, though it comes with limited utility, particularly in respect to storage and the user’s ability to export presentations. Presentations (in jpeg form) can be uploaded to your Cloud Library for use in the Capture app.

Instructions for recording a presentation with a Swivl robot base and mounted smart-device using the Swivl Capture app.

Get Setup

Open the Swivl Capture app on your device.

Mount and connect the capture device to be used with the Swivl.

Power On the Swivl base: Hold the Power button on the base until the LED (marker status) light adjacent it illuminates red. When the Swivl Marker (remote control) is on and connected to the base, this light is green.

Note: The LED (general status) light beside the Sync button is red when the base is not connected to Bluetooth. It is green when Bluetooth is connected.

Power On the Marker: Hold the Power button on the side of the Marker until the LED light above it illuminates green. This signifies it is connected to the base.

Recording with no slides


Connect the Swivl base to your capture device by Bluetooth and log in to www.swivl.com through the capture app, if you have not done so.

image[2]

To begin recording a simple, video presentation: Open the Capture app on your device. Click> Capture>Capture Video>Record button. Alternatively, the user can click the record button on the Marker to begin recording. This can be done even from the menu screen.

image[7]2


Once recording, use the Marker to adjust camera positioning. The record button on the Marker can be used to start and stop recording after the presentation has begun. A video is saved everytime recording is stopped.

The microphone icon signifies audio levels. It should fluctuate between being fully blue to white while audio is being picked up by the device’s microphone.

The Bluetooth icon should remain white during your presentation. If red, the Bluetooth connection between the base and device has been severed.

When finished, stop the recording. Click> the menu icon (at the top left corner) to exit the capture screen.

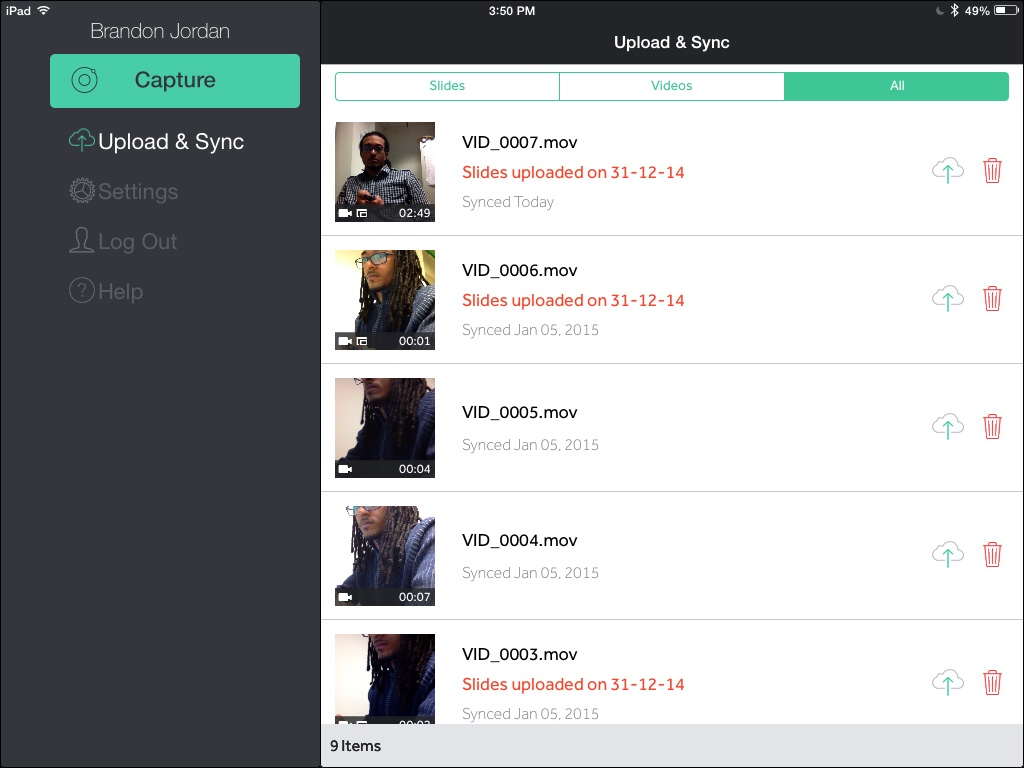
At the menu screen, click>Upload&Sync to upload your recorded presentations to swivl.com for processing.

Recording with slides

image[2]

To begin recording a video presentation with slides: Open the Capture app on your device. Click>Capture>Capture Video+Slides. Select a presentation from your Cloud library.  Click>Record button.

Presentations cannot be used in recording without login to swivl.com.

Note: The picture-in-picture button can be used to switch from a picture-in-picture view to a slides (or video) only view. The fullscreen option can be toggled on and off by clicking the Action button on the Marker. Alternatively, the video panel on the capture screen can be clicked to achieve same purpose. This toggles the video scale between the full resolution picture and small thumbnail inset.

Once recording, use the Marker to adjust camera positioning. Use the arrow keys on the Marker to navigate slides. The record button on the Markjer can be used to start and stop recording after the presentation has begun. A video is saved everytime recording is stopped.

The microphone icon signifies audio levels. It should fluctuate between being fully blue to white while audio is being picked up by the device’s microphone.

The Bluetooth icon should remain white during your presentation. If red the Bluetooth connection between the base and device has been severed.

When finished, stop the recording. Click> the menu icon (at the top left corner) to exit the capture screen.

At the menu screen, Click>Upload&Sync to upload your recorded presentations to swivl.com for processing.

Post-production

Login to swivl.com. Go to your Library.

image

To export just the video from a presentation, Click>Export>Download. An mp4 of your video will be downloaded.

To process a video+slides presentation, save the presentation of interest in the Cloud. This will affect your account minutes. Notice a few buttons appear after saving. Click>Produce to process a video/slide presentation. Unfortunately, you can only produce two video+slides presentations with a free account.

At processing, a side-by-side preview of the presentation will be shown. You can navigate the video using the time bar on the player or by clicking slides below. This brings you to points in the presentation where you switched slides. You can edit (i.e. remove slides), edit the video title, or export the presentation from here.

At the export page, you have a few choices for orienting the video and the slides. This applies to the full length of the presentation. Click>Start to commence processing, and you will be taken back to your Library. Once the exported file is done processing, the notice will disappear. However, this may require you to refresh the page.


Instructions for changing a profile pic on Lync

University of Illinois at Urbana-Champaign

Instructions for changing a profile picture on Lync 2013 and 2010.

MAC USERS: Lync pictures can only be set up using Lync for Windows. Once you have used Lync for Windows to place a profile picture in your Lync account it can be seen by users on Lync for Windows and Mac.

Link to CITES computer labs with MS Windows

Link to a picture on Box

On a Windows computer go to the Box folder storing your picture (or upload a picture to Box).

Click> Share (right of picture)> Advanced settings (gear icon)> Direct Link

gear icon (box)

Untitled1

Copy the “Direct Link” URL. In Lync Click> your profile picture icon> Options menu enter the Direct Link provided in Box and Click> Connect to Picture. Click> OK.

Note: Access in Share> Advanced settings must be set to Anyone with the link to use this Direct link.

You should now see your image in place of the picture icon next to your name. Lync 2013 allows uploading images of 1024 KB and under, while Lync 2010 limits image uploads to 30 KB. The text below the link will change to a statement confirming your image has been connected to successfully.

Note. A picture cannot be uploaded directly from your PC. You must enter a web address for Lync to point to.

Link to the UI directory

Go to the Illinois Directory. Search for yourself.

Click> pencil icon (top of directory entry). Login with your netID.

Select> Custom (under General Information). Click> Image tab.

Upload a picture or enter the image URL. The image must be 30 KB or less to upload.

For an easy way to resize your picture go to www.freeonlinephotoeditor.com and follow these steps:

Note: freeonlinephotoeditor.com only works with GIF, JPG, or PNG files.

Click> Browse to locate your image on your PC, or enter a URL (right of Browse field).

Click> Ok button (right of field used in previous step).

Under Browse button there will be options to edit your image.

Click> Basic> Resize.

Use the scroll bar to resize your image to 30 KB or less. The width, height and approximate file size of the image (highlighted in yellow) will change as you move the scroll bar.

Note: The estimated file size is somewhat misleading. The saved file is often a few KB larger than the estimate. It may be best to create a file not much larger than 20 KB to avoid a redo.

Click> Apply and the pop-up window will close.

Click> File. Save the jpeg file to your desktop (or appropriate folder).

OR

Click> Share/Save Online > Save image online, and copy the Direct link.

The Direct link or the saved image can be entered in the UI directory.

Copy the Image URL given by the directory.

In Lync, click> your profile picture icon> Options menu enter the Image URL provided by the directory and Click> Connect to Picture. Click> OK.

You should now see your image in place of the picture icon next to your name. Lync 2013 allows uploading images of 1024 KB and under, while Lync 2010 limits image uploads to 30 KB. The text below the link will change to a statement confirming your image has been connected to successfully.

Link to a picture on publicly available website

Note: In order for your contacts to see the picture, they too will need to have access to the site where the photo has been placed.

Facebook (Lync 2013 users):

To upload your current profile picture from Facebook:

Click> your name (top left of Home page). Your browser’s address bar will now show your Facebook name in the path, as shown below. Untitled

In Lync Click> your profile picture icon> Options menu enter http://graph.facebook.com/YourFBname/picture?type=large but replace the highlighted portion with your Facebook name. Click> Connect to Picture. Click> OK.

Note: Your Lync picture does NOT change if you change your Facebook profile pic.

You should now see your picture in the picture icon next to your name. Lync allows uploading images of 1024 KB and under. The text below the link will change to say “Your picture’s been downloaded”, and your picture will show in the preview window.

Alternatively, any publicly available picture from Facebook can be linked to. However, you may have to change privacy settings for a picture in order to upload it to Lync from Facebook.

Right-click> your picture. Click> Copy image address.

In Lync Click> your profile picture icon> Options menu enter the image address provided in Facebook and Click> Connect to Picture. Click> OK.

You should now see your picture in the picture icon next to your name. Lync 2013 allows uploading images of 1024 KB and under. The text below the link will change to say “Your picture’s been downloaded”, and your picture will show in the preview window.

LinkedIn (Lync 2013 users):

Right-Click> your profile pic. Click> Copy URL

In Lync, Click> your profile picture icon> Options menu enter the image URL provided in LinkedIn and click> Connect to Picture. Click> OK.

You should now see your image in place of the picture icon next to your name. Lync 2013 allows uploading images of 1024 KB and under. The text below the link will change to say “Your picture’s been downloaded”, and your picture will show in the preview window.

Link to image saved on FreeOnlinePhotoEditor

www.freeonlinephotoeditor.com/ can be used to provide a link to enter in Lync provided the picture is under 1024 KB.

Note: freeonlinephotoeditor.com only works with GIF, JPG, or PNG files.

Picture size limits

Lync 2013: 1024 KB

Lync 2010: 30 KB

UI directory: 30 KB

Box: 250 MB

FB: 25 MB limit

LinkedIn: 4 MB

FreeOnlinePhotoEditor: 6 MB

Recommendations for changing a Lync picture:

The best method for a user depends on where their desired picture is at the moment and what accounts they have. Lync 2010 users will find the FreeOnlinePhotoEditor and UI directory methods most useful because of the smaller image upload limits of Lync 2010.

For Lync 2013, Most of the methods described here are not particularly quicker or less involved than all the others. However, I would avoid using the UI directory to change a Lync picture, since it will likely require extra steps to resize the picture before uploading.

For Box users, uploading a picture to Box and getting a Direct Link is simple, as long as the picture is within Lync’s upload limits.

For Lync 2013 users getting their picture from a social network (SN), it may be easiest to link to it from there, assuming the picture is public and privacy settings do not need to be changed. Linking to a picture from LinkedIn is simple and requires no managing of privacy settings. Some other SN may be as useful for this purpose.

Using the UI directory is possibly the most involved method. The directory has a 30 KB size limit for pictures. The user can resize their picture using FreePhotoEditor.com or some other application, but this requires extra time, effort, and some familiarity with the editing tool. FreePhotoEditor.com is a simple solution, and it can host the image online also. Still, I would only recommend using it if the user wants to change their UI directory picture and Lync picture in one sequence of steps; needs to resize their picture; or does not have their picture online already, for it becomes an even more roundabout method to changing a Lync picture in other instances.

If the user does not have their photo online anywhere yet, FreeOnlinePhotoEditor can be used alternative to Box. In a few steps, they can have a direct link to enter in Lync and the UI directory (if needed). Although, users should be aware of a couple things: The file size estimate it gives when resizing is somewhat inaccurate. An estimated 21-30 KB file showed actual file sizes over 30 KB once saved. Thus, an image should be saved as a file ~10 KB than the target to be safe and efficient.  Also, the estimate is only representative of a jpeg file. When saving as a different format, the actual size is larger. Keeping these factors in consideration, this free online editing service is a useful way to format a picture and get it onto Lync.