
Mission: We switched from electronics station with Arduinos to digital embroidery station. I cannot wait to use the sewing machine to a small piece of artwork. Basically, the sew machine works like a 3D printing machine that helps users transfer electronic version of art designs to physical textiles on a sheet of fabric. There are more steps that are required than I thought before making the machine work.
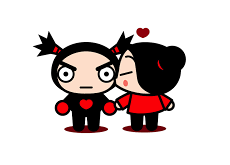
How it Works: The first step is having a completed picture/design ready on the computer. Then, we need to use a software called SewArt to modify the original picture file in order to get rid of unnecessary colors. The SewArt works like Photoshop or drawing software to allow user fix the shapes, adjust the size of pictures, eliminate/change the printing colors in implementing “Merge” function or trim any details depending on the user requirements. The software is very flexible and customized tool to tailor design ideas. When I modify my selected picture, I found that there are lots of hidden colors that I might not print existing on my work file. It is indispensable to clear the design before moving forward to the next step.
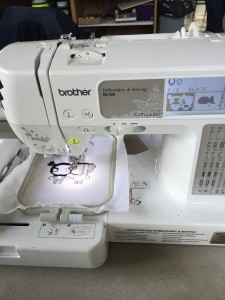
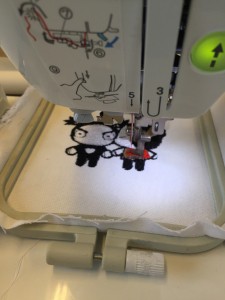
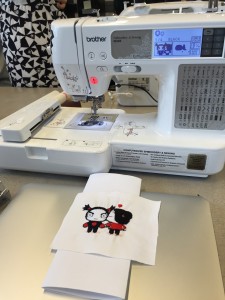
After the editing process was finished, I was assigned to a sewing machine finally. Suzanne Linder helped me connect my working document on a USB drive to once of the sewing machines.The machine automatically generates working steps on the screen, and it reminds users to change the colors when one color are completed the printing process. The most difficult thing for me is threading. I was frustrated at the beginning to follow the steps on the machine to thread the needle. Fortunately, I got help from lab instructors and classmates. Ultimately, the needle starts to “print” shapes with various colors on the fabric.
Thoughts: exciting and special experience! I love the class design of BADM 395, which it allows us to experience and explore on different making tools. Simple sewing machine could have huge impacts on fashion design because fashion designers are able to “print” complex patterns. Digital embroidery might not mean/help too much for my project design, but it does expand my eyes on digital making. Furthermore, as I mentioned in my previous reflection blog, the downside of 3D printer is restarting the whole printing process if we fail in the progress, which it will be time-consuming for designer and increase material waste. Comparing to 3D printer at the MakerLab, sewing machine allows users to stop the work anytime and take off fabric from the platform once printing issues happen. I think the design of sewing machine should provide some ideas for 3D printer designers to improve the weaknesses and the quality of user experience.
Hi, I liked your post a lot, it really reminded me I need to be using the thinking framework more with my posts…I am excited to get in the sewing area of the lab. I used to dread sewing classes in high school but with a computer added I think it will be a lot easier.
Interesting thoughts on how it compares with 3D printing.
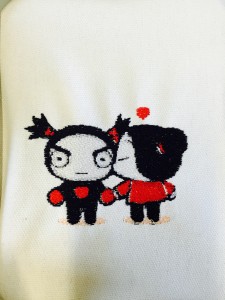
Really cute patch!