
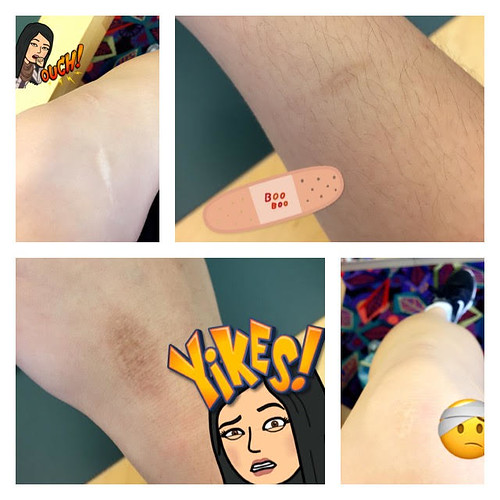
Today we are back at the CU Fab Lab to continue our workshop rotation. Last week I learned how to use code for Arduinos. This week, I get to learn soldering. I was really intimidated by the equipment in the workshop. Last week, I read someone’s post about how the machines can get up to 800 degrees Fahrenheit! I am so clumsy that I’m afraid I would burn myself and add to what my family calls my “Hall of Scars”(see picture below, it’s not pretty). However, I’m willing to put my best foot forward and hope to the heavens I don’t hurt myself.
Hall of Scars:
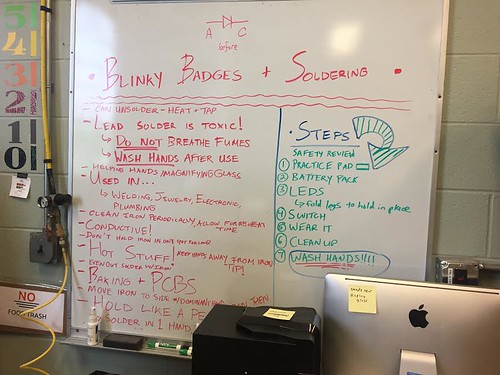
When I got to the lab we went to the soldering room. There was a black board with a few warnings about soldering (see below). Apparently, not only were we working with hot irons, we were also working with toxic items, as the solder is made of lead. I had a bunch of butterflies in my stomach.
Whiteboard Warning:
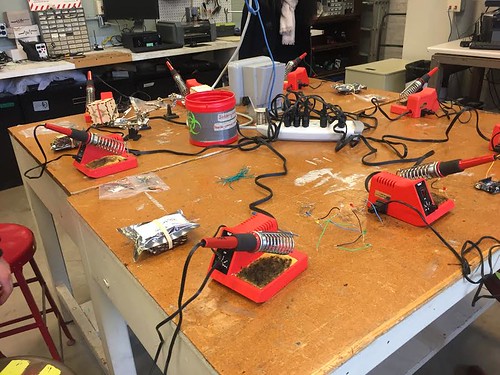
Workshop space:
My Working Station:
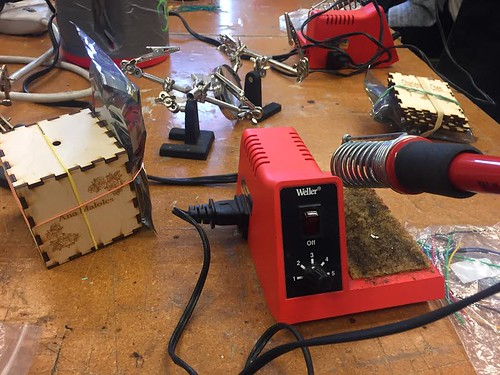
Soldering Iron:
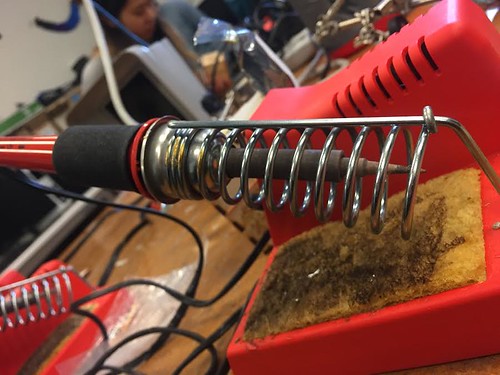
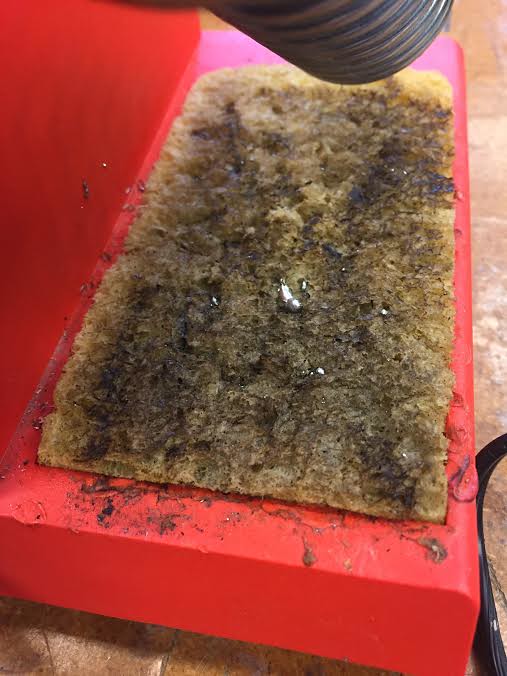
Cleaning Pad to clean solder off iron:
Before we began, we were asked if anyone knew how to or had experience soldering. Not a single person raised their hand. I’m glad I wasn’t alone. The instructor told us that we will be soldering together a circuit to make sure our wiring did not come loose inside of our blinking box. We would be making this circuit using the knowledge we learned about wiring,circuitry and Arduinos
Example of what we were going to make:
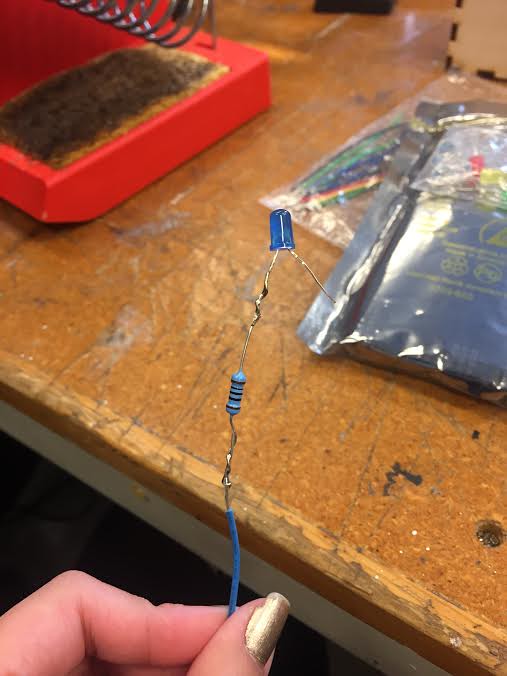
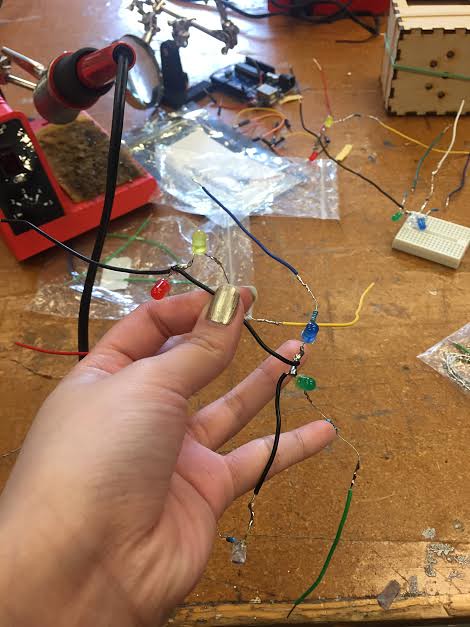
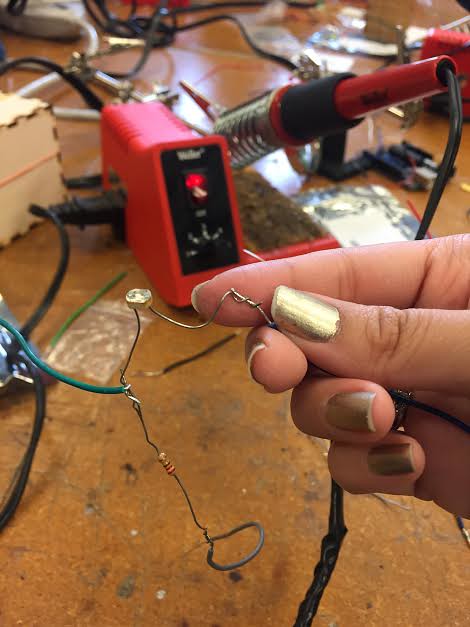
Before we could solder two objects together, we had to make sure that the wires were touching so that the electrical current can travel seamlessly around the circuit. If the wires are not soldered together while they are touching, they will not pass the current through the circuit. I found soldering somewhat difficult, until the instructor told me to use the soldering iron to heat the wire before adding the lead solder to it. We made 5 LEDs which had their negative ends wrapped with a resistor and the resistor wrapped to a jumper wire. We then had to connect the other ends together using a black jumper wire and solder it. Once we were finished with that, we had to take a break due to the lead fumes in the room. To finish our soldering, we soldered on the ultrasonic distance sensor to the black jumper wires connecting the LEDs. Finally, we hooked up the circuit to the battery-powered Arduino which was coded in last week’s workshop. ‘
My First Solder:
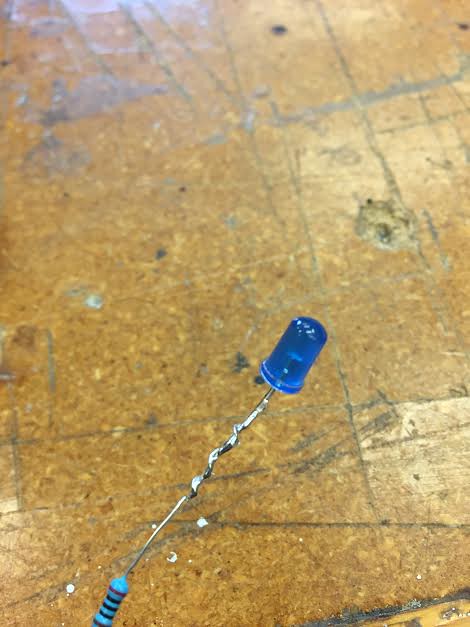
LED soldered to a resistor and jumper wire:
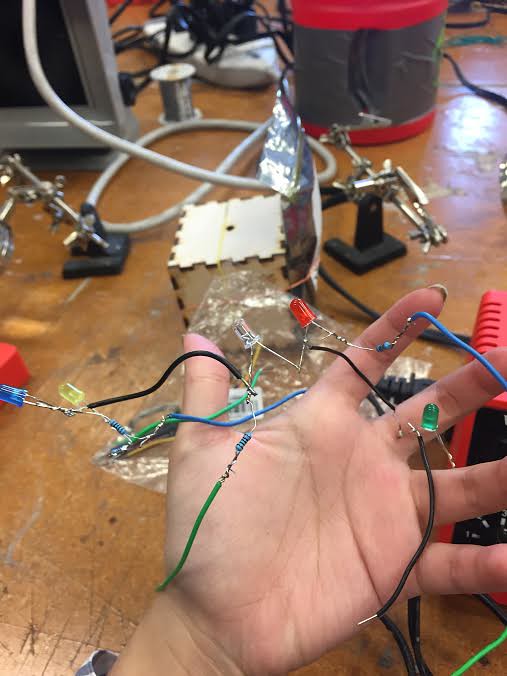
5 LEDs together:
Ultrasonic Distance soldering:
Circuit attached to Arduino:

Live Action Circuit on Arduino:

This soldering workshop really helped me understand the use of soldering. While I was participating in the workshop I thought of how for our final project idea, we will most likely need to solder wires together. Our idea was to make a hydration band or fitbit attachment which would blink when the sensor is triggered. Soldering wires could possibly be one of the ways in which we could keep the wires in a circuit. Additionally, while I as soldering, I wondered what other cool projects could utilize soldering. I looked some up and the links are below.
Cool Soldering Projects:
- http://www.instructables.com/id/Projects-using-Soldering-Irons/
- https://www.masterappliance.com/blog/how-tos/14-08-22/5-cool-projects-you-and-your-kids-can-do-soldering-tools
Soldering Tips and Tricks: https://www.youtube.com/watch?v=xrVCkEoY_8M
At the end of the class we hot glued our boxes together and glued the LEDs into the holes. Here is the end product. (last white LED was broken and I had to run to class before I could fix it)


Hi Ana,
You wrote a really narrative blog of the workshop we had last Monday. Although I have some soldering experience, I had to admit that soldering is not an easy job for me. What annoyed me most was that every time I wanted to solder the third wire to the node that connected two wires, I would break node easily. It took me such a long time to solder three wires together. Though time-consuming the project was, we should be proud of the final work we did.
Ben
Hi Ana,
Wow! Your pictures and description is really something. I was in the same station as you, but you make the workshop look so interesting! I was really clumsy and burned myself as well. Furthermore, my wires and soldering didn’t turn out the way I wanted, and I ended up having to prototype my LED light box. I’m glad that yours turn out well.
Hey Ana,
You did a great job of guiding the reader step by step in the soldering process! Your pictures were extremely good and it made it seem like I was doing it all over again. I’m glad you didn’t burn yourself using the soldering iron! Your soldering joints look really good, so great job with that! I hope your final project turns out great!
Hi Ana,
I enjoyed scrolling through your album of soldering photos! It seemed like, while at first it was a difficult process, it ultimately proved to be rewarding. After my experience with soldering last week, I would have to agree. It is a method that requires immense precision, steadiness, and, above all, patience. Thanks for sharing, and I look forward to seeing if you incorporate what you have learned into your semester project!
Hey Ana, awesome pictures! They really give everyone a great summary of what goes on in the Fablab. Like you, I’m also clumsy and was very afraid I was going to burn myself (luckily I came out scar free). Thanks to the awesome volunteers at Fablab, however, it wasn’t bad and I ended up enjoying myself. I think your fitbit attachment idea is really cool and hopefully the skills we learned at Fablab end up helping you out. My light sensor also came out great, and I’m glad to see that yours did too