
CU FabLab. Located at 1301 South Goodwin Avenue, Urbana IL.
This week was the last week of the CUC Fablab series and probably my personal favourite part of the class. I was starting to become very comfortable in this innovative maker space. Now, I was back to working with arduinos but less on the hardware side and more on the software side. This session was geared towards understanding what you are doing with the arduino better. We started off by learning that you could use arduinos in conjunction with a breadboard for more temporary setups instead of the more permanent way of soldering that I learned two weeks prior. I believe that most experts use this method which is very useful for prototyping and troubleshooting first builds before soldering their finalized versions. This taught a great lesson on prototyping to ensure feasibility.
But that was my major takeaway from this session. After becoming familiar with the breadboard and its internal setup for connecting electronic components, we went further in learning how to setup the arduino board with the bread board and connect components by either plugging them directly into the breadboard or using jumper cables to access specific ports of thearduino board. I learnt that to use the arduino, you had to have a general understanding of each component that you would want to connect as well as the the different parts of the arduino itself.
What is the arduino? Well, it is a small open source micro-controller hardware board that makes it easy to create circuits and hardware with various functions. It has many different parts of it for hardware and a small chip that acts as the brain and takes in code using the Arduino IDE (Integrate Developer Environment). The Arduino IDE is where you create your code and upload it to the board. As beginners we were introduced to the concept of using sample code as templates and modifying them to our specific task. For this we needed to learn how to understand the IDE and the code. After learing all these, we got to create a circuit that caused an LED Light to blink at a set interval/rate shown below.

We were then challenged to mess around with the code to cause the LED light to use Morse code to signal SOS by changing the speed and rate of the blinking. This taught me the implication of having so simple do something so complex if you used imagination to alter code to your needs. Other things that I was able to do were having two LEDs blink back and forth, I had it two different leds blink blue and red to emulate police lights.

My Assembled Final Product of the UltraLight Box
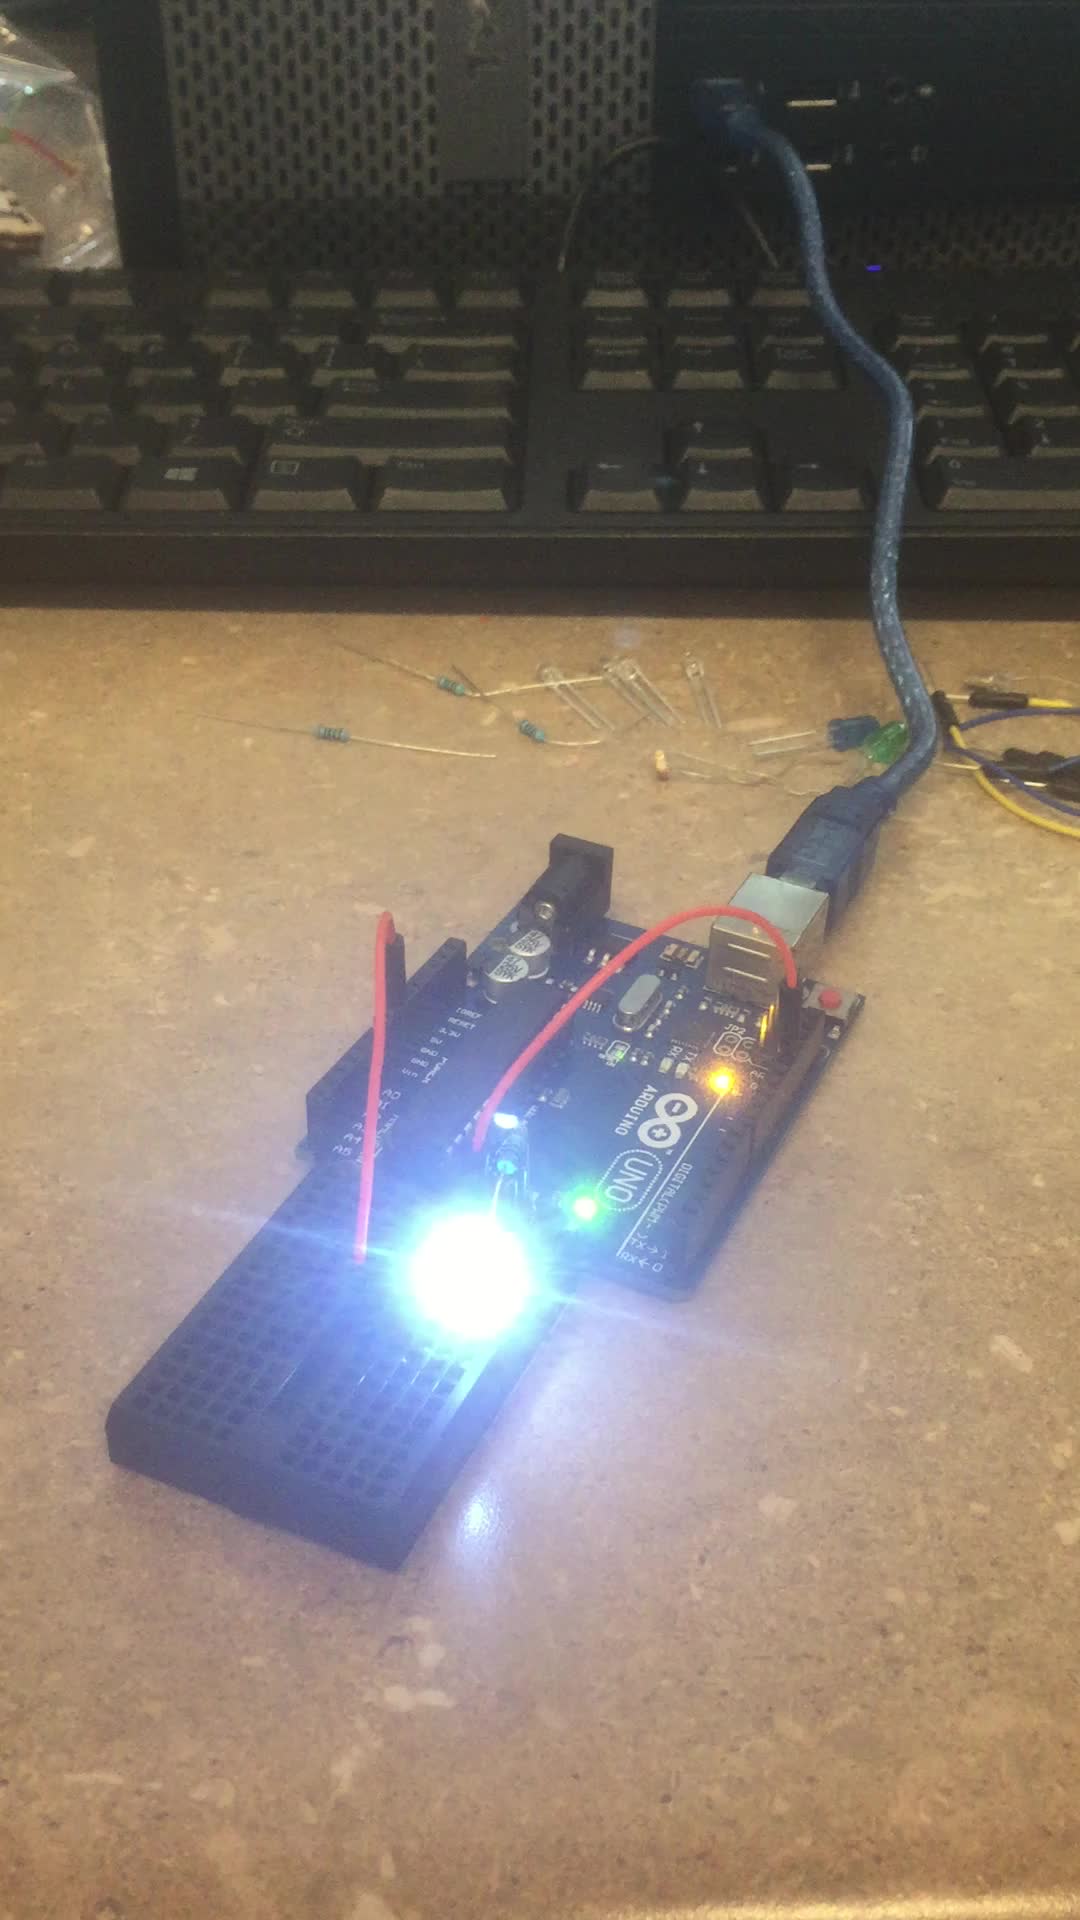
LED Light Blinking at different speeds
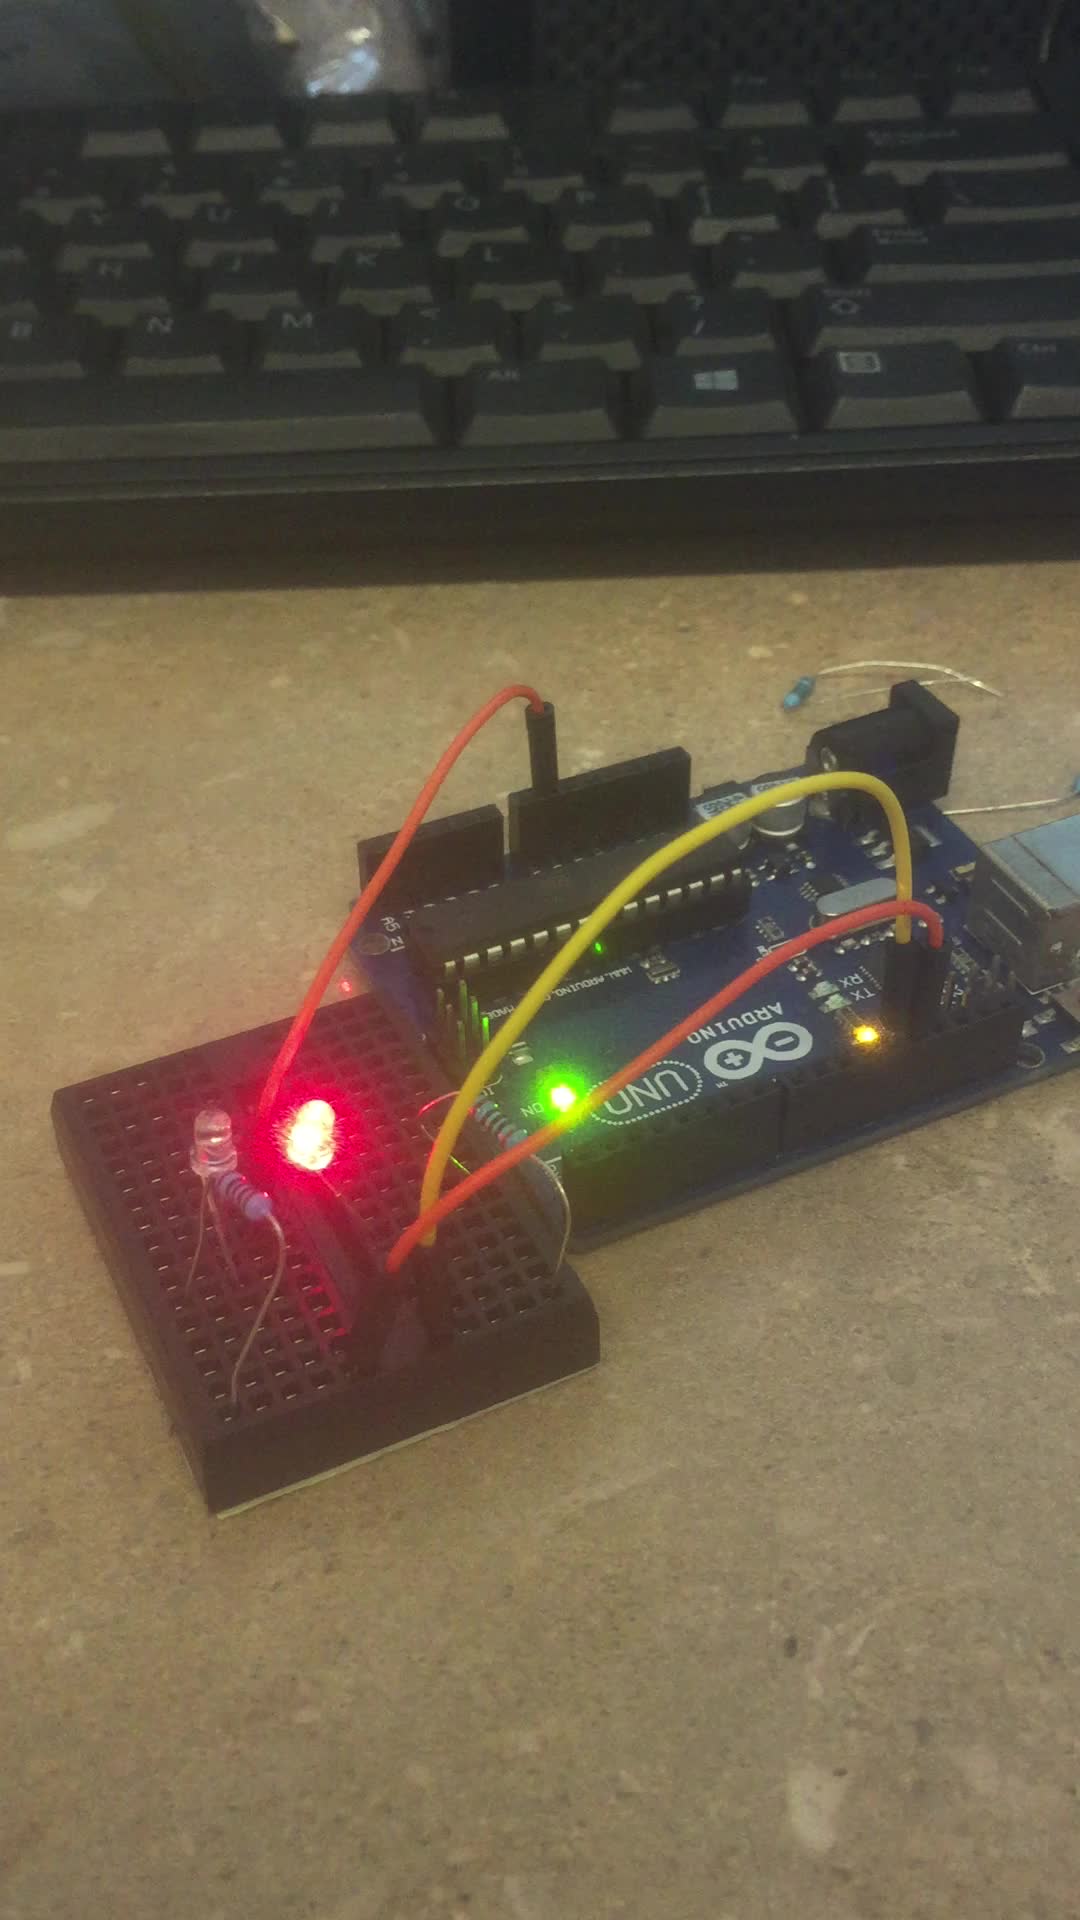
Alternating Blinking Blue and Red LED lights (Police Lights)
I have learned a lot from my time at the CUC Fablab. From this entire CUC Fablab experience, i have learned the impact of makerspaces in different communities as well as the potential for great products and ideas. I got to learn more about Arduinos which was a primary reason for taking this class. I will use what I have learned to work on our semester project and will use more tutorials such as Sparkfun’s online website and tutorials and Youtube. I liked using the past three weeks learing how to use laser cutters, write Arduino code and bring them all together. And I suggest everyone gets involved in the fablab nearest to their communities. Here’s links to learn more about Fablabs and where to find the nearest one. Link 1. Link 2.
Hi Taofik,
Great post! That workshop was also my favorite of the series! Your description of the Arduino IDE was also very interesting and helped me understand the nature of the Arduinos. I also like how your post mentioned th community helping aspect of the CU FabLab. Sometimes it feels like there’s only students on campus and it’s a great reminder that we can help create community solutions and work with the Champaign-Urbana community.