
CU FabLab. Located at 1301 South Goodwin Avenue, Urbana IL.
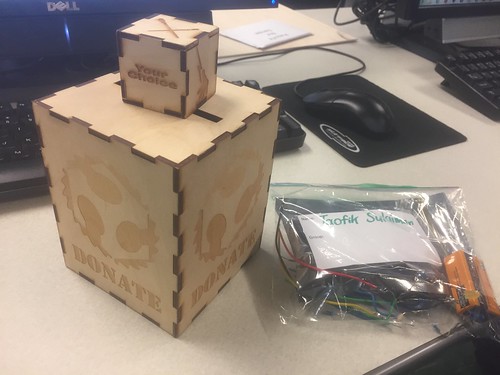
This week we got to return to my favorite part of the class for the second part of our three-part FabLab series. I got to immerse myself more in the hands on part of making. This time around I was more familiar and comfortable in the CUC FabLab space but I wasnt working with arduinos or electronics this time around. We were at first just shown the sample lasercut box and given back our kits below.
At first, I was a little hesitant because I had thought that we would have to do the measurements by hand or use some form of Computer-aided drawing (CAD) but after listening to their explanation on the process of Laser/Vinyl cutting and engraving, I became more relaxed and interested in learning the tool they mentioned. Instead of using 3D CAD for prototyping like the usual, we used a graphics package called Inkscape to design the outline of each face as well as the graphics that we would engrave on the faces. Here we learned that the laser cutter performed two functions: Vector cutting which is when the laser cuts entirely through the wood or material and creates a blackened outline from the burn of the laser and the Engraving which is when the laser does not cut through the wood but etches a silhouette we created on Inkscape onto the wood in a darker unburnt shade. So essentially, laser cutting is a form of subtractive manufacturing where they take a flat piece of material and cut out shapes to be assembled into a hollow structure or skeleton of a solid object.
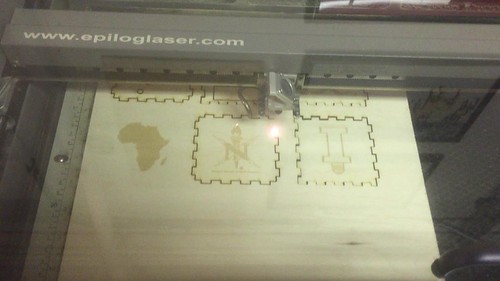
Lasercutter vector cutting the outline through the wood
Before any of this we had to create the outline/shape on inkscape. There we learnt some of the basics of Inkscape and how to navigate the environment to use the tools available. We used a website to create the box press fit outline as it was much ore convenient and efficient than manually sketching it out. By putting the dimensions of the box in the website, we were able to adjust the settings to create our press fit box in a matter of minutes. We imported pictures from the internet, and used tools to create our own shapes combining them into cool graphics to be engraved. Some of us even went further to create complex graphics such as the mythical creature I made which is a black panther with dragon wings as well as the “Illini light bulb” that I made which is a pun for the purpose of the lightbox we are making. But to convert these images and outlines, we had to create the Bitmap paths to turn them into silhouettes that the laser cutter could understand. By doing all these, I learnt how powerful graphics are in making designs and products more attractive and personal.The thing about the lasercutter environment below, is that it only recognizes specific colours: black as engrave space, red for vector cut path and white as material.
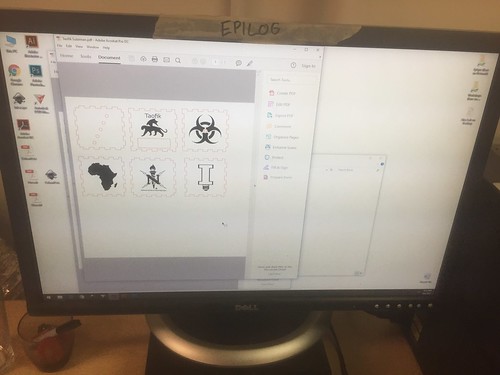
The Lasercutter Final Print Environment
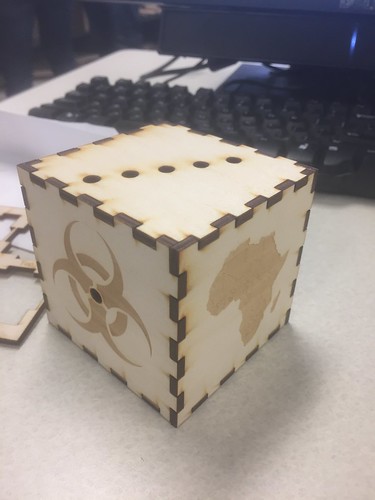
My Final assembled press fit box. View 1
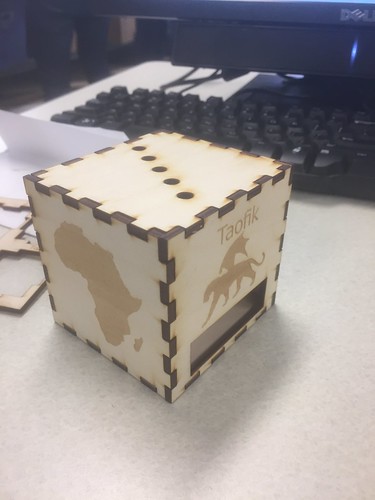
My Final assembled press fit box. View 2
The cool thing about laser cutting is that not only is it fast and material efficient, it can be used on many other materials. the most common is wood and glass/vinyl but you can also laser cut metals, paper, foam, cork, silicone and so on. You can learn so much more here at this link. The Stanford Product Realization Lab is making great products there and exploring much more materials. But the most impressive thing to me is the innovative use of lasercut patterns to make flat materials curved or bendable. They way they do this is by laser cutting thin lines and holes in the area that is desired to be flexible in such a way that there would be more freedom for that section to be less rigid and be able to stretch and hence be flexible.
Now with all this the final outcome for our lightbox should look like the sample below. I am looking forward to being able to incorporate this into our project this semester.
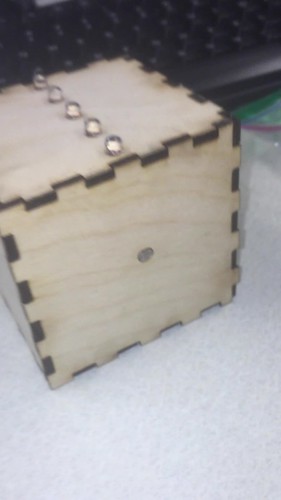
Sample final product for the lightbox.