Digital Making Reflection

Before the class started this semester, I expected to learn 3D printing and work in a team with students from different interdisciplinary fields. Initially, I also thought that the course would be more technical; however, the course instead focuses more on design thinking and problem solving. The more technical offerings were found in the workshops we took at the Champaign-Urbana Fab Lab along with the AutoDesk Fusion 360 demonstration. Throughout the semester, I learned more about working in a team and more about the 3D printing terms and industry.

Here are the top things I learned through taking the course:

  1. Design Thinking is Key – Coming up with a great idea takes inspiration and hard work. How can we statements are helpful guidelines during the ideation phase. Try to find a problem that consumers are facing and create a prototype using that.
  2. Make Lots of Prototypes – There’s always a way you can improve on your product, so keep making prototypes. Test out new materials or new designs until the produce no longer runs into issues.
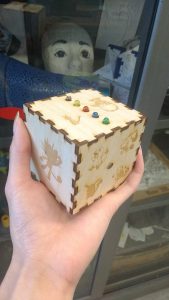
  3. Feedback is important – Receiving feedback from people on your designs is a crucial process throughout all phases. With constructive criticism, you can make adjustment to your designs and work on more ways to improve them. Learning how to provide feedback to others is also a great skill to have.
  4. Working with teams – In any jobs, you’ll be put in teams to tackle projects. Being a team player is a bulk of the work, be engaged during meetings to move the project forward and give constructive criticism. It’s also important to listen to the opinions of team members.  
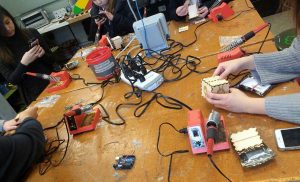
  5. Technical Skills – Every time I use the 3D printer, I am still mind blown. I am greatly to have dabbled in soldering, coding, Fusion 360, and other software. I definitely want to explore deeper into the software and skills I have acquired from the workshops.
  6. The Future is 3D Printing & Innovation – the potential of 3D printing is limitless. They are already being implemented in various field: tech, medicine, and fashion. It’s especially great to see the technology being used children to stimulate their problem solving skills and education. The same could be said for minorities and developing communities, where 3D printing is used to improve quality of life and educate.
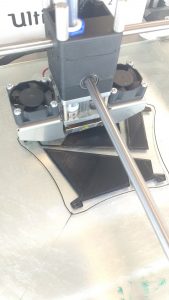
It’s sad to know that the class has ended, but I will continue to utilize the skills and things I have learned in this course and apply them to future projects and in my career. I highly recommend other students to take this course and become a part of the Maker movement. Stop by and visit the Maker Lab or Fab Lab on campus!

Week 4 Summary

We all come form different backgrounds and experiences, some of us with the knowledge of using software’s to build parts and others with absolutely no experience. Regardless of which skill level we were at we all were able to takeaway a life long learning experience from Jeff Smith, an individual from AutoDesk that had come to teach us the ins and outs of Fusion 360. We all were inspired by Jeff’s story of reaching his current position at AutoDesk. Even though he had many shining moments he had also faced many struggles. In the end, the struggles he faced had helped him identify the connections he had unknowingly built. Putting together his network and his strong skills he began to learn Fusion 360 in order to empower college students to innovate with the software. Because many commercial companies would like the future generation to be able to maneuver through the software skillfully in order to help the company, they require AutoDesk to provide these lessons for college students. As college students, learning Fusion 360 is an added skill that will only bring us more benefits in our careers.

Throughout the class period Jeff had given us a live tutorial of Fusion 360 while allowing us to have hands-on experience with the software throughout each step of the tutorial. Specifically he wanted us to learn the tools and functions of the software so we would be able to continue creating in the future. Fusion 360 essentially is creating designs digitally and immediately transforming them into real life products. Prior to the class we were all given the task of using introductory videos to learn the tools of Fusion 360, a few of us were able to create the final model from the video while many of us had slowly trudged through the process of creating the model while continuously honing our skills in the new software. The process of learning was well stated by Veronika, “Diving into Fusion 360 during this weeks class session was like jumping into the deep end of the swimming pool in an attempt to learn to swim; needless to say, there was initially quite a bit of floundering.”

Many of the students were amazed with this CAD software, as it was a popular one with very powerful tools. As stated by Jorge, “One thing that makes Fusion 360 such a great CAD program is the whole cloud system they are using…” We all realized that with the software any innovation was possible. We had the ability to design through parametric designing, which included specific constraints and dimensions and free-form designing or sculpting through the Tee-Spline Body. Taofik was intrigued with the software, “They use a top-down componentry/modeling system system unlike other CAD software such as Creo Parametric or SolidWorks which use bottom-down modeling. You could even type code and create a model instead of clicking around the tools.” We were all amazed that the software gave its recommendations of the innovations that were created, a new and powerful concept we had not experienced before, the software had the ability to teach us efficiency on a design.

After learning the tools of the software we were given the task to create any everyday object by taking apart the object and building it on Fusion 360. As Ian had commented, “I think throughout the workshop I realized just how much I took for granted simple engineering feats. Taking a simple water bottle the shape itself is complex enough but it actually has several parts working together to provide us with a coherent product experience. Without great designers with software like Fusion 360 we wouldn’t have most of the products in our world today.” The realization of the importance of designers and new creations in the world suddenly seemed so relevant. If we wanted to create products for this world, we needed to continue honing our skills in this software so we could build more innovative and efficient products for future consumers.

Here are some of the models that students had created after taking apart everyday products and rebuilding them on Fusion 360:

Chase had created a water bottle and found that, “The most difficult part of the design was instructing the software as to what parts were components, bodies, joinings, cuttings, etc. Albeit at first it was frustrating, I gradually began to understand how the software functions.”

Kenny had also created a reusable water bottle and commented that, “Every aspect of every object you use has been analyzed and reiterated until it was ready for consumer markets. This means that there are elements of design everywhere in everyday objects and this exercise gave me the insight to develop a product for the class.”

Jorge, who had experience in inventing throughout high school was able to create an intricate model of a flash drive.

Overall, the workshops had created a large spark for each of us and had allowed our creative juices to begin flowing. We all believe that capitalizing on all that the program has to offer will create tremendous results. This CAD software, Fusion 360 allows any individual to create whatever their mind thinks of and that in itself is revolutionary. It is true; Fusion 360 truly has no boundary for future innovation and design.

Creating With Fusion 360 and DIY Biology

Jeffrey Smith from Autodesk held a workshop in class teaching us about the company and the Fusion 360 software. Autodesk’s Pier 9 is located in San Francisco Bay and is a facility that houses collaborations between artists, engineers, and technologists. One of their latest projects is a 3D-printed model of downtown San Francisco.

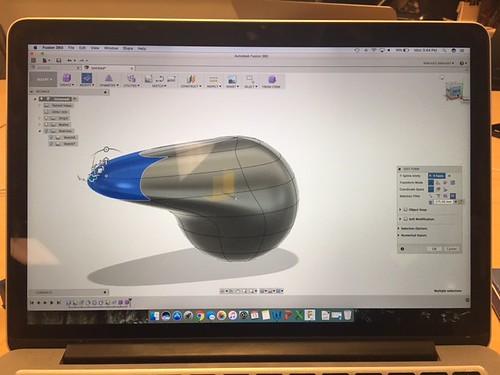
During the workshop session, we learned about the different tools on Fusion 360. I found the workshop to be incredibly helpful since I have never used Fusion 360 previously. Using the software, I tried creating a pipe that connected with a rectangular body. Other tools we experimented with were the sketch, modify, and assemble functions. Saving the best for last, we learned about the purple create tool. The tool allows us to deal with multiple faces and build complex, organic shapes. Jeffrey Smith create an aircraft design out of a rounded cube in a matter of minutes. I definitely want to practice using Fusion 360 more and utilize it in semester projects.

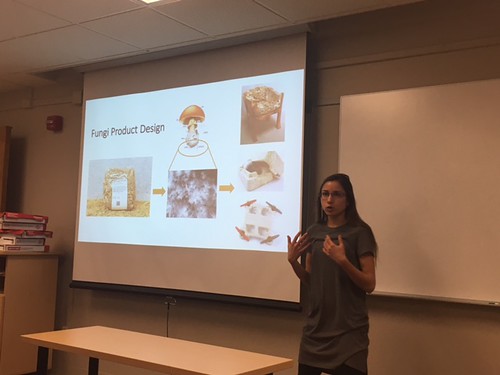
Dorothy Silverman presented on Biohacking, which manipulates the genes of organisms to usually create a product. Biohacking can also be thought of as DIY biology, where people of all backgrounds work together in small labs. Projects worth mentioning include using chitin to create biodegradable cups and plates and using fungi spores to grow furniture. I believe that the Biohacking movement is similar to the Maker Movement in that all sorts of people work together to create; however, Biohacking incorporates more sustainability in creating their products.

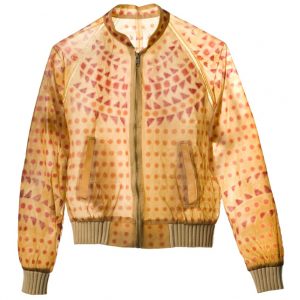
Merging Biohacking and fashion together, Suzanne Lee created BioCouture, a process in which clothes are grown using microbes. Biohacking is an exciting way to learn about biology and create things at the same time. I definitely want to experiment with the various processes involved to create sustainable products.

First Attempt at Autodesk Fusion 360

Autodesk Fusion 360TM, a phenomenal tool for designing, engineering, and simulating 3D models, turned out to be more challenging but at the same time simpler than I had imagined. As self-contradictory as that statement sounds, that was exactly how I felt after playing around with the program for hours and following Lars Christensen’s video tutorials to create the model shown below.
model 1
There were times when I felt excited that with a simple click, I could quickly mirror a specific part of the model to the opposite side. While other times, I would sit in frustration, cracking my head trying to figure out how to do something as simple as changing the view of the model. Overall, I felt pretty happy with what I was able to do with the program on my first attempt and know that through practice, I’ll be able to familiarize myself with Fusion 360 and create even more advanced models down the road. Of course, it’s not easy just watching videos and trying things out myself. This past week, our class was fortunate to have guest speaker, Jeff Smith, come in to share with us not only his life experience as an industrial designer at Autodesk and working overseas, but also an extensive introduction on how to use the Fusion 360 program. We first started out sketching simple 2D shapes such as lines, squares, and circles. Then, we created 3D objects such as cylinders and boxes and learned how to join them together.

Here is a very simple model of a prescription vial that I created, something I get to handle a lot at my job (I work at a retail pharmacy).
what
Just like how Jeff said that back in his college years Photoshop was barely in beta version and how I personally experienced the disappearance of Dreamweaver, a program I was taught to use back in high school, something that got me thinking was that due to the rapid development of technology, would a program that we learn today be quickly replaced by other more advanced software by the time we get into the workplace?

Week 4: Fusion 360

This week in class, Jeff Smith, a speaker from Autodesk introduced and showed us how to use Fushon 360. Fusion 360 is one of the more powerful CAD programs out there that enables users to be innovative. To be totally honest, I had a hard time with Fusion 360, even now I still cannot fully understand and figure out how it works. However, I must admit that it becomes more user-friendly as one gets to understand the functions more and the program is quite effective. What I do admire about Fusion is its ability to help the user be more productive. It helps users create more complicated objects with different layers that would normally take hours on end to create in a normal CAD program at a faster pace with the same amount of quality. Finally, Autodesk, the company behind Fusion 360 offers this program, as well as many others, free to students for 3 years.

Personally, I still have so much to learn within Fusion 360, but as someone that has had previous background in design software such as Photoshop and InDesign, I must say that I am very surprised and have great respect for this program no matter how frustrated I get with it. Jeff really dove in and taught us the full potential of Fusion 360 and each function has a blurb that loosely summarizes each functions’ capabilities and actions. I think that applications like Fusion 360 really pave the way for people to understand that design is something that anybody can come up with and that anybody can make their own objects. For the students in this class, Fusion 360 will eventually assist us in designing our concept and plausible ideas for our projects.

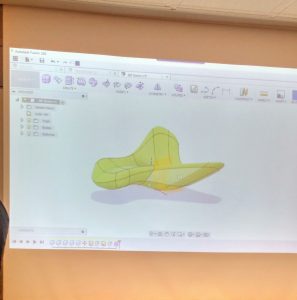
This object/figure would have taken a longer time in a normal CAD to shape.

Another speaker we had was Dot Silverman. Due to time, Dot could not really go into depth about her topic on biohacking, but we did learn about the basics of biohacking, a “do-it-yourself” type of biology. She introduced fungi product design in which products such as sturdy chairs were made out of fungi and were environmentally friendly.

Week 4: Fusion 360 and the basics of not-so-basic CAD

In the prior week, we we participated in a workshop that outlined the basics of the design process. This week, we given a visit by Jeff Smith, an industrial designer working for Autodesk, who explained the basics of Fusion 360 and demonstrated the capabilities of the software. Jeff was trained in the “analog” method of design, in which all the blueprints and 2D models of a products were handmade with paper and pencil, a stunning but arduous process. In this digital age, one can do the same and more with CAD software like Fusion 360.

The base of CAD software is relatively straight forward: by using computerized tools, one can create a model of their choosing in real-time without the crutches of actual drawing such as drawing utensils or having to start from scratch every time. Jeff demonstrated that Fusion 360 can be utilized to create models in a variety of formats using a variety of methods. These range from organic to inorganic shapes, sketches, revolutions, scaling, etc. Fusion 360 possesses an extensive amount of tools and edits at the user’s disposal, giving the user a plethora of options. This also, however, makes using the software quite difficult, especially if one has never used CAD before. Fusion 360 is a intermediate-to-expert level software, unlike TinkerCAD (https://www.tinkercad.com ), which is a beginner software. The interface is rather unconventional, and there are many “hidden” tools throughout Fusion that make it uncomfortable for even experienced CAD users. Even with the plethora of tutorials out there (https://www.youtube.com/playlist?list=PLTuzDPYYeEeJ9E-xBX2n-dUo6p8fQeA_b&jct=Ae3fFWiQBw0JsXyUzPflRHCUzfNjKQ), adjusting to Fusion can be cumbersome. However, once one gets used to these quirks, the software can be more easily used to its full potential.

In Jeff’s workshop, he portrayed how many of the characteristics of 3D modeling, while used in a different manner, were very similar to real life drawing and design. You can use a pencil-like tool to sketch shapes, if you made mistakes you didn’t necessarily have to start all over, but would have to do something similar to erasing. It really depends on the person on whether designing on paper or in CAD is more difficult. The main core similarity  of the two is that they are both an art form. One can translate their creativity and design thinking onto a platform that allows them to portray it to others. The reason why CAD such as Fusion 360 is arguably better is that others can both observe AND edit your designs easily, all of which is saved through the cloud. This makes prototyping and customizations significantly easier, all through a single abstract. It allowed me to design a mockup of a mechanical pencil and it’s components. I can also use this to explain to someone how it functions without actually needing a physical one. CAD is wonderful tool for both expression and creation. Many believe it to be exclusively for engineering purposes, which maybe true, but in reality it is for portraying your technical expertise and creative process.


Using Autodesk 360: A powerful CAD tool

Another day, another tool that you can use to create and make innovative products. This week in lecture we were not in our usual maker space but in the Armory to hear from Jeff Smith, an expert in AutoDesk Fusion 360 and an industrial designer for Autodesk. He gave us an overview of the Autodesk work environment, including their innovative makerspace called Pier9 which is for making digital into real. He also showed us how powerful and unique this software is and different ways of designing:

  • Parametric designing which entails specific constraints and dimensions, and
  • Free-form designing or sculpting using the Tee-Spline Body

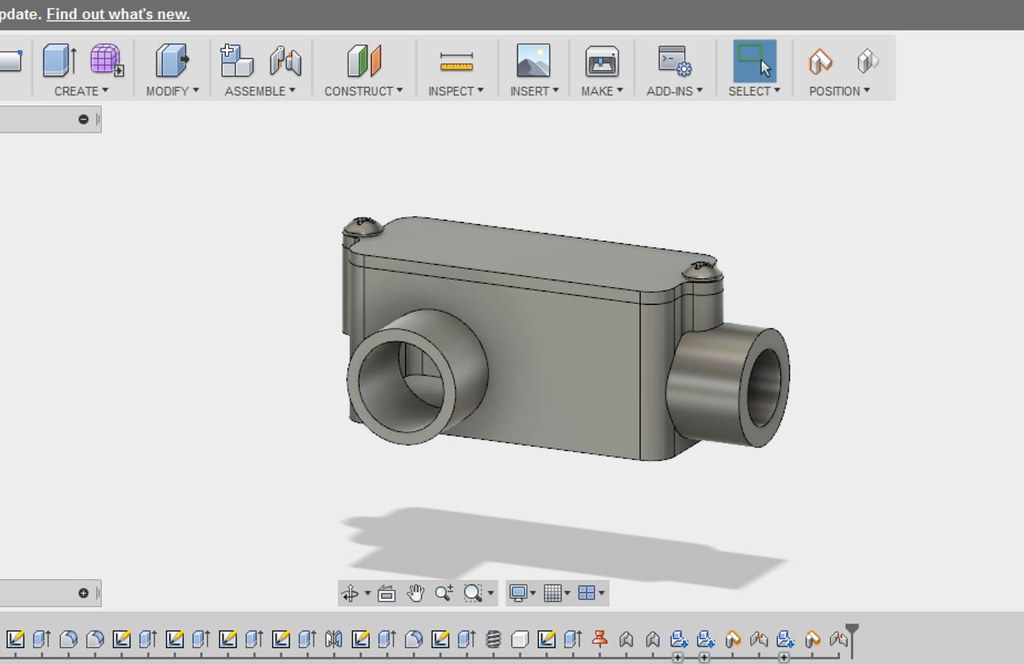
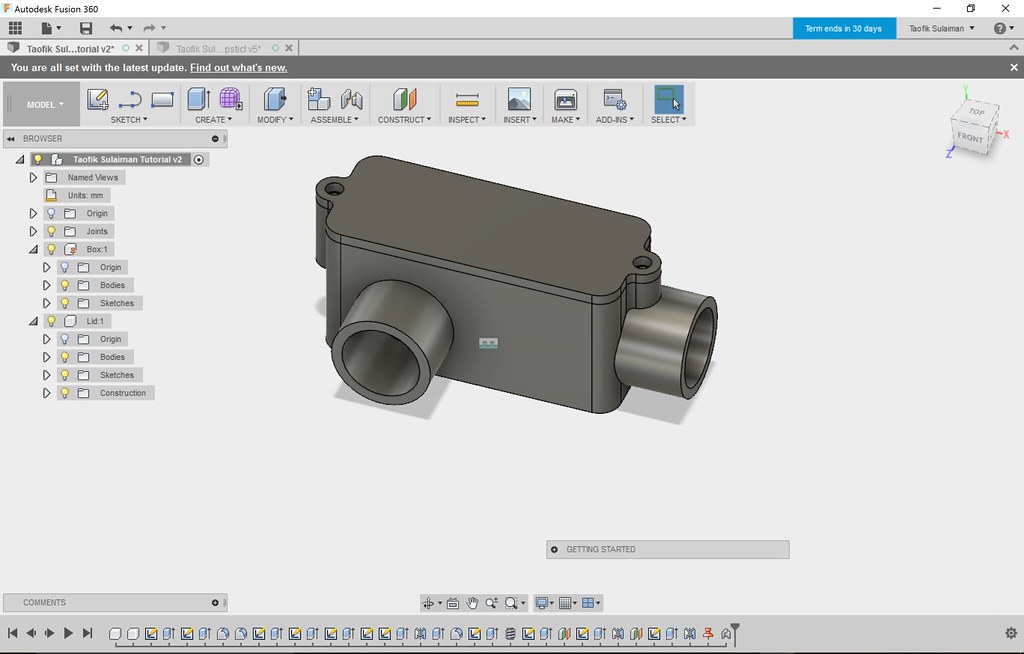
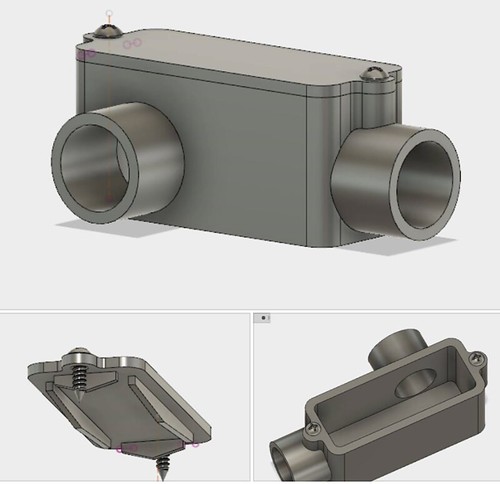
The way Fusion 360 is setup is in order of the different design phases: model, patch, render, animation, simulate, etc. They use a top-down componentry/modeling system system unlike other CAD software such as Creo Parametric or SolidWorks which use bottom-down modelling. You could even type code and create a model instead of clicking around the tools. He also introduced the new and powerful concept of having the computer learn and design your product for a more efficient design. Learning from about Fusion 360 was a great experience the way he likened designing with time-travelling. I really felt inspired more to be a maker and get more into modeling. Using the skills that we learnt from him and the Fusion 360 tutorial, i was able to replicate the model of the wire conduit below,

Screenshot (4)

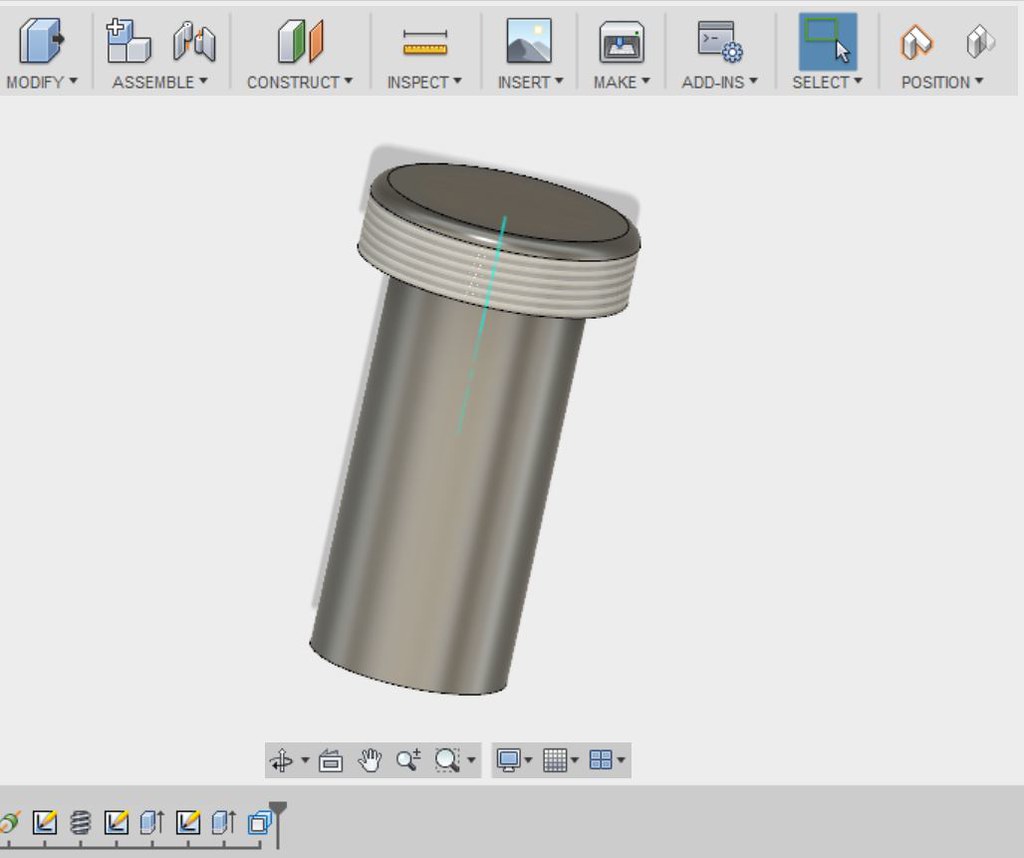
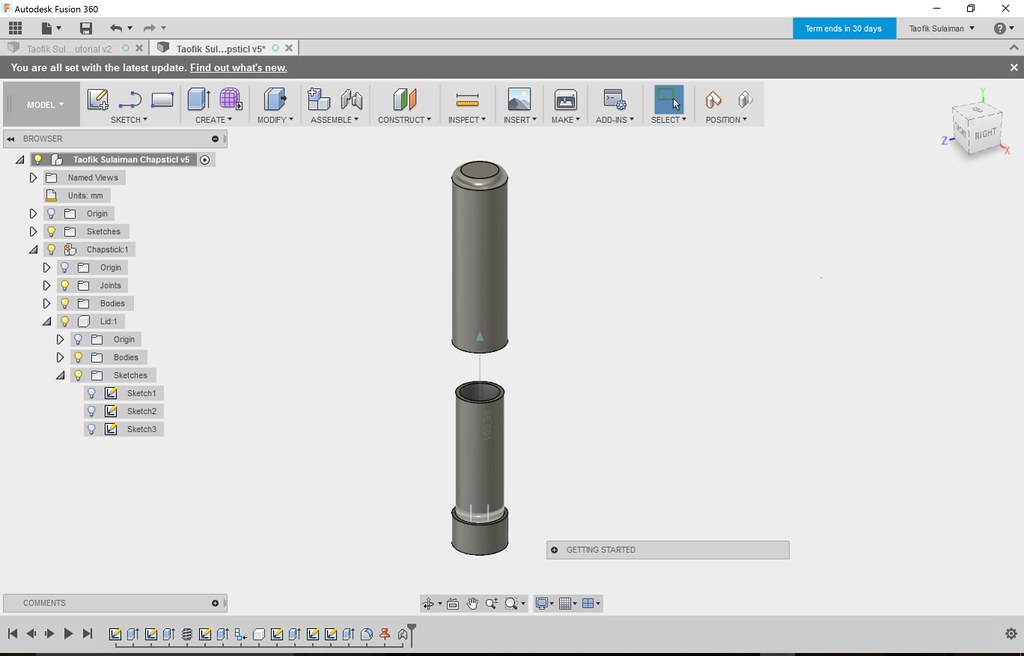
and go further to design a model of a product I use on a daily basis – A Chapstick:

Screenshot (2)

If you would like to dive into this powerful tool, Autodesk offers Fusion 360 free for students at their website.

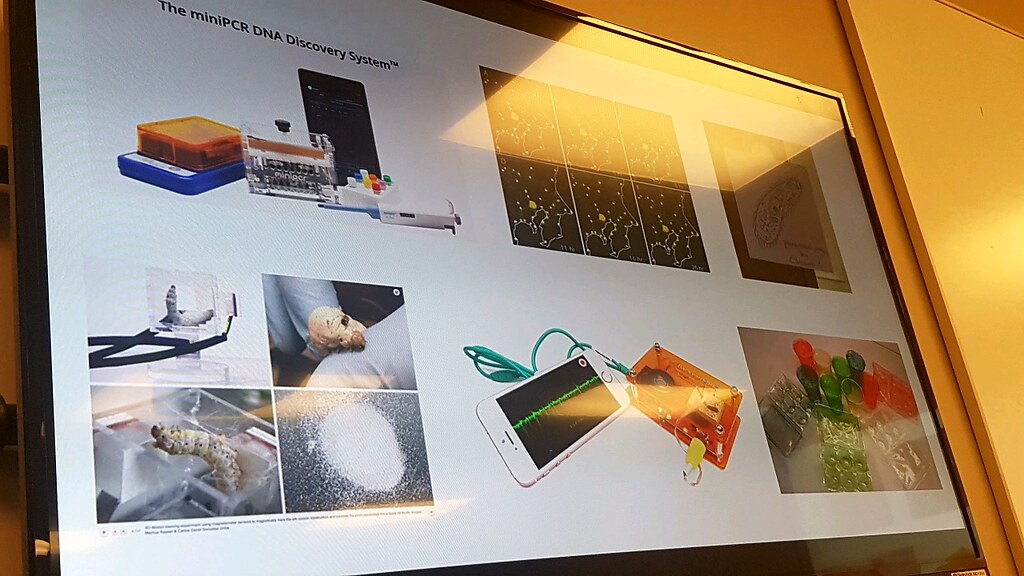
After Jeff Smith, we had a representative from the CU Biolab, Dot Silverman, tell us about the various creative endeavors they do in combining Biology and making into what she called “BioHacking”. There are so many endeavors involving biohacking going on around the country such as the MIT Silk pavillion and so many others included in the picture below.

1280x720.png

Fusing Fusion 360

Prior to this week’s session with Jeff Smith, I had downloaded the Fusion 360 Software and begun experimenting with the various settings by following the Absolute Beginner Videos created for Fusion 360. When I first started using the software I was having some difficulties trying to follow the videos, as I did not have much experience with design and creating products through a technological format. However, I was eager to develop more skills during class and build a better understanding of the software as well as the company, Autodesk, itself.

Learning about Jeff’s experiences after college was incredibly insightful. Though he had very positive moments he still went through hard struggles, however, those struggles had helped him realize the strong connections he had unknowingly built and the skills that he had developed from being on the work force for so many years. With all his skills, Autodesk had found him to be incredibly competent in a position with them and he acquired this opportunity because Autodesk was once his client. Though he went into Autodesk, he had no knowledge of the software he would be teaching to college students. Now hearing how he has excelled in Fusion 360 only brings a light into my learning abilities, I could achieve the skills he has in using Fusion 360 for any future projects and creation of products or services. As Jeff spoke about Fusion 360, I was wondering what the intention of Autodesk providing free software for students were. Sure, we were a good group of individuals that would be able to learn the software quickly, but what the ultimate motivation for them to do so. Jeff had explained that the commercial companies that acquired Autodesk software’s required them to teach college students because they needed to be sure there were individuals that would be able to use these products to create innovations.

Fusion 360 has provided a way for designers to design products or services from what took hours to only a couple of minutes. We are all eligible to work on live versions of models, making it possible to bring designs to life. The software is allowing creativity to becomes designs within minutes. Furthermore, the software does not force the designer to be in a certain location but could design in the safety of one’s own home and still be able to collaborate with others. Through Jeff’s initial training of Fusion 360, I was able to have a grasp of the tools that were a part of the software. It’s amazing how powerful the tools are compared to other software’s that would require three moves; Fusion 360 would only require one. Overall, I enjoyed the experience of being able to have a hands-on learning of this new software, and I hope to be able to keep creating through this method.

Here is a model of a perfume bottle created through Fusion 360.

Design and Build: Learning to Use Fusion 360

Screen Shot 2017-02-17 at 5.03.53 PM

This week, we take a step further into product design by learning how to use Autodesk Fusion 360.  Luckily as students, we have free access to Fusion 360, a tool we all found to be quite powerful and intuitive.  Prior to our class session we were able to follow a series of tutorials to become familiar with the software, and I was proud to finish this model before class.  I really enjoyed playing around with the software while learning its capabilities.  In our class session, Jeff Smith, an Instructor from Autodesk presented to us and taught us how to use many of the features of Fusion 360.  Following Jeff’s presentation, Dot Silverman came and presented on her work with Biohacking.

As with many software programs, Fusion 360 is a very powerful and complex program.  Initially, it can be difficult to navigate and to achieve your desired outcome in design.  However, once you become more comfortable with the program, designing can come naturally to you.  Playing around with the tools has been really helpful in learning how to properly use the software, and I found the tutorial videos very helpful.  I also found this slide deck which gives an overview of how to use many of the tools in Fusion 360.  I personally am a big fan of tutorial videos and slide decks as I can go through them many times until I fully understand each step. Something else I have already realized is that there are many design implications to keep in mind when designing for 3D Printing.  This article gives a brief overview of mistakes to avoid when designing.  Many of these echo what Jeff mentioned we must be mindful of when designing in Fusion 360.

IMG_1025

Moving forward in the class, our group is approaching the point at which we will need to start designing on our own.  We all need to learn and practice using the design software, 3D printers, and the many other technologies and machines that are available to us.  We want to make sure that our design is desirable, viable, and feasible.  We need to be sure that our design is logical on the screen and in its physical form, so being comfortable with the design software is paramount to our success.

IMG_1026

Unfortunately we did not have much time to cover Biohacking in class,  Dot introduced us to the concept of biohacking which could involve anything from product manufacturing to medical uses.  This article gives many examples of how makers can “biofabricate” clothes, furniture, and other special materials to turn manufacturing into a more sustainable process.  As we continue to evaluate future implications of making and 3D Printing, biohacking will become a major discussion point.