
The third and final week at the FabLab has taught us that the culmination of hard work and learning useful skills was well worth the wait. This week my group focused on being able to code the Arduino with the correct codes that will trigger the lights with the correct readings from the light sensors.
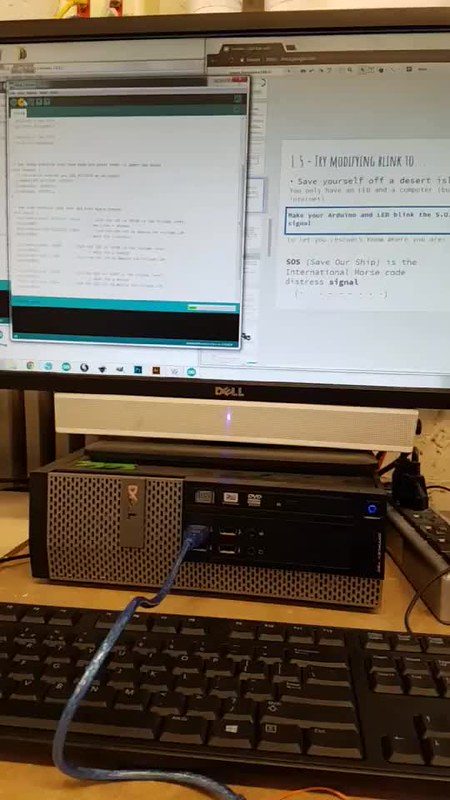
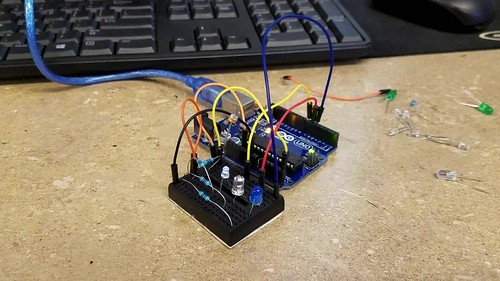
This was the end goal however, we had to learn how to walk before we could run. This involved using example codes from Arduino in order to understand the fundamentals involved in coding and how to think about how things worked in a different way. This involved us be able to think conceptually about what, how and when things happen in their respective orders. We started with the breadboards and made a LED blink with a sample code then we were told to mess around with the code and make it blink in SOS in Morse code and then used a combination of codes to do different things with the lights. This part was challenging but rewarding once we were able to see our hard work come to life.
Upon learning the basics we were then told to start coding out Arduino and this part was also fun as we had a basic code that was developed for us but had to tweak it to our specifications. The next steps were to upload and do trial and error analysis to see which parameters worked best for our sensors.
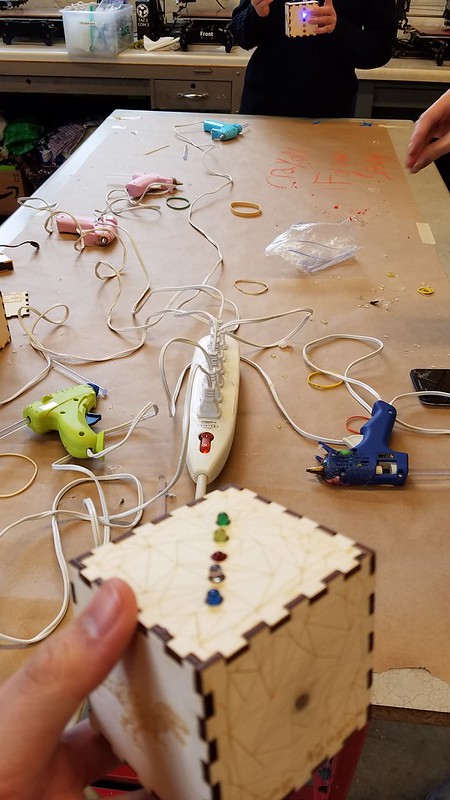
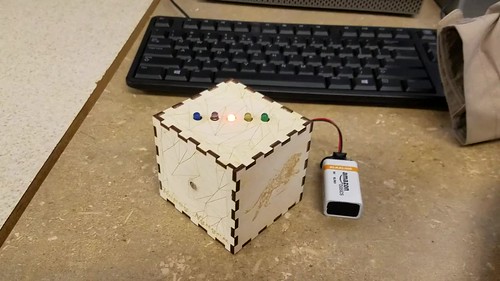
The last stage of our Light Box project was to be able to put everything we have done together in the past three sessions at the FabLab. This process got a little frustrating because there were a lot of components that were coming together and a lot of room for error. What I started out doing was to put the lights and sensors to the holes of the boxes first, then taping the edges together to hold the shape until it was time to glue it all together. Utilizing the hot glue gun was a harmless process, or so I thought. As I found it fairly easy because of my taping method, other students had a really hard time identifying which pieces went where and how they don’t retain their shapes easily. I told them about my tape method and that made it easier for many students.
These past three weeks at the FabLab has taught me how valuable this resource is for us to be able to utilize for our project. I believe that the extremely smart and creative people there are all there to help us thrive and become very accepting of what our choices and projects are. I think this will come incredibly handy once we get deeper into our project. As a student that wasn’t very involved in the FabLab, I now know where I can turn when it comes to seeking help and guidance from brilliant people in our community.
Hi Kenny!
I really enjoyed your documentation of the whole process of putting it all together. It definitely was pretty thorough. It showed me what exactly needed to be done in order to make the final product. Glad that it all turned ok – especially with the final video showing the finished working product!