
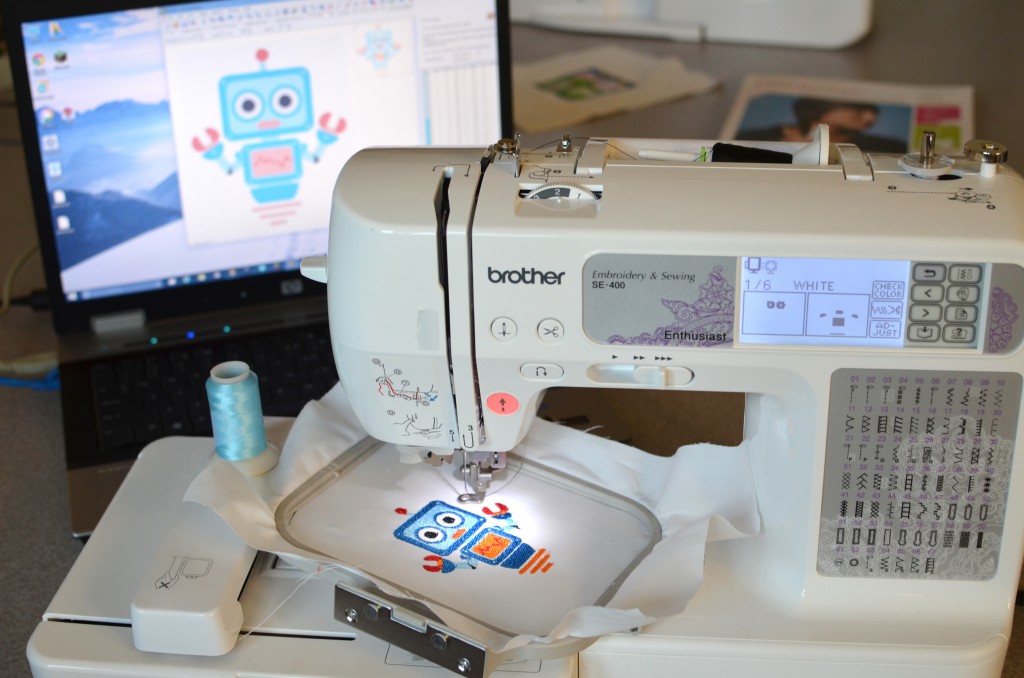

- open image in SewArt
- paint pallette icon -> Select the number of colours to reduce to. These are the different thread colours that you’ll be loading into the machine.
- blocks icon -> This is to help tidy up the colour selection. By using “merge” colours, and “despeckle”, it tidies up the image
- sewing machine icon-> This lays down the stiches. Choose the order so that you don’t switch thread too much, manually selecting the row stitch type and pattern
- save the sew file as a .pes, with a 3.9 inch maximum image size to fit in the machine
- connect the machine to a laptop then drag and drop the .pes file into the “removable disk” of the sewing machine
- thread the thread through the machine following the numbers, finishing with push down button 9, and pull through the loop that is created
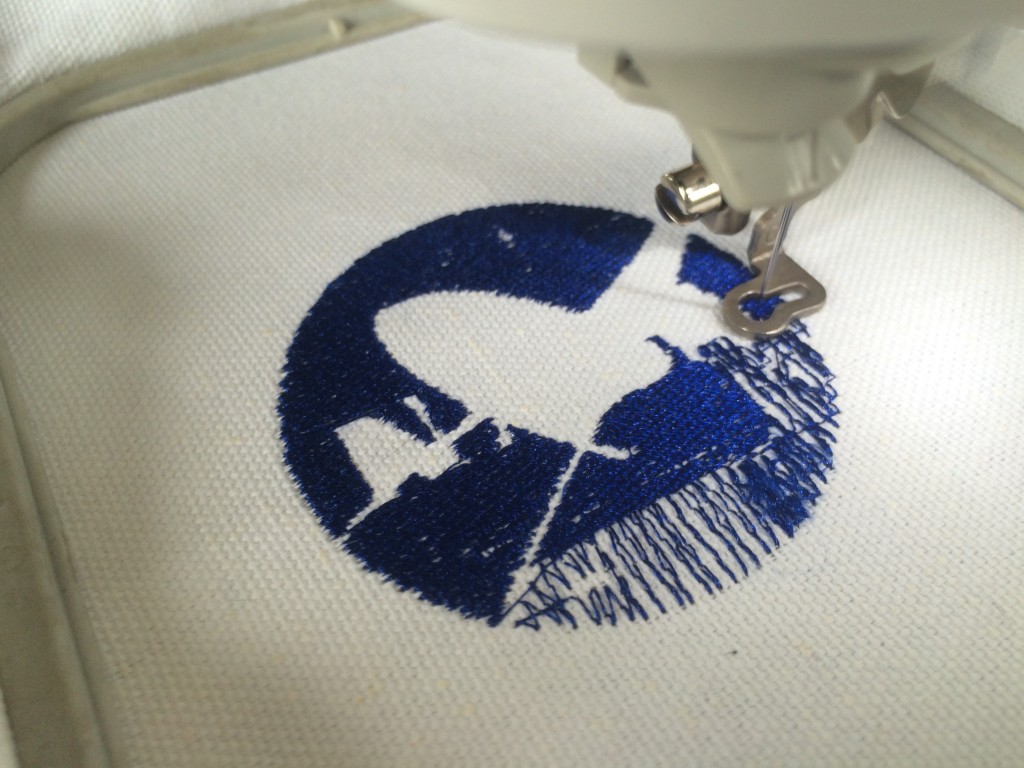
- check the white bobbin thread is loaded, check tension dial is set to 0. This stops the white thread getting pulled through. Put the foot down, the needle down, then hit the green go button!
- When a colour is done, cut the thread, move the foot and needle up, then change thread as before
If the stitching goes wrong in some way and you need to stop and cut the thread, you can adjust where you are in the sewing sequence, using a +- through the stitches and colours.
Things to watch out for (easy tripping points):
- choosing the stitching correctly in SewView
- don’t be too ambitious with many colours
- don’t use small text
- don’t knock it or move it when it is sewing
- watch out for tension, so that white thread is not getting pulled through the fabric
Knowing this was coming up, I looked round for embroidery uses and patterns.
While brainstorming for uses of embroidery, I drew up quite a blank. At first consideration, it has no physical use, and is just for aesthetic purposes.
I was looking for designs where the embroidery could be turned into something functional, and not just be something to look at, resulting in my first consideration being embroidered headbands and small adornments:
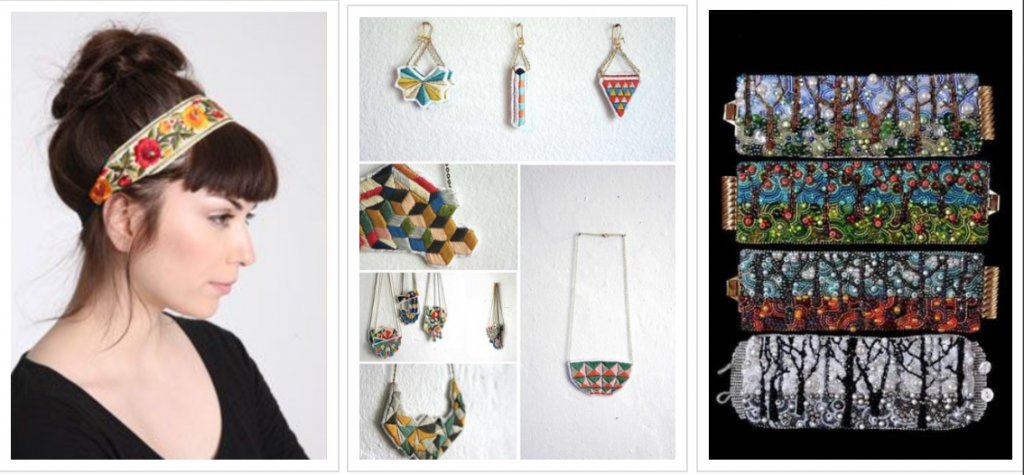
Searching for embroidery inspiration
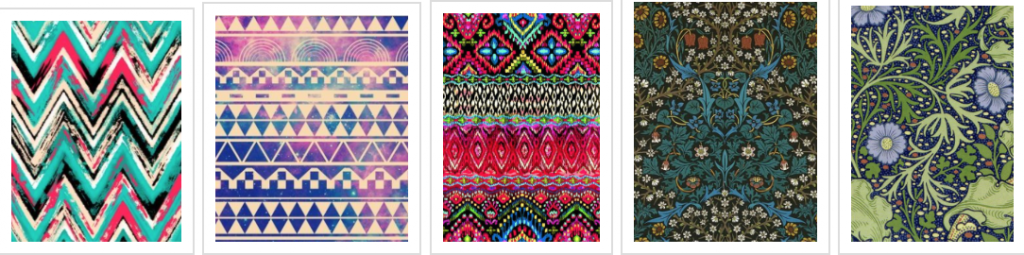
Some patterns that I considered for a headband. Conclusion: too ornate and complicated to reproduce.
The closest to a functionality I could think of, was to convey information through pictures and design.
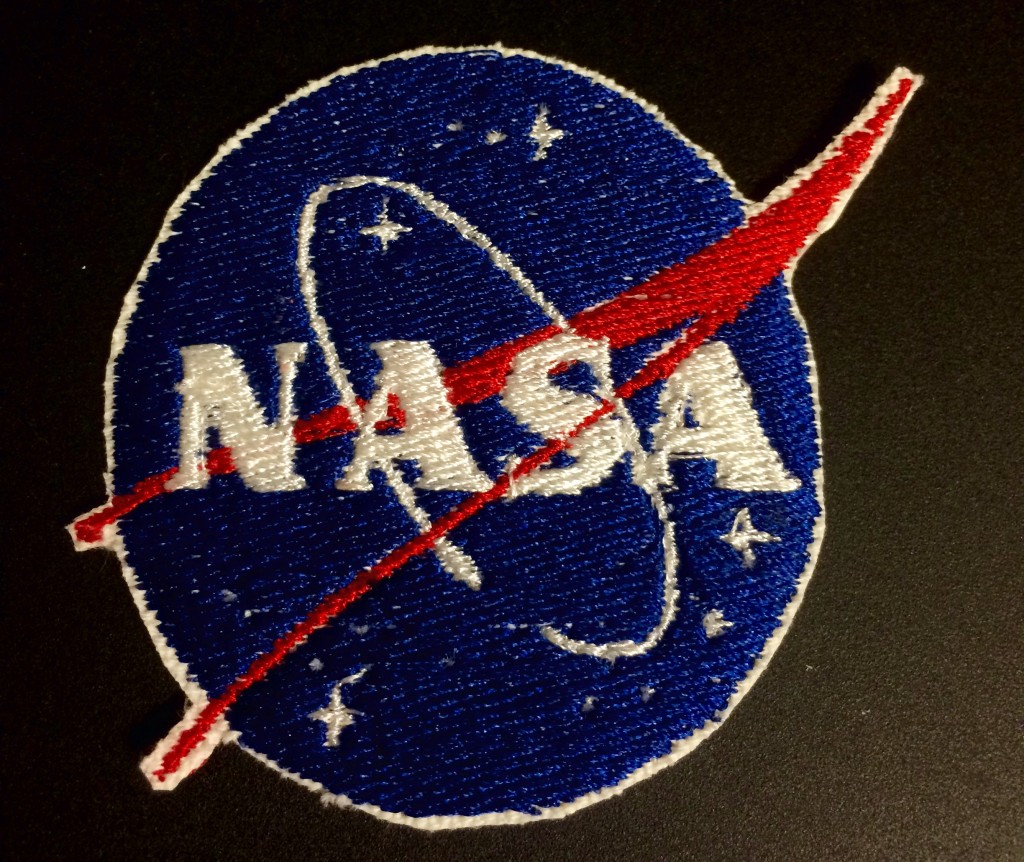
This is exactly what clothing patches do: decorate a garment, and are often used as logos. Who does this better than NASA? They have a mission patch for everything, and those mission patches are the most iconic use of embroidery. So much history and importance is associated with a simple embroidered patch.
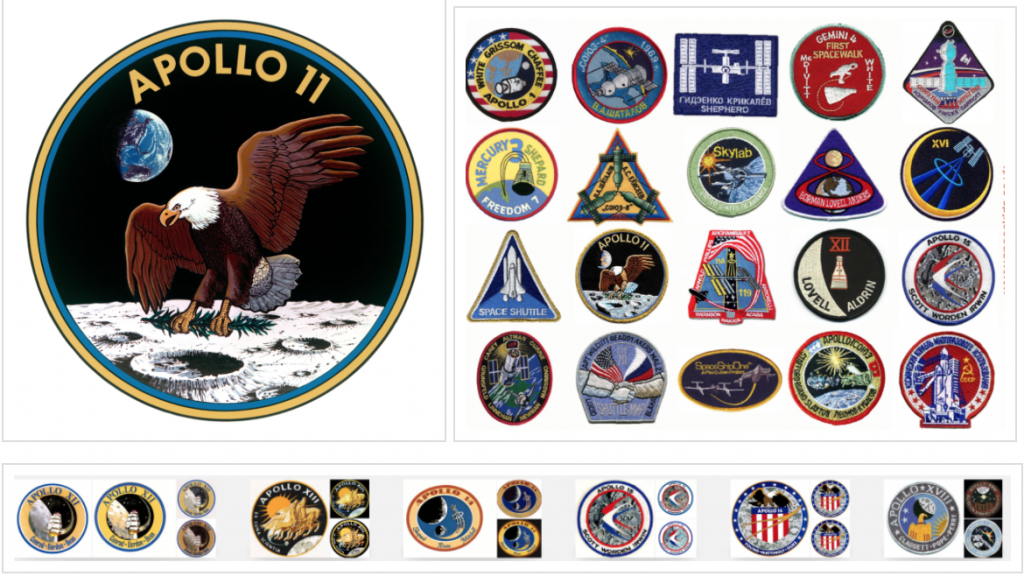
While iconic, this has a few too many colours for me to attempt for my first piece of embroidery, so settling on the NASA logo:
Knowing that simple shapes, and few colours are the key to a well made embroidered patch:
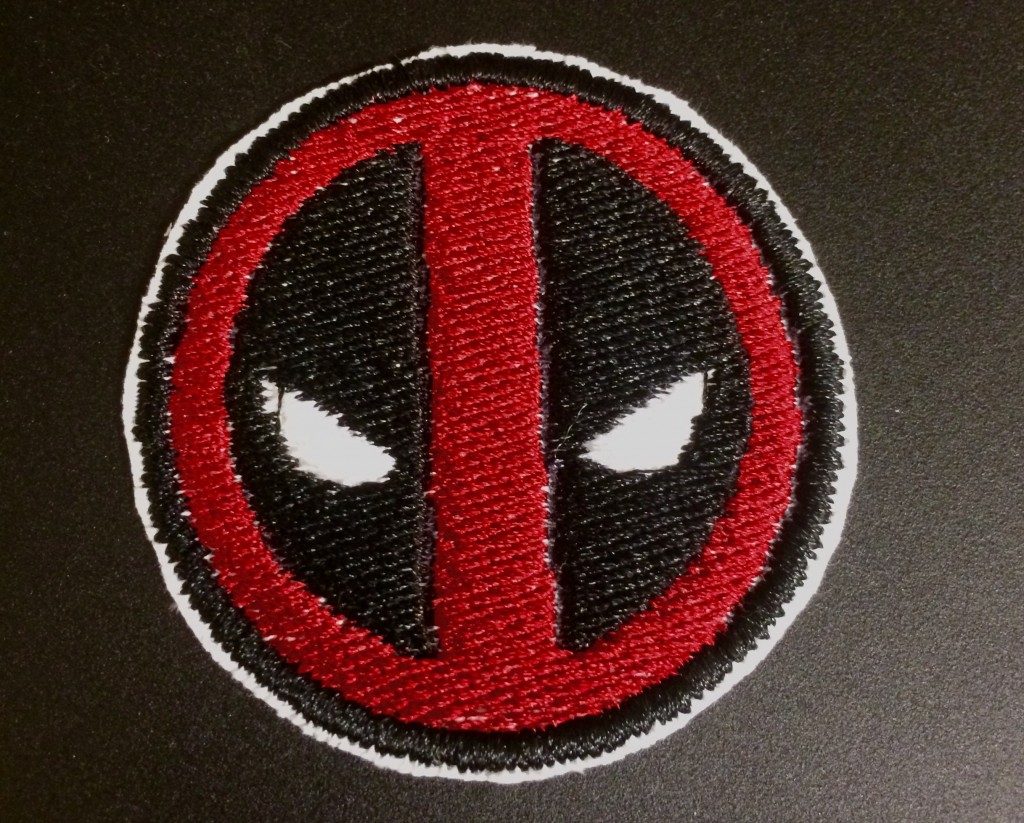
also made this Deadpool. Perfect design for simple shapes, minimal number of colours.
Pingback: Indian Web Series
Pingback: Free Games
Pingback: hgame-savedata
Pingback: F95zone
Pingback: ewot
Pingback: Gz92uNNH
Pingback: generic cialis at walmart
Pingback: ivermectin 12 mg tablets online
I love your robot!!
Lois,
Your posts seem to always been the most conversational and easiest to follow along. I find myself learning new things about the subjects that I had not previously learned in the lab. I also worked on digital embroidery this past Monday and found myself really enjoying it. It really brought me back to my high school Home Ec. days when I used to dread using a sewing machine. I hope to make many more patches for my backpack, as it is a great way to represent the the things you care about while walking around campus.