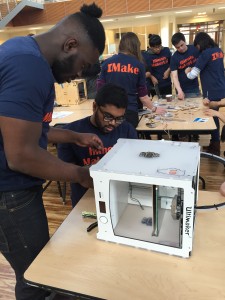
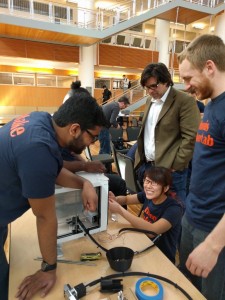
This week we had the 3D Printing Expo in the BIF atrium where we built a 3D printer, upgraded an Ultimaker 2 to become an Ultimaker 2+ (or 2x, depending on how you place the sticker on the printer), and did scans of students’ head and torso + printed them!

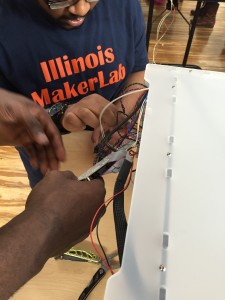
Together with Toheeb, Pri and Reid, we worked on upgrading the Ultimaker, which was a ton of fun! While the process itself was not hard, trying to figure out the instructions as well as secure proper tools to work with was a bit of a challenge. The wiring was a little tricky too, but thankfully, the board itself was labelled clearly so we worked it out in the end.

Being able to work on the printer was a fun experience, and it gave me a better understanding of how the printer works and what to look out for.If I were to purchase a 3D printer in the future, I definitely would look forward to making changes and upgrades to personalize it to suit my needs.

Now that I know how to upgrade an Ultimaker, I definitely look forward to working on the rest of the printer in the lab when the upgrade kits come!


Nice pics! It was so fun working on upgrading the printer with you!
Hey Elaine!
I’m glad you guys had a ton of fun upgrading the Ultimaker 2 to the Ultimaker 2+ or 2x! I couldn’t agree more with you on the fact that the process itself wasn’t too challenging, but understanding the instructions and securing the proper tools was the most difficult part. My group was tasked with assembling the Ultimaker and the instructions given to us didn’t match up with the actual kit. Through all these minor hiccups, we both came out learning a lot more about how Ultimakers work. So, kudos to us!
The whole process seems very challenging, but I believe you guys did a great job on upgrading an Ultimaker. It’s beneficial for everyone to understand how the printer works.
Elaine, I thought it was a really cool experience too! Was really fun trying to figure out how to get everything to work the right way!