
How to… Laser Cutting
How to… Arduino
How to… Soldering (this post)
How to… Digital Embroidery
.
Soldering… what is it? Soldering connects components together in electrical circuits. It joins 2 parts together by melting and putting a filler metal in a joint to connect parts.
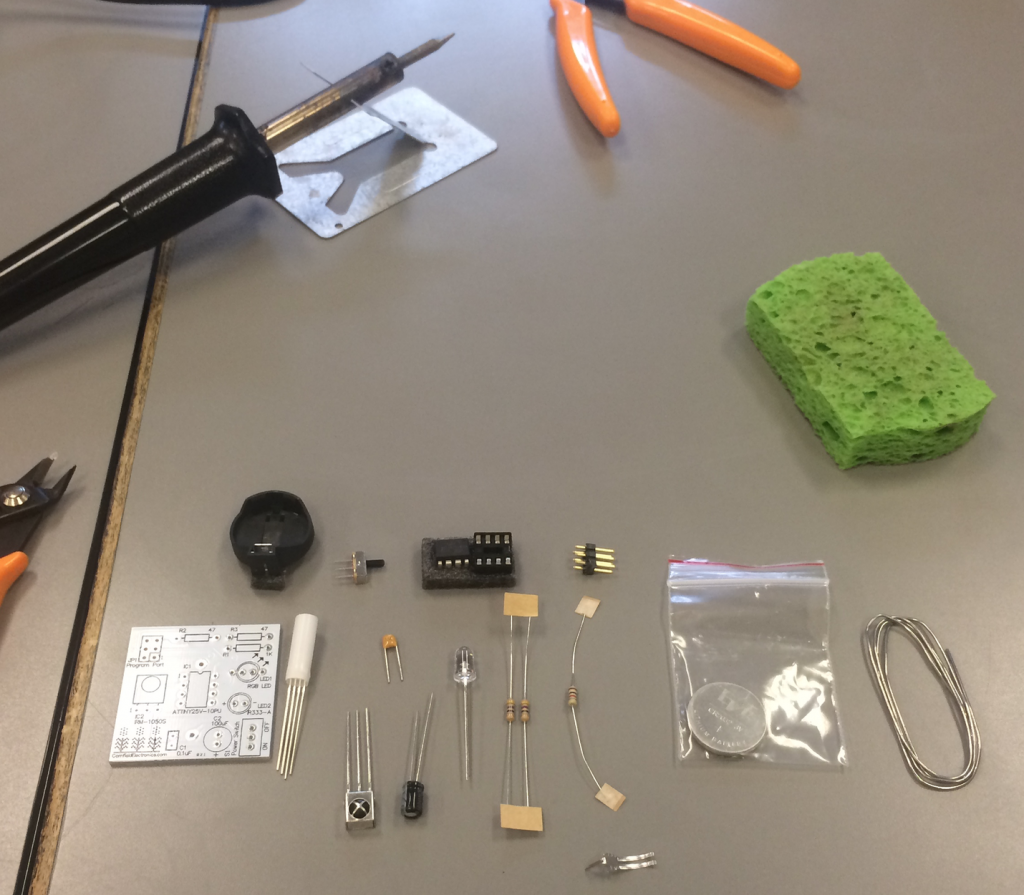 Soldering iron, and a selection of components to be soldered
For hobbyist project soldering, a tin and lead solder with a resin core is often used. For other projects, different solders can be used. For example, silver soldering is used for jewellery, non-lead solder is used for robotics.
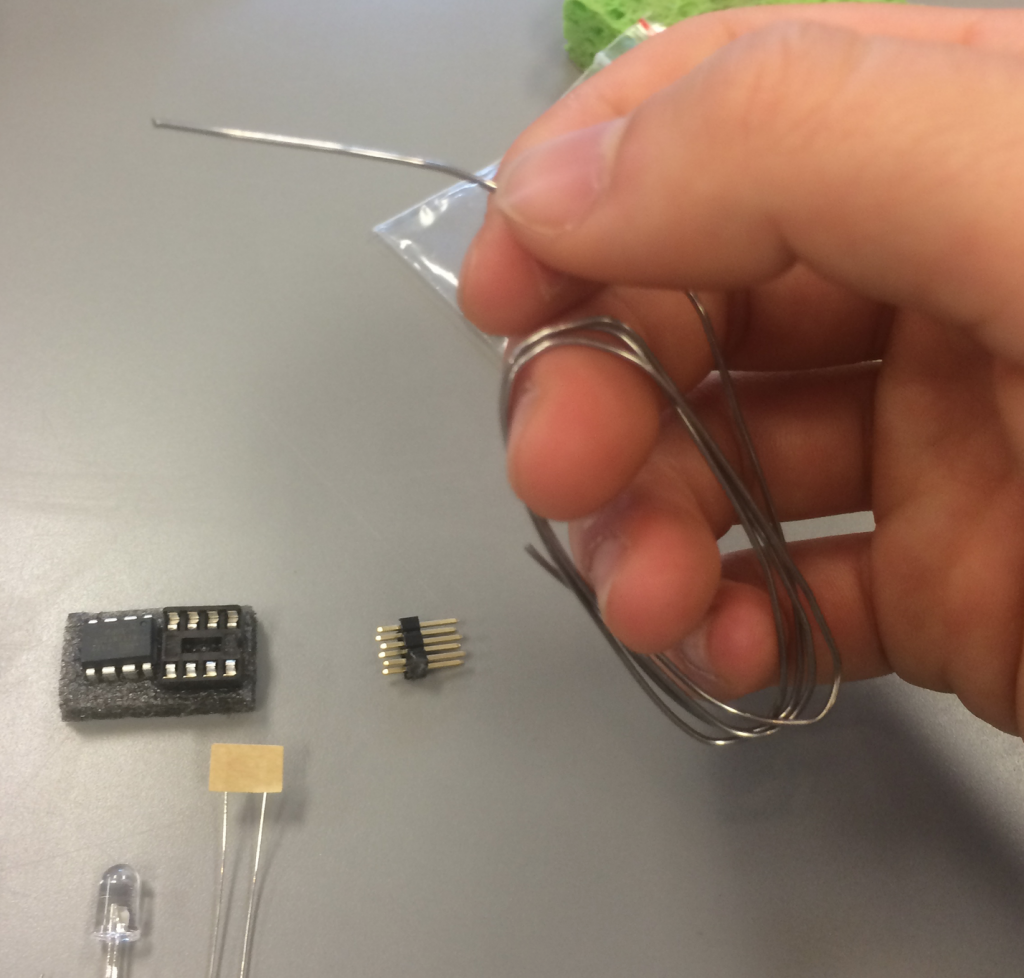 Tin-lead soldering wire
A rough soldering workflow:
.
- clean the tip: bang the handle on the desk 3 times to knock off excess solder. wipe the tip across a damp sponge. rotate iron and repeat.
- solder connection immediately: feed the solder in to melt on the underside of the tip.
- dont lift up the iron when it smokes. Pull the solder away but keep the iron tip there so that the solder has time to flow.
- cut off the excess wire in the soldered region so that it does not accidentally make another connection.
- oxidation occurs quickly, so clean the iron tip between each solder connection
.
**SAFETY POINTS**
.
The iron heats up to 350 degrees C, HOT.
When cutting excess wire, hold the end while it is being cut to avoid it pinging.
In our workshop session with Mitch Altman, we practiced soldering on a “trippy rgb waves” kit. With a line of these, the colour reset effect can be seen when the infrared sensor is tripped.
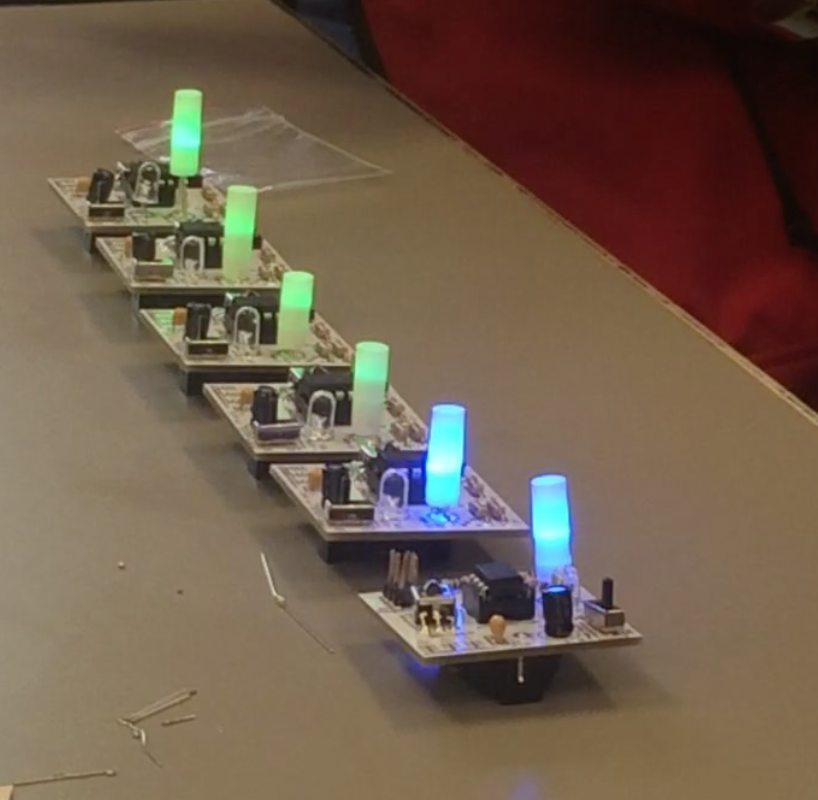
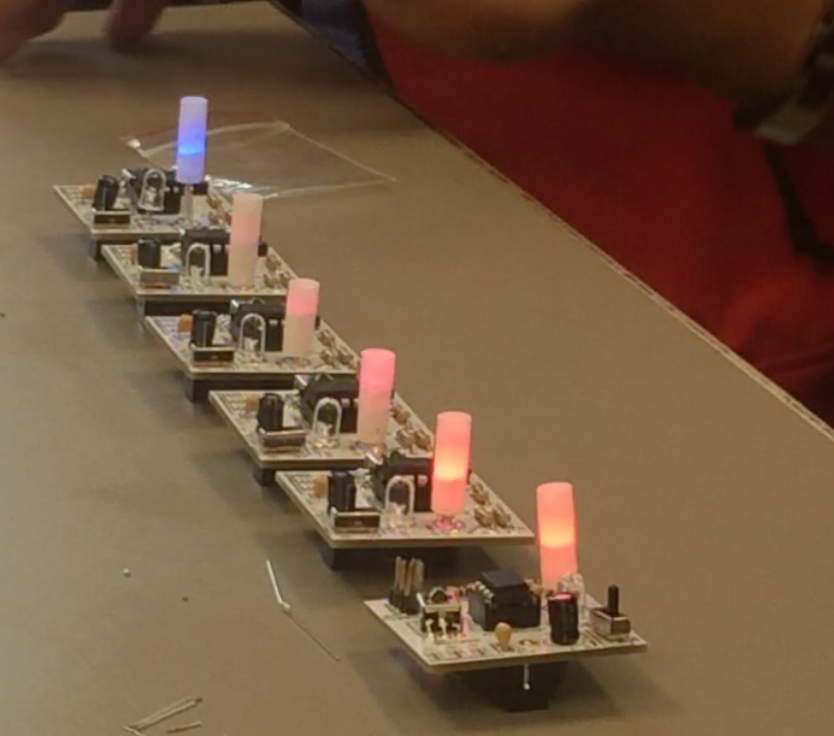
Creating our own “trippy RGB waves”
.
.
Playing around with other projects and components:
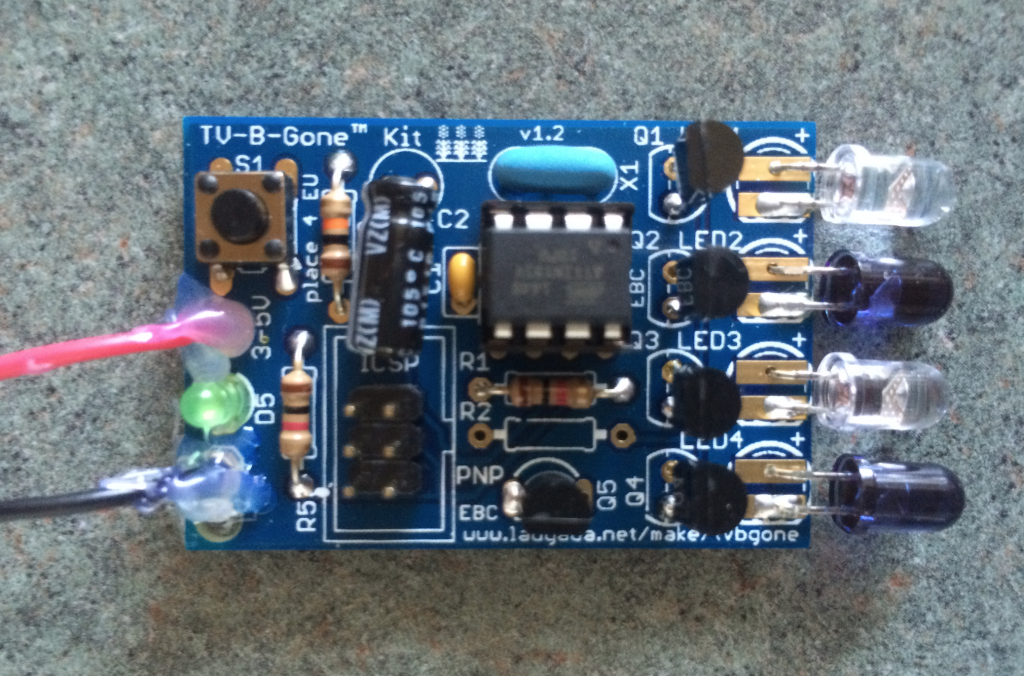
Here I have soldered together Mitch’s most popular project, the TV-B-Gone
The TV-B-Gone is a project that Mitch developed for his own use, which then gained popularity among his friends and then the whole community. By reading the off sequence for all popular TV brand remote controls, and rewriting it into a light sequence programmed into the microcontroller on this board, the device is able to turn off TVs. It takes about a minute to cycle through all the different remote “off” sequences. More on making it here.
.
.
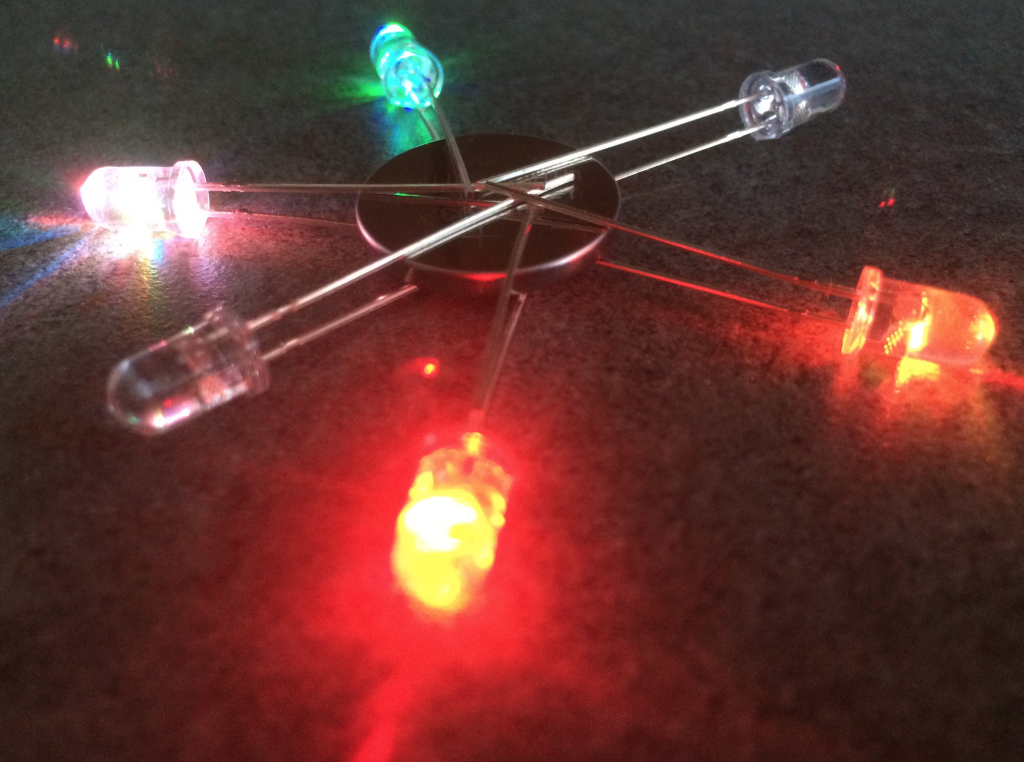
 Using some extra components, I made this star shaped “throwie”
Throwies are a popular simple hackerspace project that use a colour changing LED attached to a lithium cell. Magnets can be attached to these, to add lights to any ferromagnet surface. (How to make them, here).
.
LEDs are really simple devices that could be used in numerous electronics projects. I’m looking to develop my star shaped “throwie” into a disco-lights lamp, using a 3D printed structure to house the LEDs,and with an on-off switch.
.
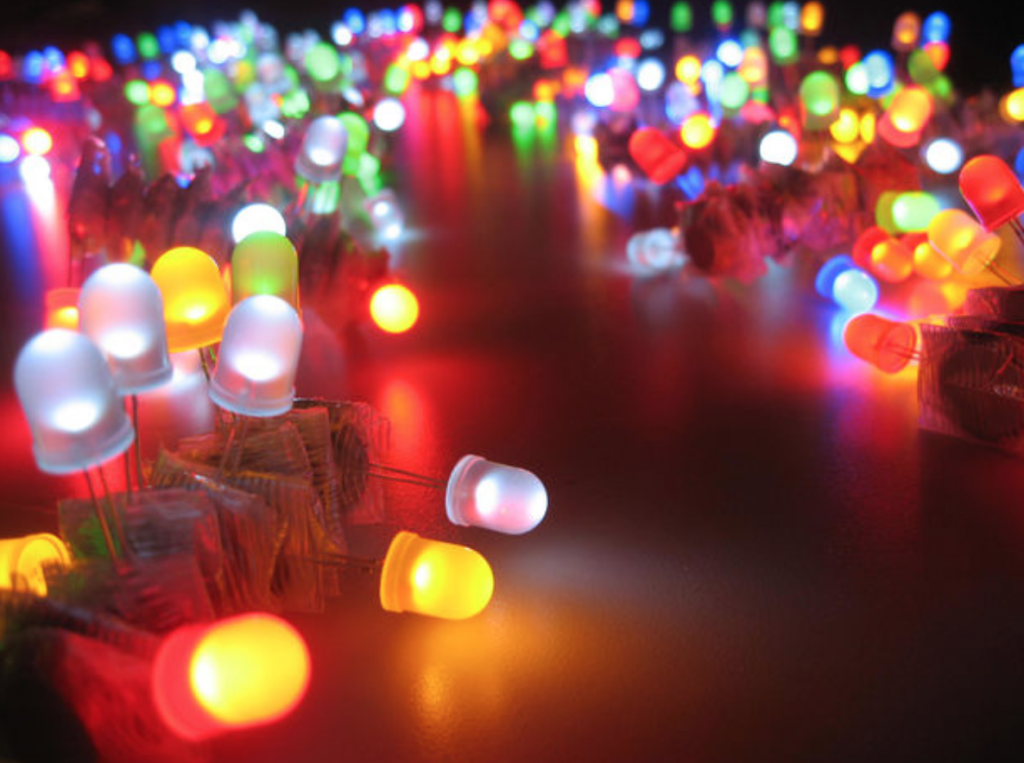
Heres some other pretty cool LED programmable projects on the internet:
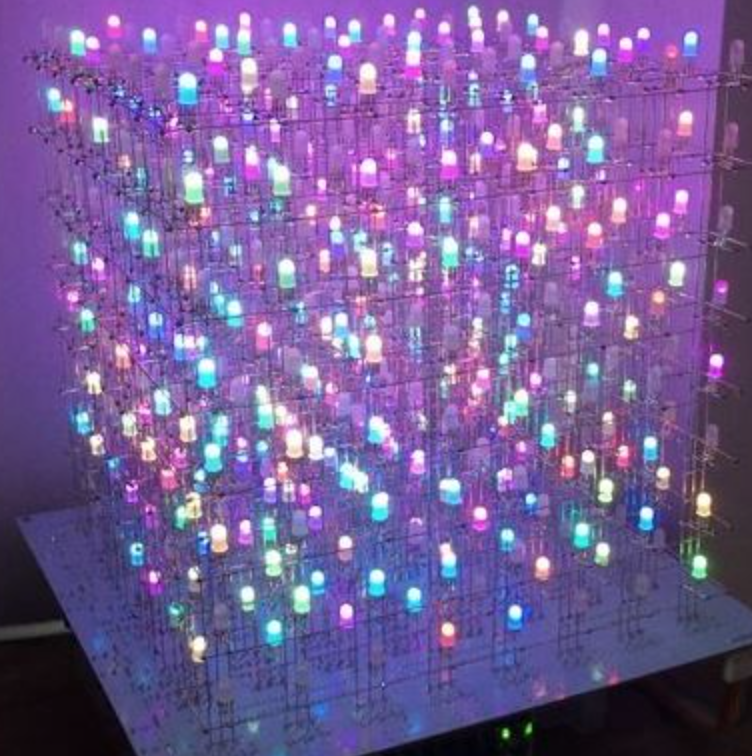

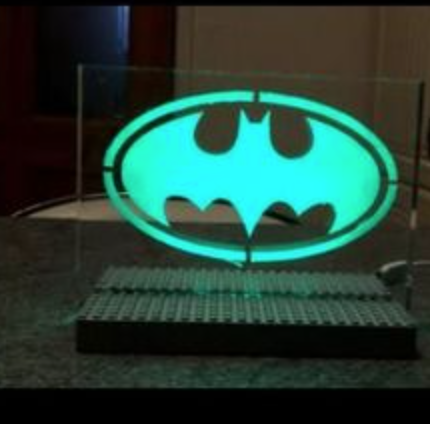
LED cube installation electric umbrella LED signal
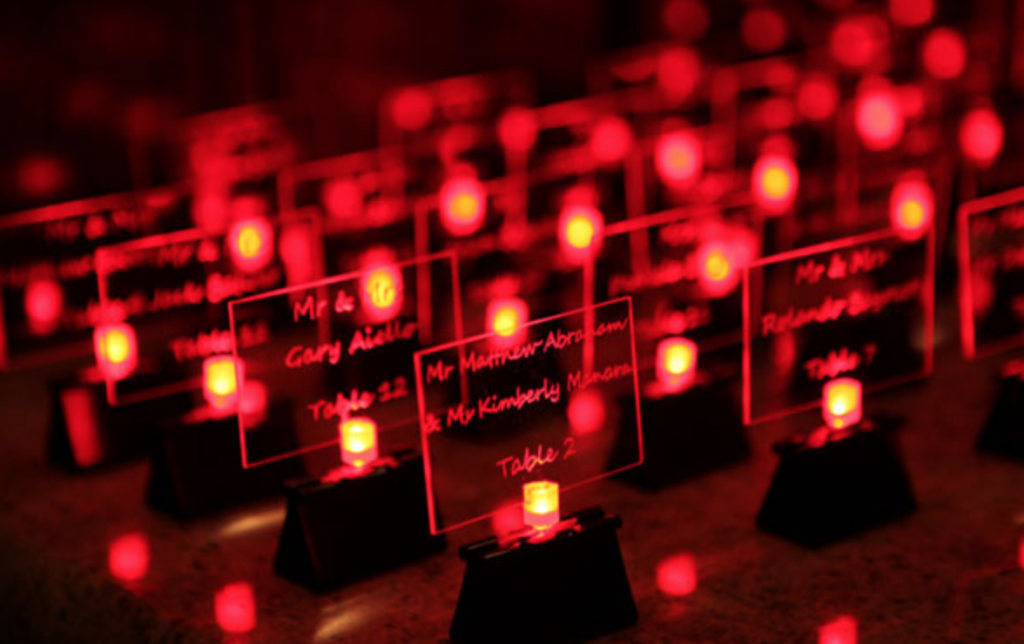
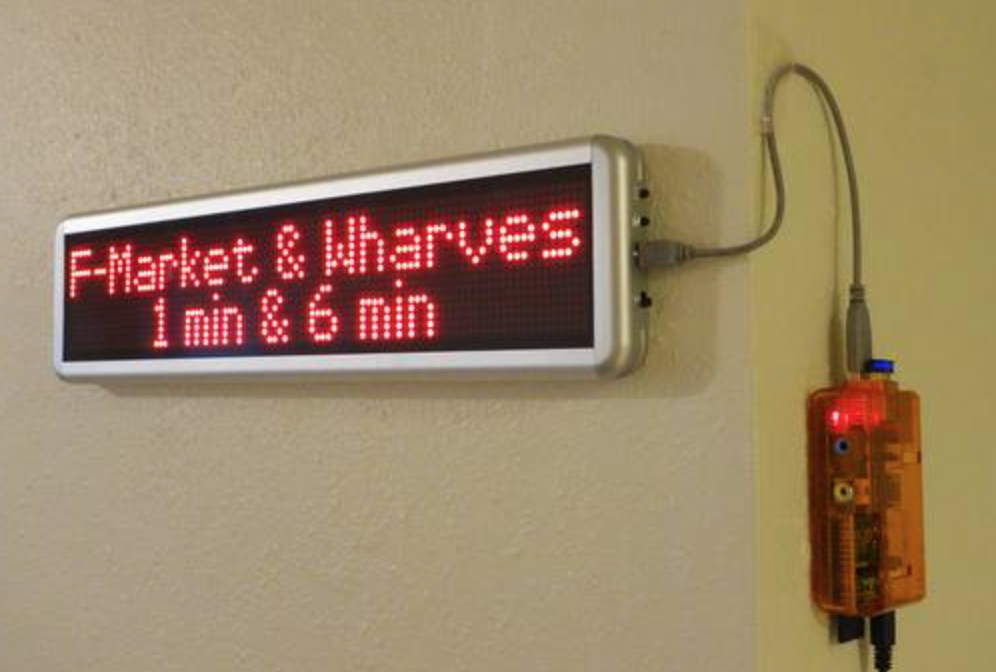
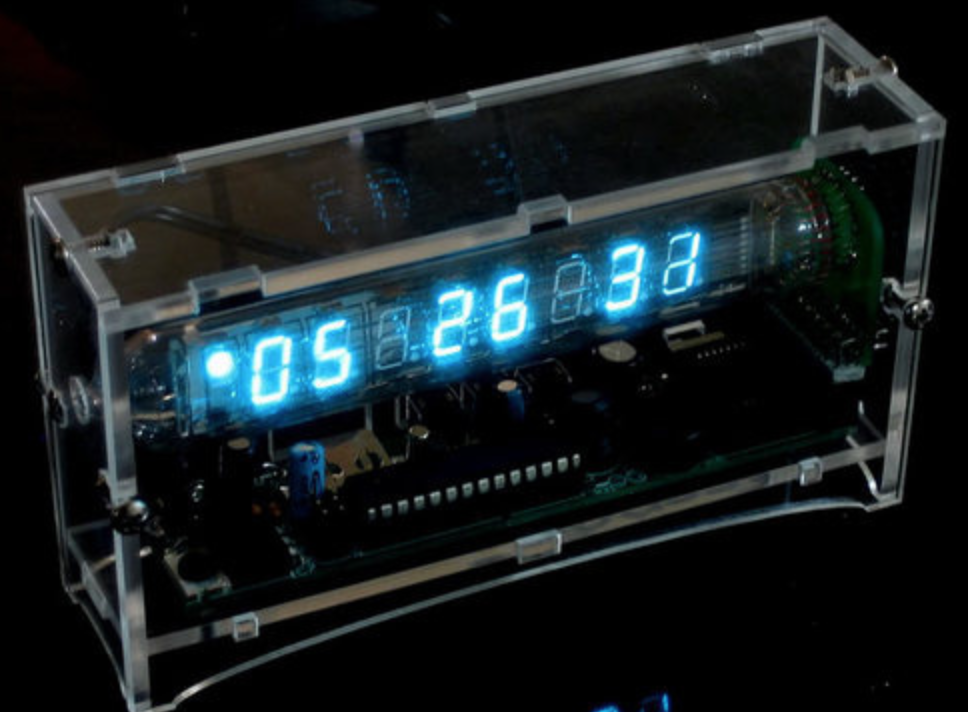
LED placeholders live bus times LED clock
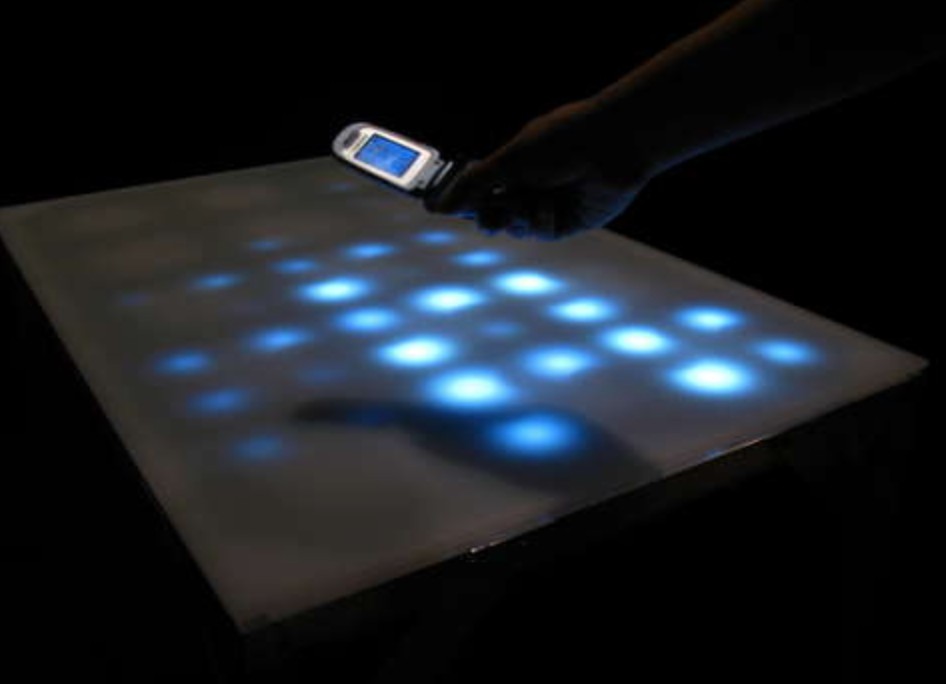
This is a favourite of mine- the LEDs light up when electromagnetic waves are detected.
Pingback: 5mg cialis over the counter at walmart
I like your external research and pictures of LED programmable projects. Good summary on safety tips and rough part of the workshop.
That sounds awesome! If you’re interested in making your own cube, theres tutorials all over the internet, and a great one here: http://www.instructables.com/id/LED-Cube-4x4x4/
I love the cube! There was a large scale one of those at Coachella a few years back that had different programs to create a beautiful light show. It would be really fun to make something like that.