
Laser cutting experimentation
Over the next few weeks i’ll be experimenting with laser cutting, arduinos, and programmed embroidery. My aim of these next few posts is to show you the lowdown and the basics, as well as my ideas, inspiration, and experimentation that stem from it.
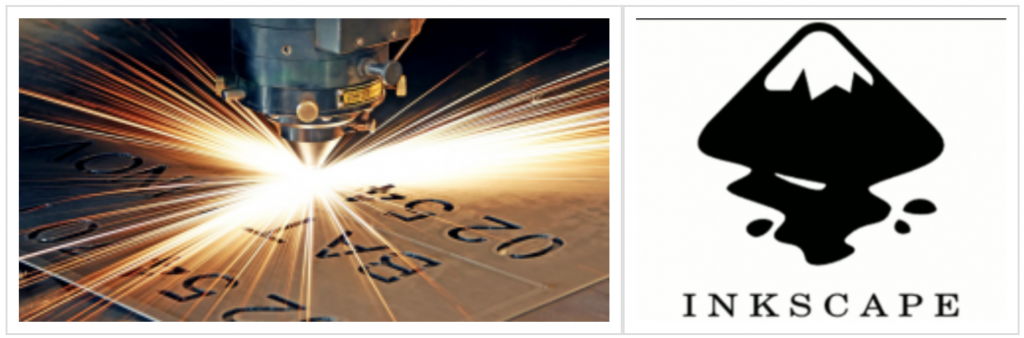
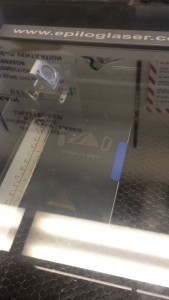
Laser cutting opens scope for many designs and creations. This is a resource available to me through the local Fab Lab. It is a simple manufacturing technique to use, and works though “cutting” or “rastering” on a panel of material. Rastering is the process of engraving and not cutting all the way through.
Intricate designs and patterns can be lasered onto a panel. Depending on the design colours, and the settings on the machine, different cuts and shades can be achieved.
Common materials to be laser cut are acrylic plastic, and wood. Other materials (such as metal) can also be laser cut, depending on the strength of the machine. Materials that give off poisonous gas emissions, or melt too much when under the heat of the laser, should not be laser cut (list of materials you can and can’t cut).
The general workflow process for creating a laser printed piece is:
- Insert the design/image/shape into a program called Inkscape. (Inkscape is an open source software tool used for image manipulation, download it here).
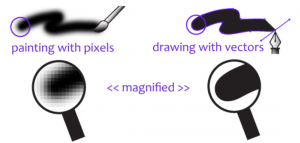
- Using Inkscape, convert the image into a vector graphic. Converting the bitmap image into a vector graphic allows things to be scaled up and down without pixilation (more on this).
- Use other tools in Inkscape if necessary to make adjustments to the image. For any line to be cut, the line thickness must be 0.001”. For the rastering, a darker shade of greyscale produces a stronger/deeper raster.
- When this has been saved to a PDF, it can then be printed on the laser cutter.
- Settings on the printer can be tuned and adjusted to ensure the laser cuts all the way through the material etc.
To practice the range of techniques that are possible from the laser cutter at the fab lab, I made these:
1) Laser rastered image onto paper (a notebook). Adjusting the gradient of the greyscale of the mountain in the bottom of the picture changed how deep the laser cut into it. Rastering any design, image or phrase onto a notebook is a really great way of creating personalised gifts and products, and so simple to do.
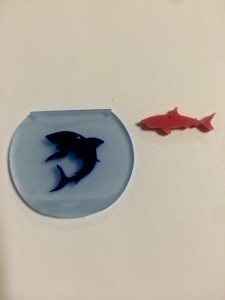
2) This acrylic pendant for a necklace utilises rastering and cutting. The outline of the shape is cut straight through, and the fishbowl detail is restored onto the surface. In Inkscape this is laid up from 2 images, with one doing the cut and another for the raster.
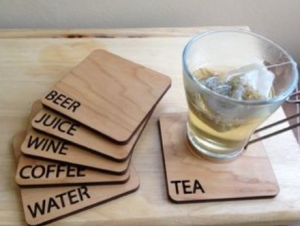
Fun products that can be made from laser cut panels, like these:
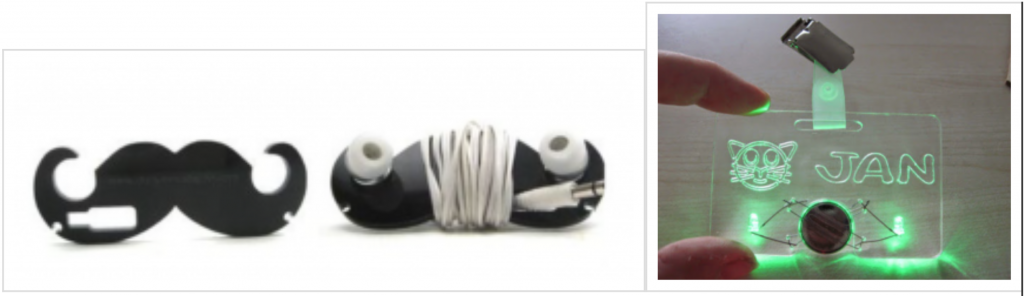
1) headphone tidy 2) rastered image illuminated by LEDs
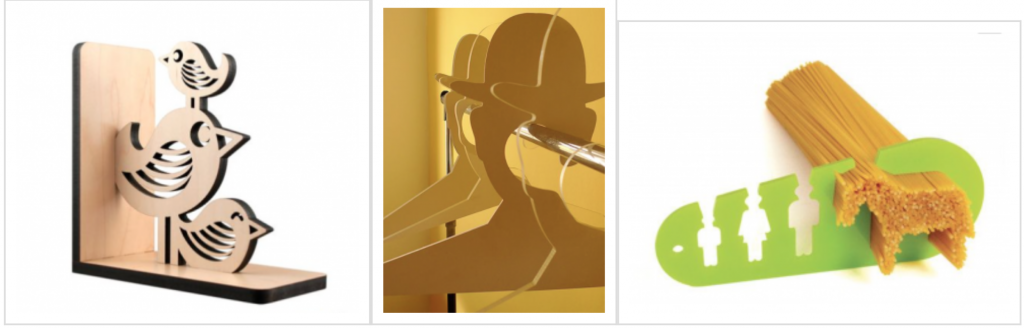
3) bookend 4) quirky coat hangers 5) spaghetti measurer
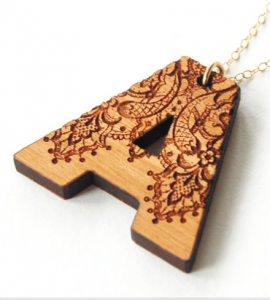
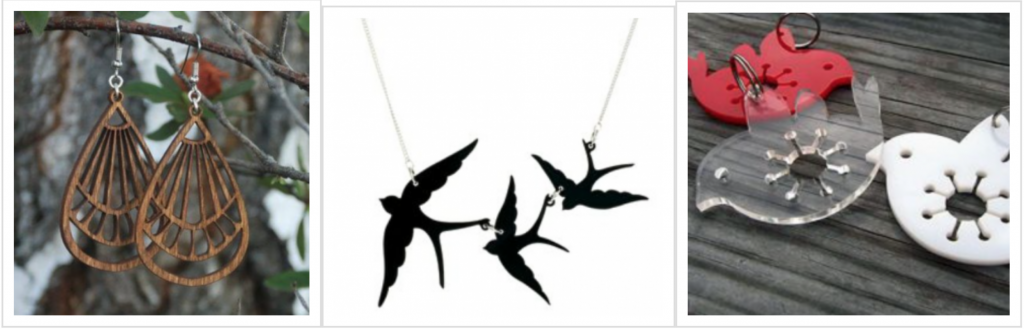
Jewellery is also a popular application of laser cutting, with many novel designs that can be created.
Most designs can all be laser cut into custom pieces
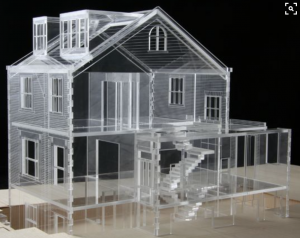
3D structures can be made from laser cut panels by designing interlocking patterns that can slot together.
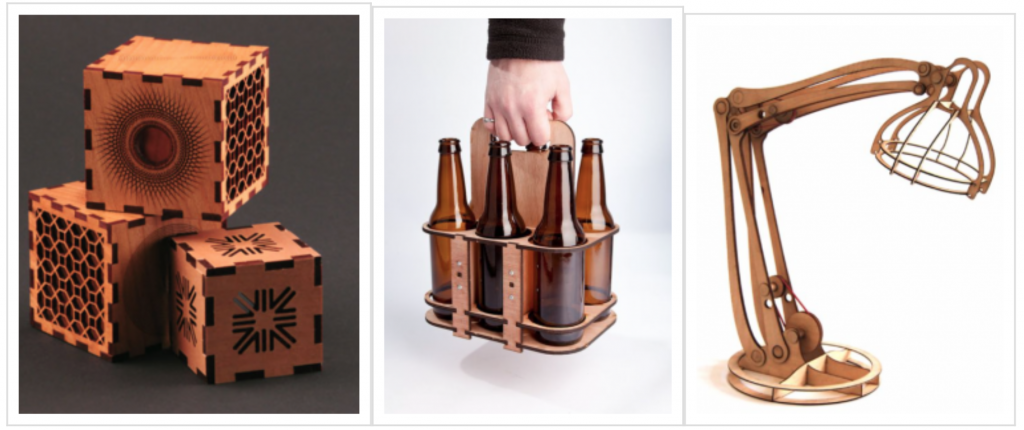
Aligning slots allows pieces to be joined together
Pingback: buy ivermectin 3mg online
Pingback: purchase stromectol