How to Encapsulate Time

An Educational Guide to Optimize the Preservation of Time Capsules

 by Dani Demmerle, Preservation Services Grad Assistant
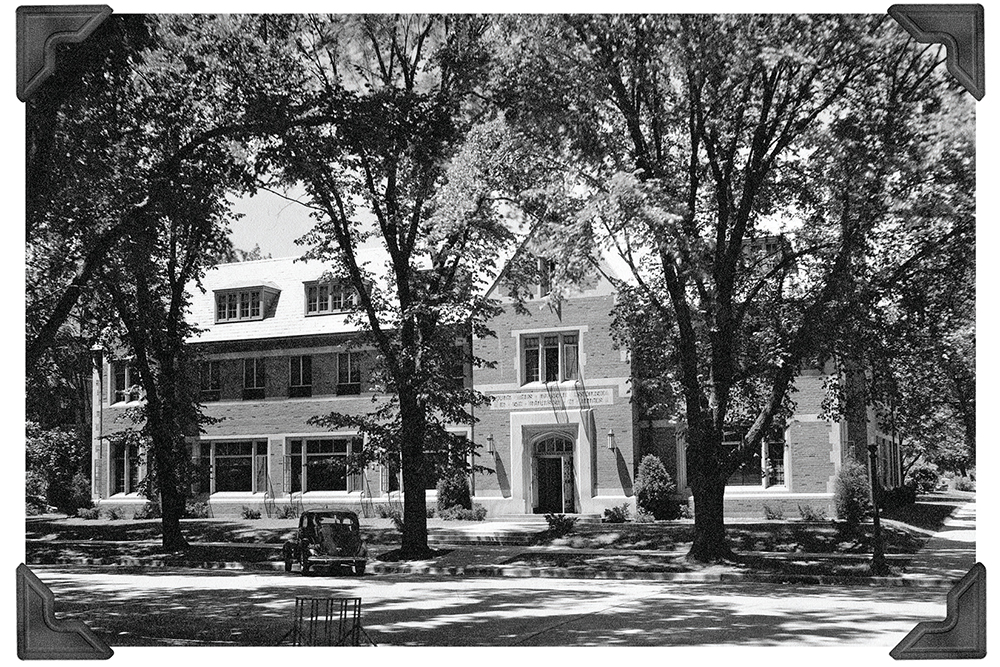
Image courtesy of University YMCA

To explain the depth of this story we need to take a step back in time. In 1873, the University YMCA was founded, and in 1907 a new building was built to function as the organization’s headquarters. That building was named Illini Hall. During construction of Illini Hall, a time capsule was hidden in the cornerstone.  

In February 2023 the demolition of Illini Hall was underway, beginning the plan for a new facility. During the building’s demolition, the time capsule was discovered inside the cornerstone. There were historical photos and documents that hinted at the possibility of a time capsule but there was no guarantee. 
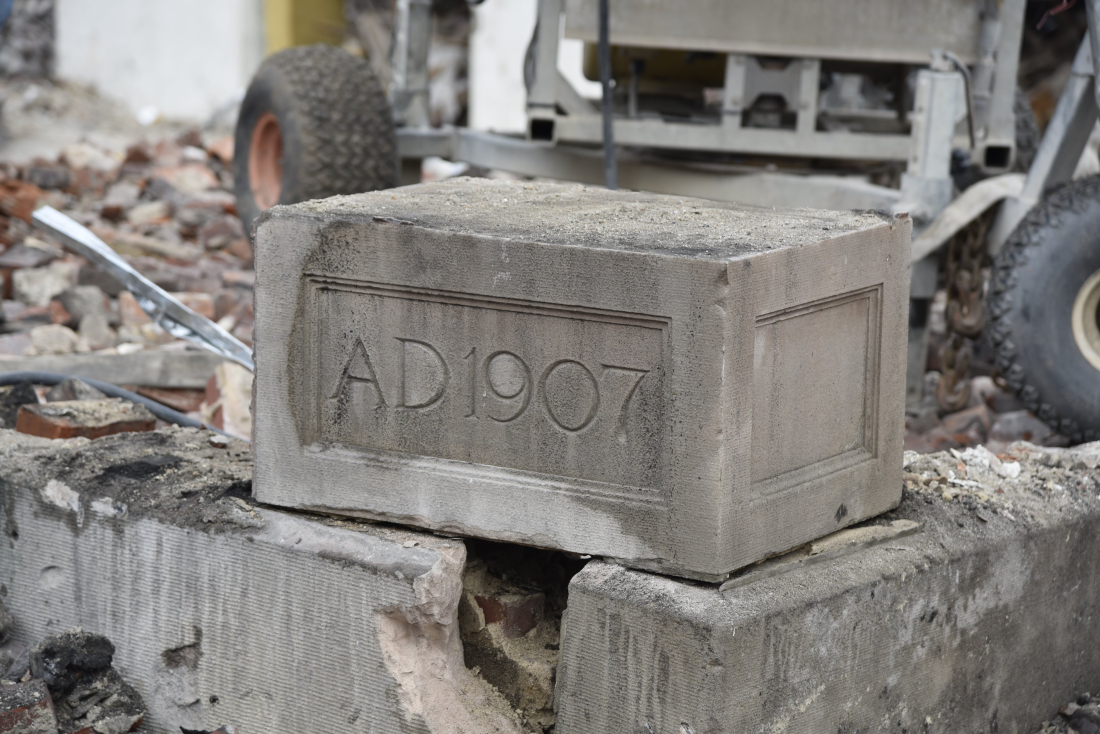
Image courtesy of WCIA

After the time capsule was discovered in February 2023, it was returned to the current YMCA Executive Director, Jim Hinterlong. The YMCA decided to hold off opening it until the fall of 2023 when the University YMCA would be celebrating its 150th anniversary. The time capsule was kept in a display case in the YMCA building, located at 1001 S Wright St.  

After unveiling the contents of the time capsule at the anniversary celebration, it was clear that professional attention would be needed.  Jennifer Hain Teper, Head of Preservation Services at the University Library, was contacted by Jim Hinterlong to assess the time capsule and its contents.   

What’s Inside 
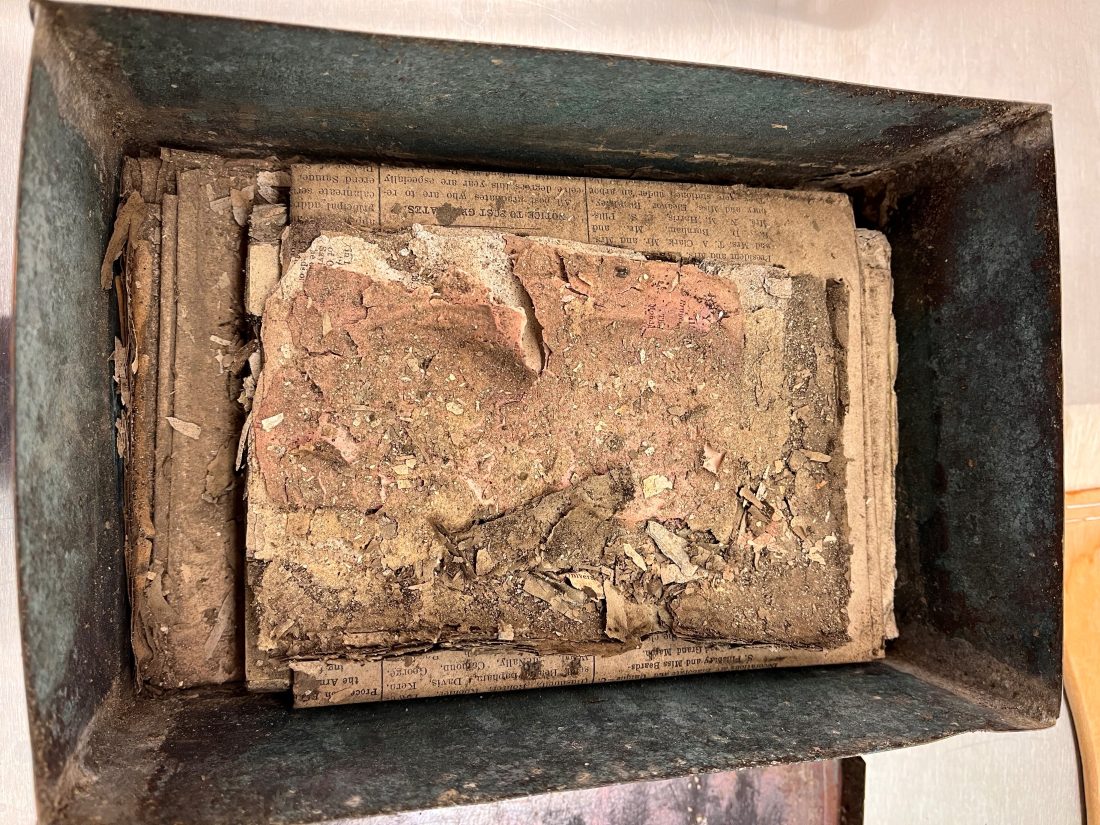
Image courtesy of UIUC Preservation Services

The time capsule itself was a heavy metal gauge box, possibly copper. Inside the metal box was a stack of paper-based materials. The materials on top of the stack were the most affected by age and elements. Fragmented into tiny pieces and incapable of being handled without more damage, the topmost material was unidentifiable. The remaining items were in far better condition, and able to be identified: 

  • YMCA annual Report of the General Secretary, ca. June 1907 
  • YMCA Founding Constitution, 1904 
  • The Illini, vol.36 [no.200], June 11, 1907  
  • University of Illinois Bulletin, vol.4 no.16, April 15, 1907 
  • The Champaign Daily Gazette, June 19, 1907 

Jennifer and her associate Shelby Strommer, the University Library’s Collection Care Coordinator, assessed the items. Overall, the contents of the time capsule were in good condition, considering the items were in a wall for 116 years with no control over fluctuating temperature and humidity. Jennifer and Shelby were impressed with the condition of the newspapers that were at the bottom of the stack. The paper itself was intact and able to be unfolded without breakage. Many of the other materials had become brittle with age and the fluctuating conditions they were exposed to, but the newspapers were the exception.  

It is difficult to speculate why the newspaper was in better condition compared to the other contents, but this is the magic of time capsules: you never know what will happen.  

Strangers to Neighbors  
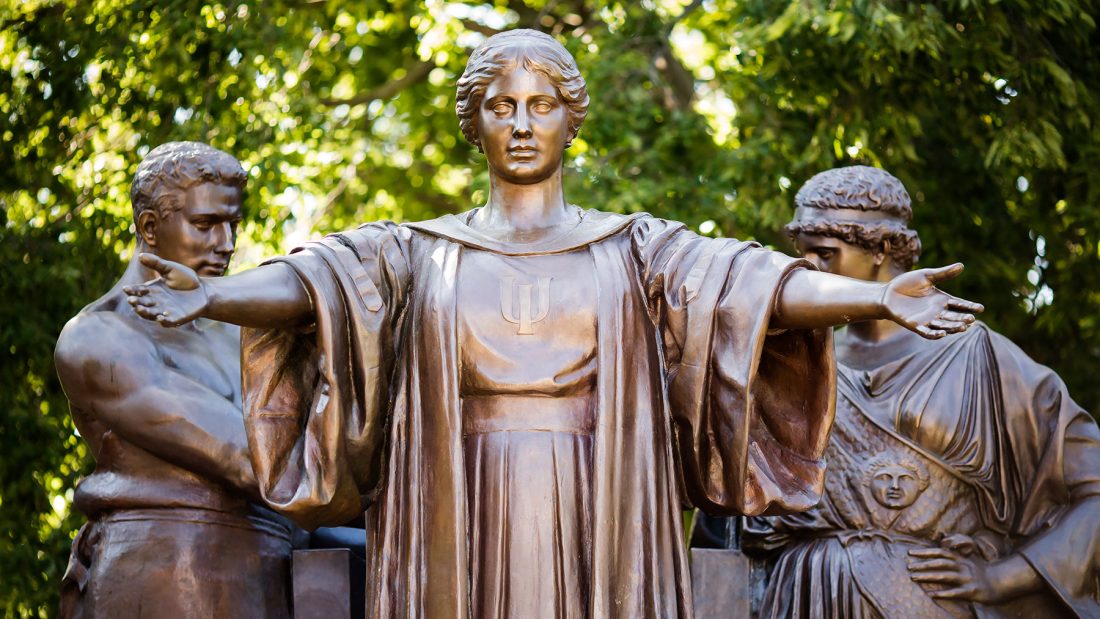
Image courtesy of University of Illinois Board of Trustees

More than ten years ago and just across the street from Illini Hall, less than 200 feet from where the time capsule was found, was another time capsule hidden inside the Alma Mater statue. This time capsule was removed in 2012 and replaced with a new one when it was discovered that the screw top glass jar used as the container exploded due to conditions it had been exposed to.  

The Alma Mater time capsule was placed in the statue back in the 1980s. Between then and 2012, a gap near the base of the statue was patched. The cast bronze statue has seams throughout it where it was pieced together. These seams are not airtight, and water and moisture can get it. Without the proper drainage the water is trapped inside, heating and cooling with the seasons. The glass jar inside was locked in these conditions and caused the glass to eventually shatter, exposing its contents to the elements inside the statue.  

The statue was removed in 2012 for conservation. When the statue was lifted away for transport, finding a time capsule, or what was left of it, was quite a surprise to Jennifer Hain Teper and Christa Deacy-Quinn, who were on the conservation project team. Since the glass jar time capsule was damaged, the University of Illinois Office of Public Affairs set a new one in its place. The new time capsule included a gold DVD, USB drive, UIUC t-shirt and the original items. A gold DVD was used since gold is one of the most inert, reflective elements on earth, which makes it perfect to resist the effects of temperature and humidity. These characteristics prevent oxidation, a common cause of failure for most DVDs. The items were sealed inside a stainless-steel preservation time capsule container. This container was made to be a time capsule and will do a better job of minimizing the impact of fluctuating temperature and humidity. 

The Alma Mater statue’s conservation project included regular maintenance to prevent it from needing to be sent away, so there is no guarantee the second capsule will be seen again.  

For 30 years these two time capsules were neighbors. With the discovery and removal of the YMCA time capsule, the time capsule in the Alma Mater statue is once again the only time capsule that we know about in the area.  

Treasure Chest
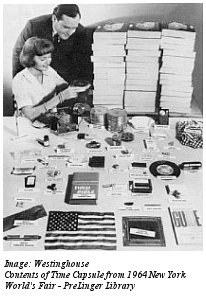
Image courtesy of ALA 

The success of a time capsule depends heavily on the quality of the enclosure. If an improper container is selected, then the contents of the time capsule are more susceptible to the environment around it. There are many materials that can be used for time capsules, but a highly recommended container is one made of high alloy stainless steel. Ideally, the container should be of seamless or welded construction with a screw top and gasket to ensure it is suitable for long-term burial. You can find high quality, waterproof time capsules online by searching for “professional grade time capsule.” Containers like glass jars are cheap and accessible time capsules but do not have insulating properties. If mishandled they can shatter, completely exposing the contents to the environment.  

Paper Doesn’t Get Claustrophobic

A common mistake in long-term storage of items, including time capsules, is that the contents are given too much room to breathe. Materials like paper that are hydroscopic absorb moisture from the environment and expand and shrink with changes in humidity. This causes the paper to warp and become brittle at an accelerated rate. Storing materials that are hydroscopic in snug, but not tight, containers can help reduce fluctuations in humidity, creating a more stable microclimate. 

To Seal or Not to Seal 

Next, let’s discuss sealing time capsules. If you have a professional grade time capsule, you might purchase a time capsule preservation kit to accompany it. These kits include desiccants, packs that absorb the moisture in the air to maintain a low humidity environment. You will often find them at the bottom of snack bags, because if too much moisture was introduced into a snack bag it would be trapped and cause mold to form. The same goes for time capsules, which is why sealing your time capsule can be tricky. If you seal your time capsule, make sure there is not excessive moisture in the container before sealing, and that the container itself is waterproof to avoid the formation of microclimates: 30 – 50% relative humidity is ideal. If you are using a box you have lying around, sealing it may not be the way to go. If moisture is introduced to a time capsule that is not sealed, then mold might not flourish since there is more air circulation. This is not a guarantee, and it is a tricky line to walk but factors such as these can make all the difference.  

Location, Location, Location

When building a time capsule, so many decisions are made based on protecting the contents from the outside world and the degrading effects of time. The location you pick is one of the biggest decisions in this process. Many hide time capsules away where they won’t be disturbed, but even if the item is mortared into the walls of a building or welded inside a bronze statue, things can go wrong. Sometimes not having control over the space the time capsule is stored in can be its demise. But the mystery of locking it away is part of the fun too. If you are interested in burying your time capsule, in most areas a depth of 18 to 24 inches should suffice. This is the area between the top of the time capsule and the ground level. You want it to be deep enough down in the ground to get a stable temperature. 

Extra Help 

If you are looking for extra help with your time capsule, there are time capsule preservation kits available online to better protect the contents from the inside. Kits include archival-quality paper (which may be buffered to slow the creation of acids) envelopes, folders, or boxes; uncoated PET zipper bags; or glass or stable plastic vials with screw-top lids. It is recommended that the time capsule’s contents are put into these containers individually or grouped with like items. Desiccants, as mentioned above, will help with moisture control. Desiccant packs usually last 1-3 years depending on the size.  

Last Thoughts

Everything covered in this article depends on you. This is your time capsule, and it will be up to you to decide what your motivations are for it. Is your goal to make a highly secure modern time capsule that will protect the contents? Then purchase a professional grade time capsule and preservation kit. Or are you looking to make memories with loved ones, and you are more interested in the fun that comes with the journey? Then a shoe box might just be the capsule for you. Time capsules are an excellent way to capture time in material form to be unveiled in the future. Although there are plenty of resources today for optimal time capsule success, there have been many century-old time capsules that have endured the tests of time despite the conditions and factors working against them.  
General Collections Book Repairs

By Anneka Vetter, General Collections Hourly

Note: Click on any image to enlarge.

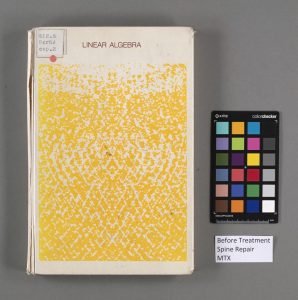
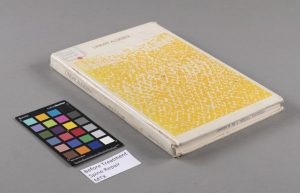
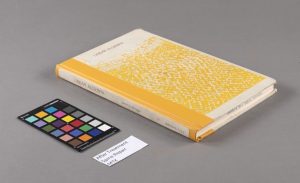
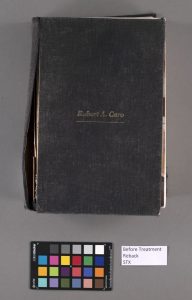
In library conservation we come across our fair share of beautiful books, historic letters, and unique objects all in need of treatment and tender care. We also have a regular influx of common, mass-produced books: textbooks, reference books, literature, and everything in between. While these books may seem less important than many of our special or rare collections materials, they serve an important function to the university as the most circulated items. These are the books handled by hundreds of students and professors over the years, taken down from the stacks, stuffed into backpacks, perhaps accidentally dropped a few times, eventually worn thin and broken from use. Since these book repairs make up a regular part of our daily operations in the lab we thought it only appropriate to introduce this basic workflow.  

As highly circulating materials, our ultimate goal for general collections books is to withstand being handled by many hands over many years, and that changes what materials and processes we use to make repairs. Function comes first and aesthetics second. While we take care to make our repairs blend in to the original design as seamlessly as possible, we don’t spend very much time on perfectly matching every new material and color to the original. Medium Rare and Special Collections conservation treatments, in contrast, are far more detail oriented and carefully consider every aesthetic and material aspect of the treatment. On the other extreme, the local bindery, where we send a fair amount of books, chops off spines and replace most of the original material except the textblock (check out our previous post about bindery options for more info). Our general collections workflow is the happy medium: we stabilize and repair while still considering aesthetics and keeping as much of the original book as possible, while also working quickly. For reference, medium rare and special collections book binding can take weeks to complete; in general collections most repairs take about an hour.  

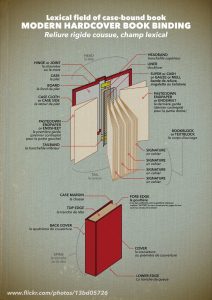
So today’s blog post will introduce our most common general collections repairs. But first, let’s start with Book Anatomy 101. What most people consider the “book” is actually the textblock, containing all the writing and pertinent information being communicated to the reader. The binding of the book is how the pages are kept together, they can be glued or sewn together, and there are hundreds of bindings styles and variations. The rest of the structure, the case, is simply protecting the textblock and helping to make it functional.  The case is the outside covering made up of boards and bookcloth (or sometimes leather, paper, parchment, etc). To attach the textblock to the case there is the internal structure: supercloth (gauze in the diagram), cords sometimes, and spine lining material to reinforce the binding.

Fig. 1 Modern Hardcover Book Binding

In conservation we do everything from fixing tiny tears to completely rebuilding the case. Every book has different needs, we often combine multiple repair types to fit the book’s needs, but the damage generally falls into the following categories: torn bookcloth, loose or torn supercloth, damaged boards, and broken bindings. Our most common repairs, from least invasive to most, include cover repair (repairing small tears in the bookcloth), reback (replacing damaged bookcloth on the spine), reback with boards detached (replacing damaged bookcloth on the spine AND repairing the supercloth internally), recase (repairing supercloth internally but keeping the original bookcloth), and creating a new case (replacing the boards and all of the bookcloth). If this is starting to sound too technical, don’t worry, we’ve got great pictures! For example, Fig. 1 provides a visual showing the structure of a hardcover book.

Cover repair

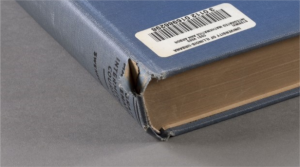
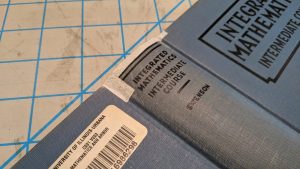
These repairs are pretty obvious: there are small tears in the cover materials, but not enough to warrant replacing the bookcloth. These are easy to fix externally: tears are reinforced with tissue and then toned (colored) to match the original cover material. We also help consolidate and strengthen any soft corners or loose pieces of bookcloth, although, spoiler alert: the outside corners are soft on almost every single book we ever get in the lab.

Fig. 2 Before: the cover is torn! Oh no!

Fig. 3 During: repair tissue is applied.


Fig. 4 After: the tissue is now toned to match the bookcloth.

reback with boards attached

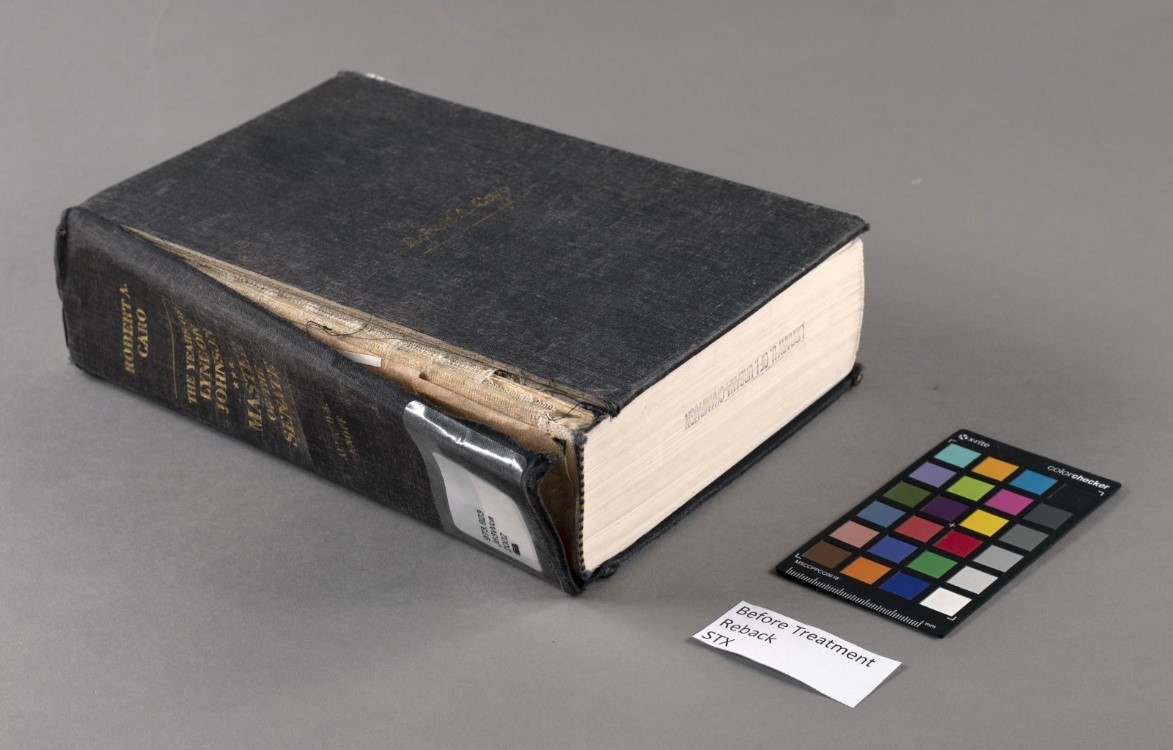
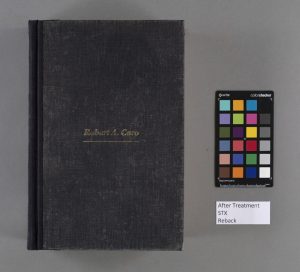
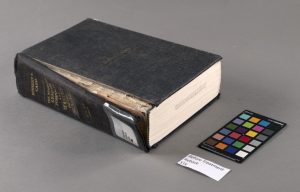
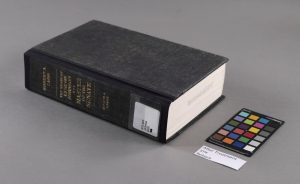
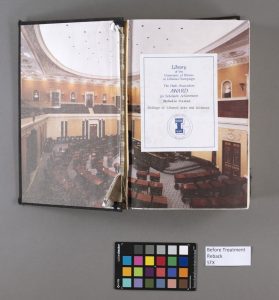
These books show more significant damage to the cover material, mostly along the hinge, but the boards and hinge and supercloth underneath are still stable. Often the difference between a book needing cover repair vs a spine repair is the degree of the damage. On these repairs (Figs. 5, 6, and 7), we replace the cover material around the entire spine, but preserving as much of the original materials as possible. 

Fig. 5 Before: the bookcloth is torn at the spine.

Fig. 6 Before: another view of the spine bookcloth detaching.

Fig. 7 After: We’ve replaced the bookcloth around the spine, using a bright and cheery coordinating color.

reback with boards detached

Here we go a layer deeper: these generally have a damaged internal structure, for example the supercloth or hinge is torn in addition to the cover material (Figs. 8 and 10). We detach the boards, strip down the textblock to the spine, and rebuild with new supercloth and bookcloth on the spine.   

Fig. 8 Before: the cover is torn at the spine.

Fig. 9 After: replaced the bookcoth around the spine.


Fig. 10 Before: another view of the spine damage.

Fig. 11 After: the spine fixed and decorative label saved.

Fig. 12 Before: the hinge and supercloth is torn on the inside.

Fig. 13 After: we’ve replaced the supercloth and managed to save the decorative endsheets and book plate.

recase

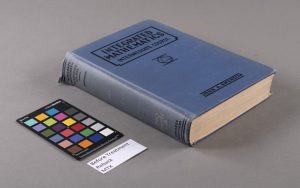
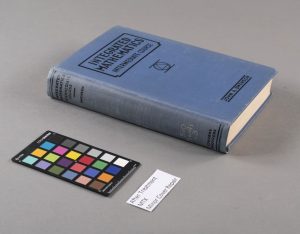
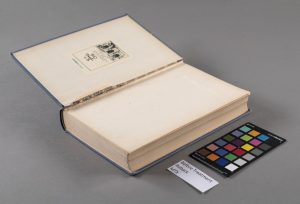
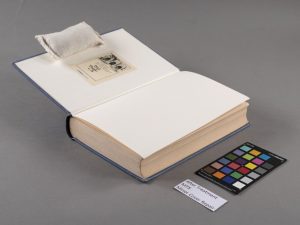
On these books the cover material looks great, no tears! So what’s the problem? Upon opening the book, the internal hinge is broken and the textblock has become separated (Fig. 16). Thus, we detach the cover, replace the supercloth underneath, and “re-case” it in the original cover. 

Fig. 14 Before: the case is in good shape (although there is a small tear at the top we fixed, earlier shown in cover repair).

Fig. 15 After: we were able to save the whole case!

Fig. 16 Before: while the bookcloth and case is fine, here we see the internal damage and torn supercloth.

Fig. 17 After: we’ve replaced the supercloth and endsheets!

Double Fan Adhesive Bindings(DFA)

We’re headed to the guillotine! Time to free the books, off with the spines! This repair type is an adhesive binding rather than a sewn binding. This repair is most often done on books that were originally bound this way and have “cracked” or broken. Books in this state often go to the bindery, however if the paper is too brittle or there are portions of the cover to be retained we repair them in the lab.  This repair removes the cover and chops off the spine of the book, so that the entire textblock is now unbound, flat pages.  The pages are then glued together by “fanning” the pages out one way to apply glue to the right edge, then fanning to the other direction to apply to the left, thus the name “double fan” adhesive. Because this repair chops off a bit of the spine, it changes the original size of the book and an old case would no longer fit. Therefore, these repairs are finished by creating a new case. 

Fig. 18 Before: This binding was broken into multiple separated blocks.

Fig. 19 After: The pages are now bound together! This is after the DFA, but before being put into a new case.

Fig. 20 After: the DFA binding is open, showing how well the textblock stays together!

New case

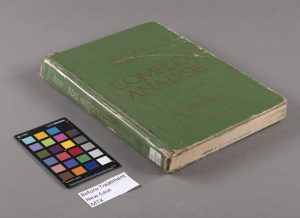
These books are often the most damaged (or in the case of the DFA, simply need a new case to fit their changed shape). The book in figure 21 is a great example: the cover material is torn, the edges of the boards are frayed and soft, the boards are detached, packing tape has been used to keep pieces together, ultimately there is so much damage it isn’t worth saving very much on them. Thus, we replace everything around the textblock and build a new case! Figures 22 and 23 show the new case from the previous DFA repair.

Fig. 21 Before: damaged spine being held together with packing tape, scratched cover, board edges worn away.

Fig. 22 Before: broken binding, and the case has boards that are warped and will not fit the new DFA binding.

Fig. 23 After: new case made and the decorative cover and label was saved.

Miscellaneous repairs

Internal hinges, sewing, and tip ins, oh my! Is there a book that technically looks fine, doesn’t have any tears, but just seems loose? We can tighten up the hinges without taking it apart completely and help it live a long and fulfilling life in the stacks. Pages missing or falling out? We can put them back in the right place. We also spot sew, or fully re-sew books where the actual structure is compromised.  

While this post shows a range of what we can do, one of the underappreciated benefits of the general collections workflow is that it provides training for our hourlies! Because we have a much higher volume of these books and they are cheap, in comparison to medium rare and special collections, they provide great practice materials. Our department specifically prioritizes education and training for future conservators, and this is where many of our graduate students and assistants from the iSchool, academic hourlies, undergraduate students, and volunteers begin their work in the lab. Our workers are able to learn basic bookbinding principles, the structure of various binding styles, types of adhesives and when to use them, how to prepare a myriad of materials from bookcloth to paper and board, and countless other skills. The general collections workflow not only gives books longer lives for the university to use, but also allows our department to give back to the university community by providing jobs and assistantships and passing on the craft of bookbinding on low risk materials. 


References 

https://bookprinting.com/resources/parts-of-a-book 

https://www.flickr.com/photos/13bd05726/32549033180