The Perfect Prototype

The Digital Making course of Spring 2015 was somewhat of a prototype in its own way. It made its appearance, and it was our job as a class to work out the kinks and create a final product that works for many semesters to come. What miraculously occurred, which never happens, was the perfect prototype.

It started with a group of students. All of us coming from different backgrounds- journalism, business, accounting, art, supply chain, you name it. All of us with goals to “make”. We were thrown into a room full of software, supplies, and 3D printers, and the craziest thing happened- we learned how to use them. We came together with Beckman, the FabLab, the AutoDesk crew, and the MakerLab to learn everything we could about what’s available. We learned about using Fusion 360, the laser cutter, and everything in between.

I felt like I had a solid understanding of most of these things, such as CAD programs and digital making devices, but the digital making course taught me to apply them.

Fusion 360: 

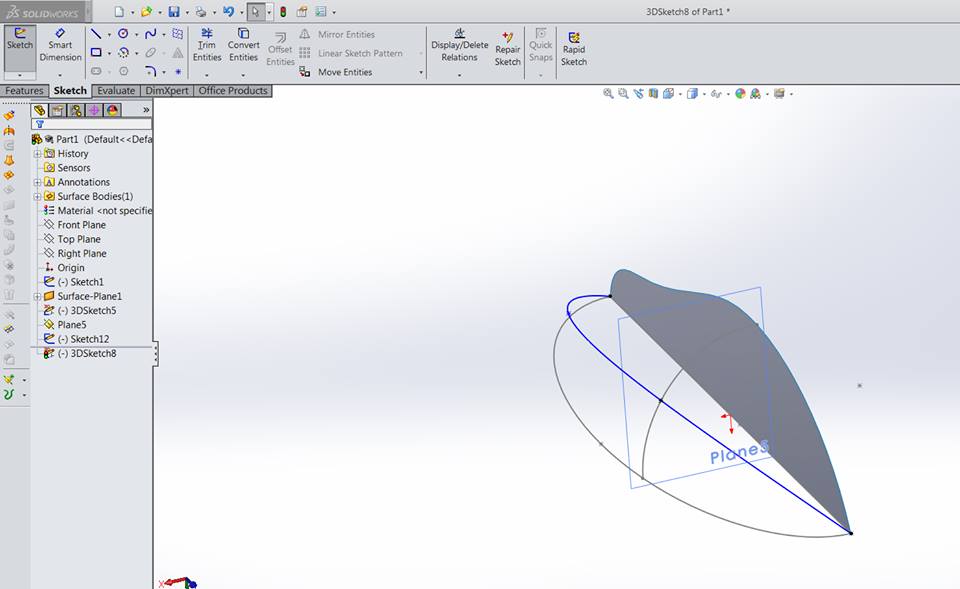
I fell in love with this program. It was so easy to use and create shapes that would be nearly impossibleScreen Shot 2015-05-13 at 3.25.13 PM 
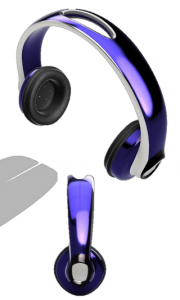
on programs like SolidWorks. After really playing with it, I found myself telling more and more of my classmates in the industrial design program how great Fusion was (as we all had to suffer through learning SolidWorks this semester) and I picked up a huge interest in creating a program to teach newcomers how to use Fusion.

Originally, I planned to work with the MakerLab for this program. Throughout the semester, this sort of fell through. However, I was put in contact with the MakerGirl group on campus. This summer they’ve presented me with the opportunity to work with their program. After speaking with Julia, the leader and commander of the group, I pitched my Fusion workshop idea to her and it sounds like something that may get integrated into this summer’s program!

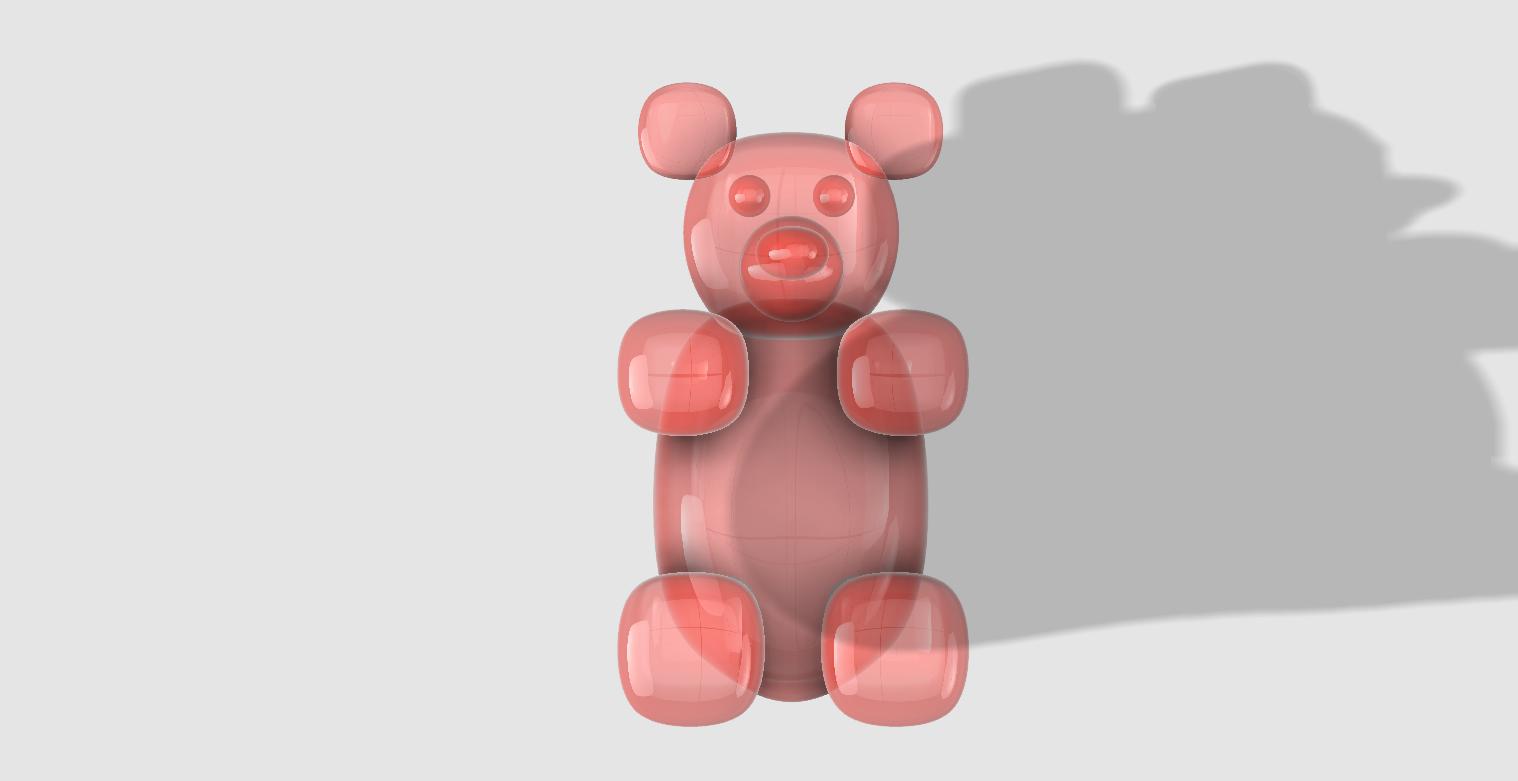
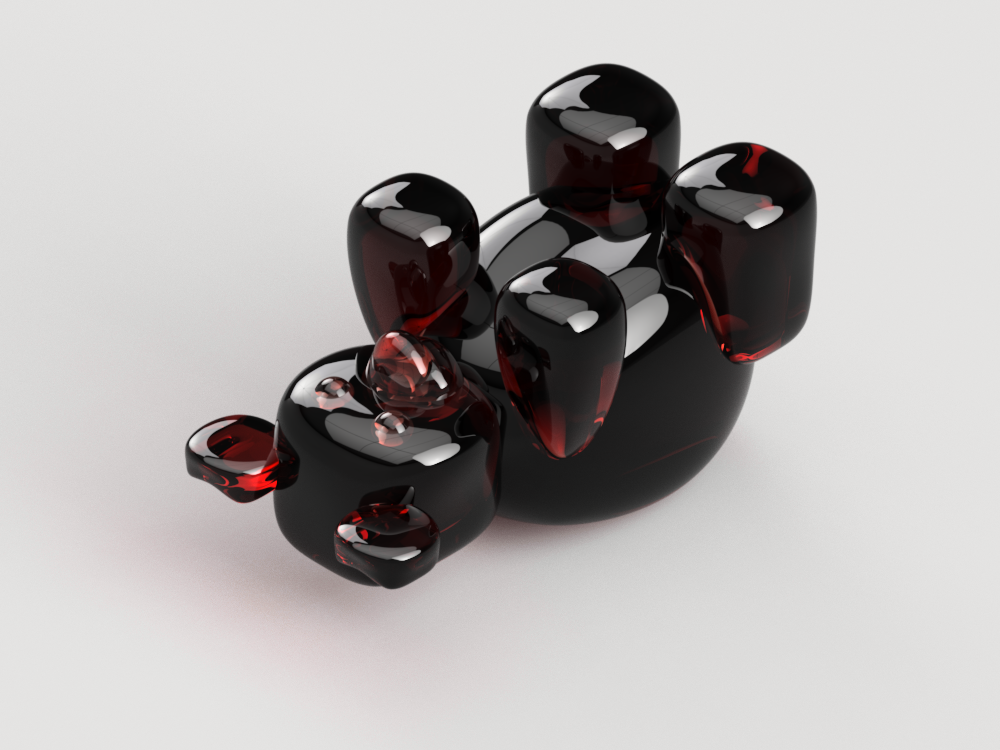
My workshop will teach girls that have been through the MakerGirl programs to use Fusion, and create a gummy bear. Where’d this idea come from, you ask? I was eating gummy bears. The gummy bear is a very basic shape to create that integrateGummy BearGummy Bear 2
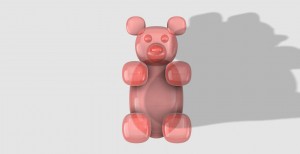
s the use of basic tools, and highlights the organic capacity of the program. In the end, they’d be able to print their creation, add a loop to the top, and put their bears on a keychain. If this proves to be a success, I would love to go forth next year and continue to develop the workshop for students coming into the MakerLab.

I will continue to work with MakerGirl over the summer to develop and create new ideas for programs that integrate what I’ve learned from my background in design, as well as Digital Making to teach girls ages 9-14 about digital creation.

The Make-a-thon:

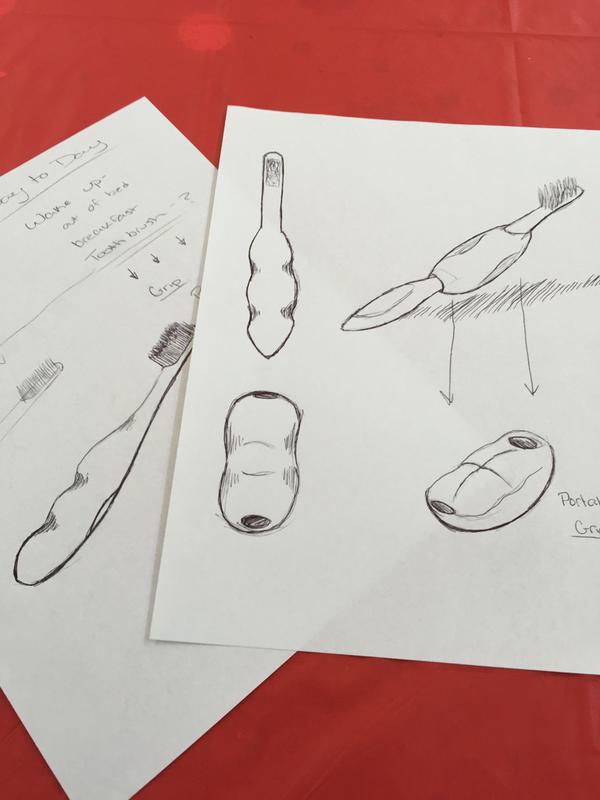
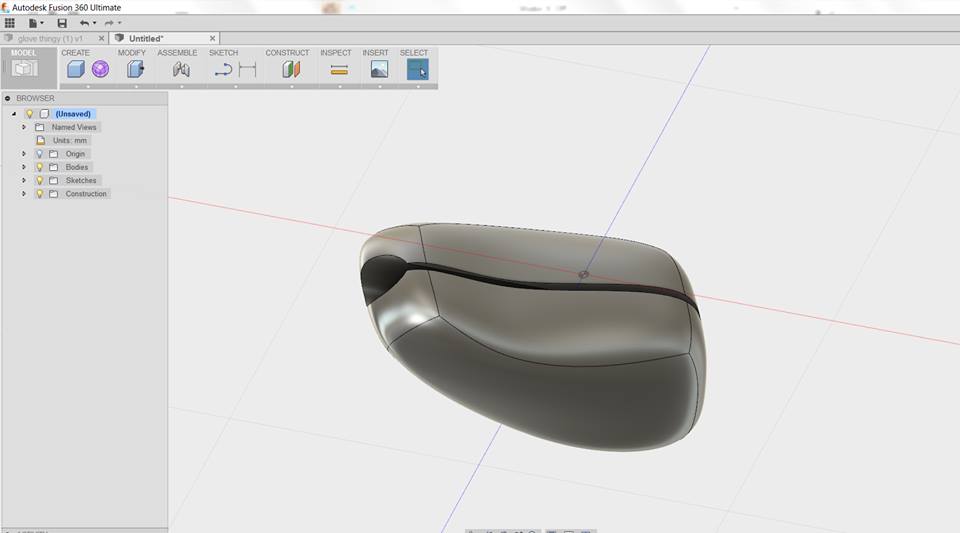
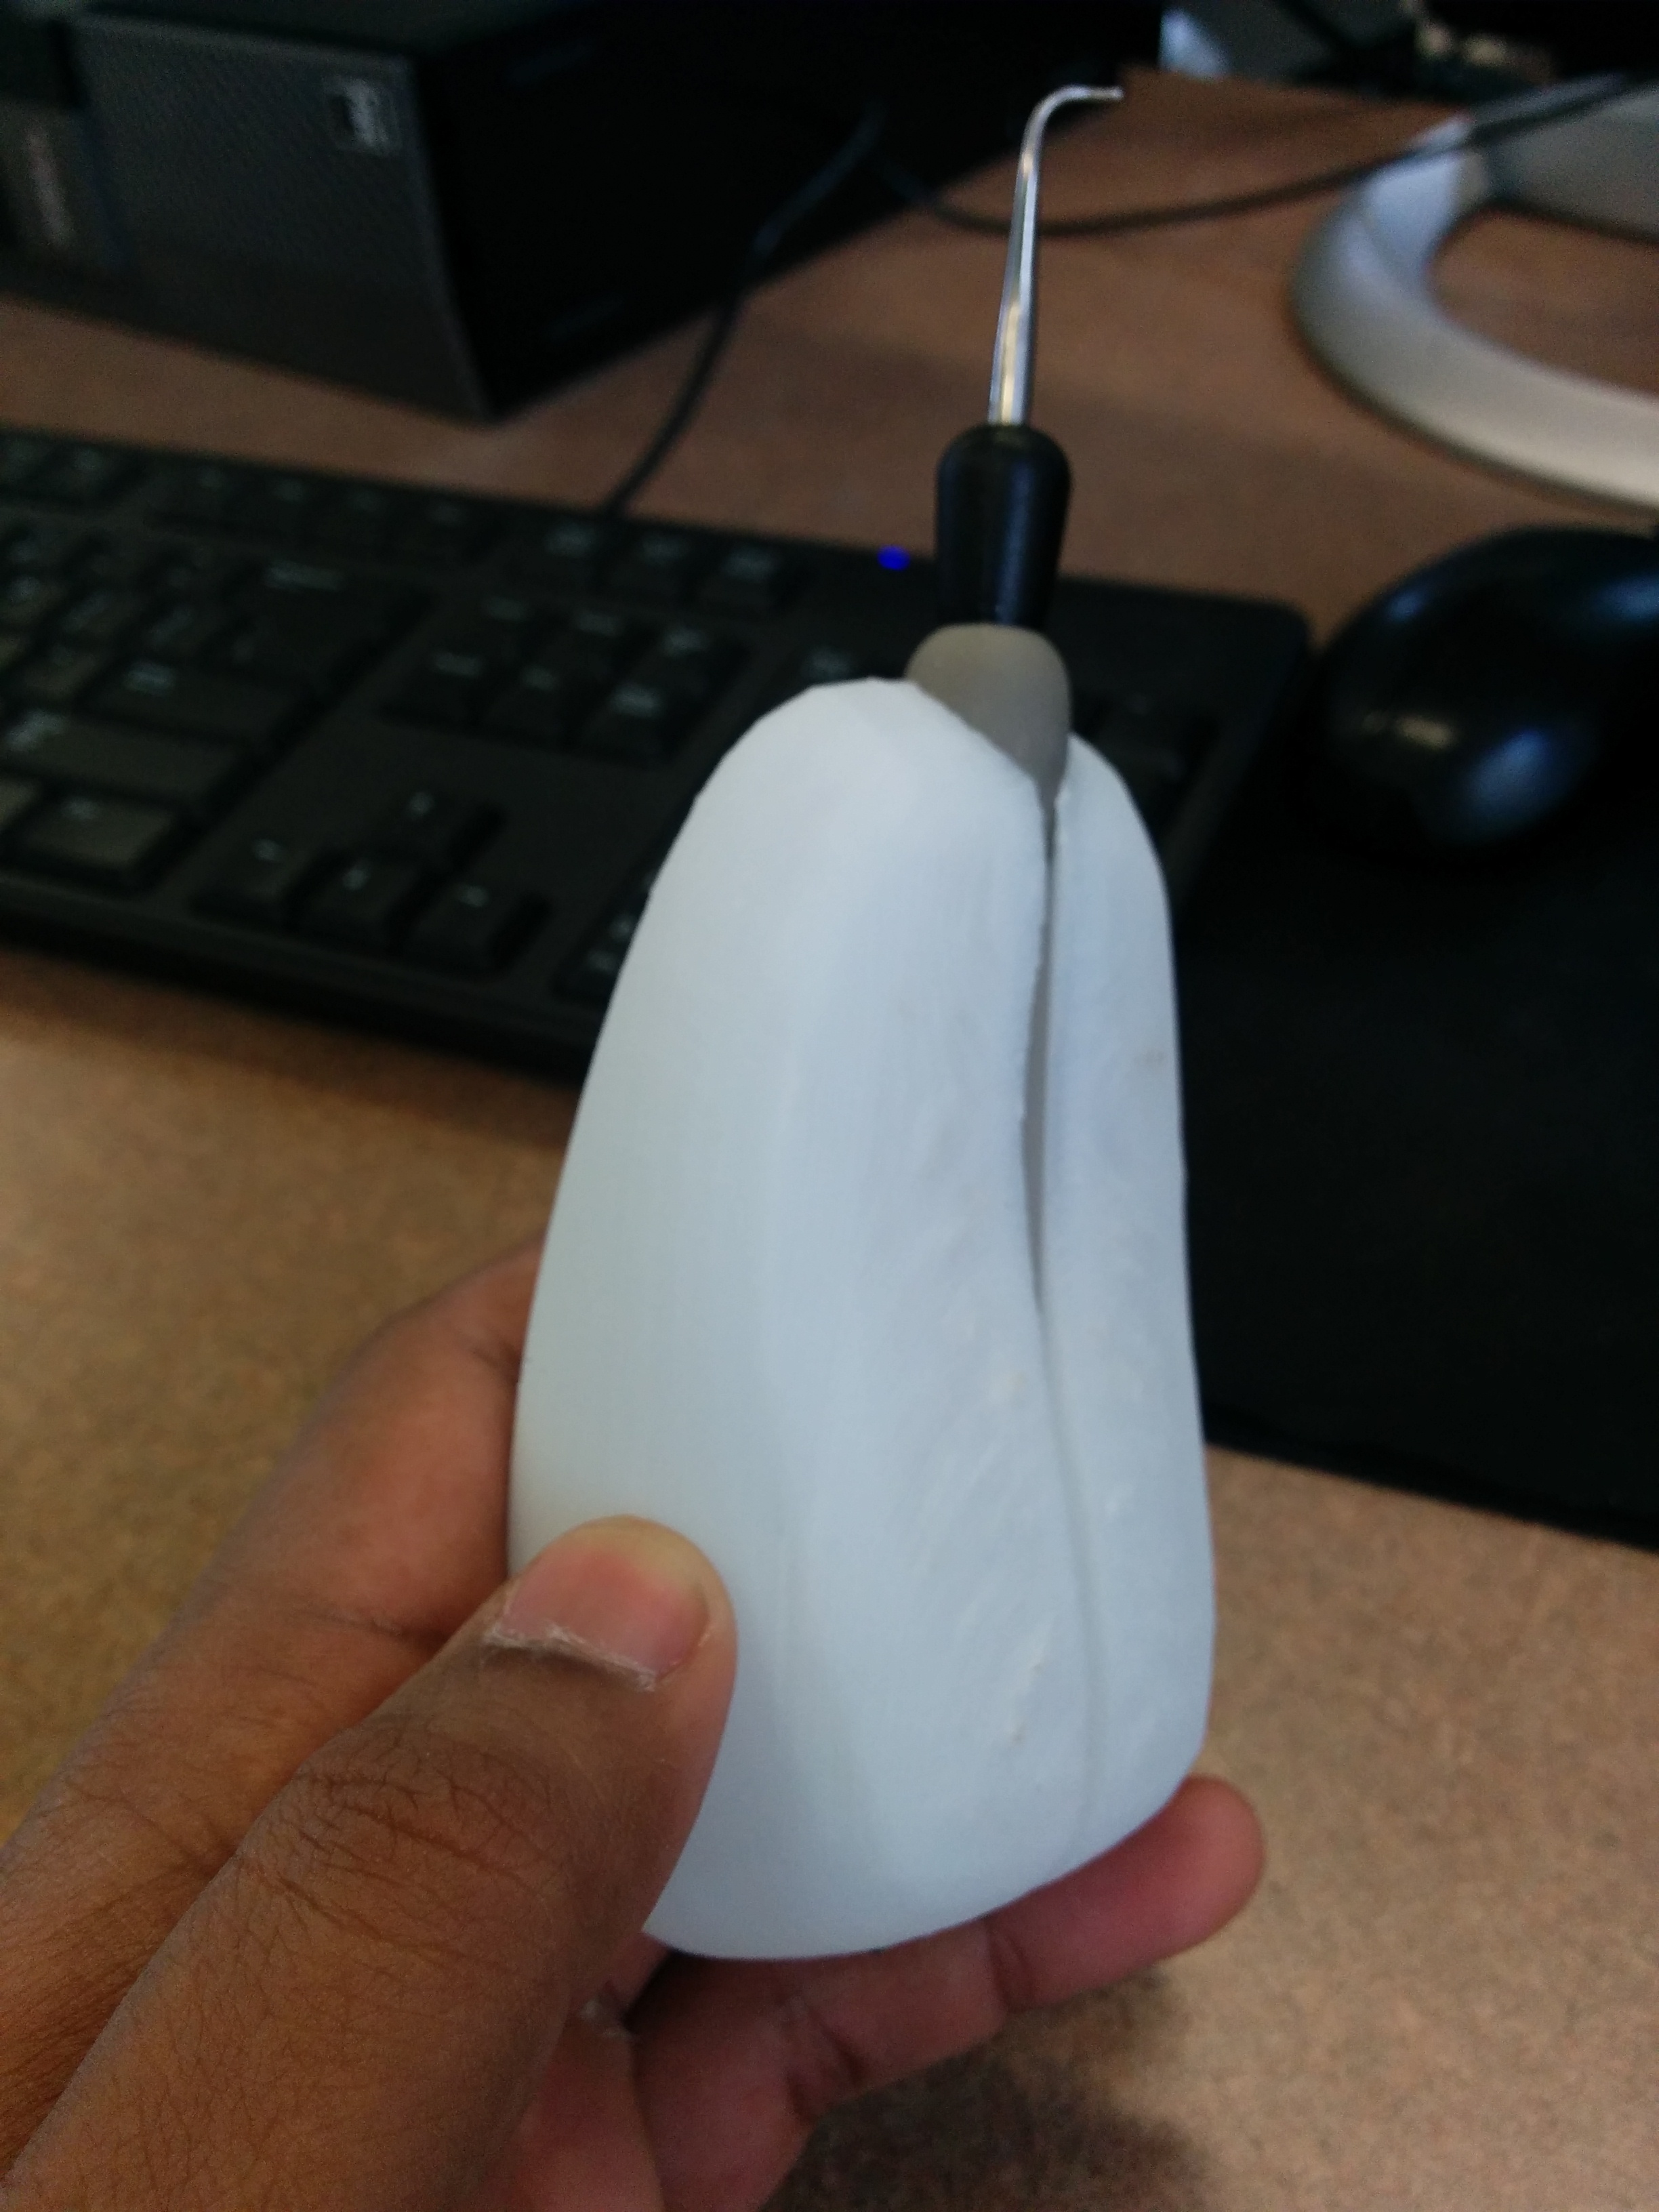
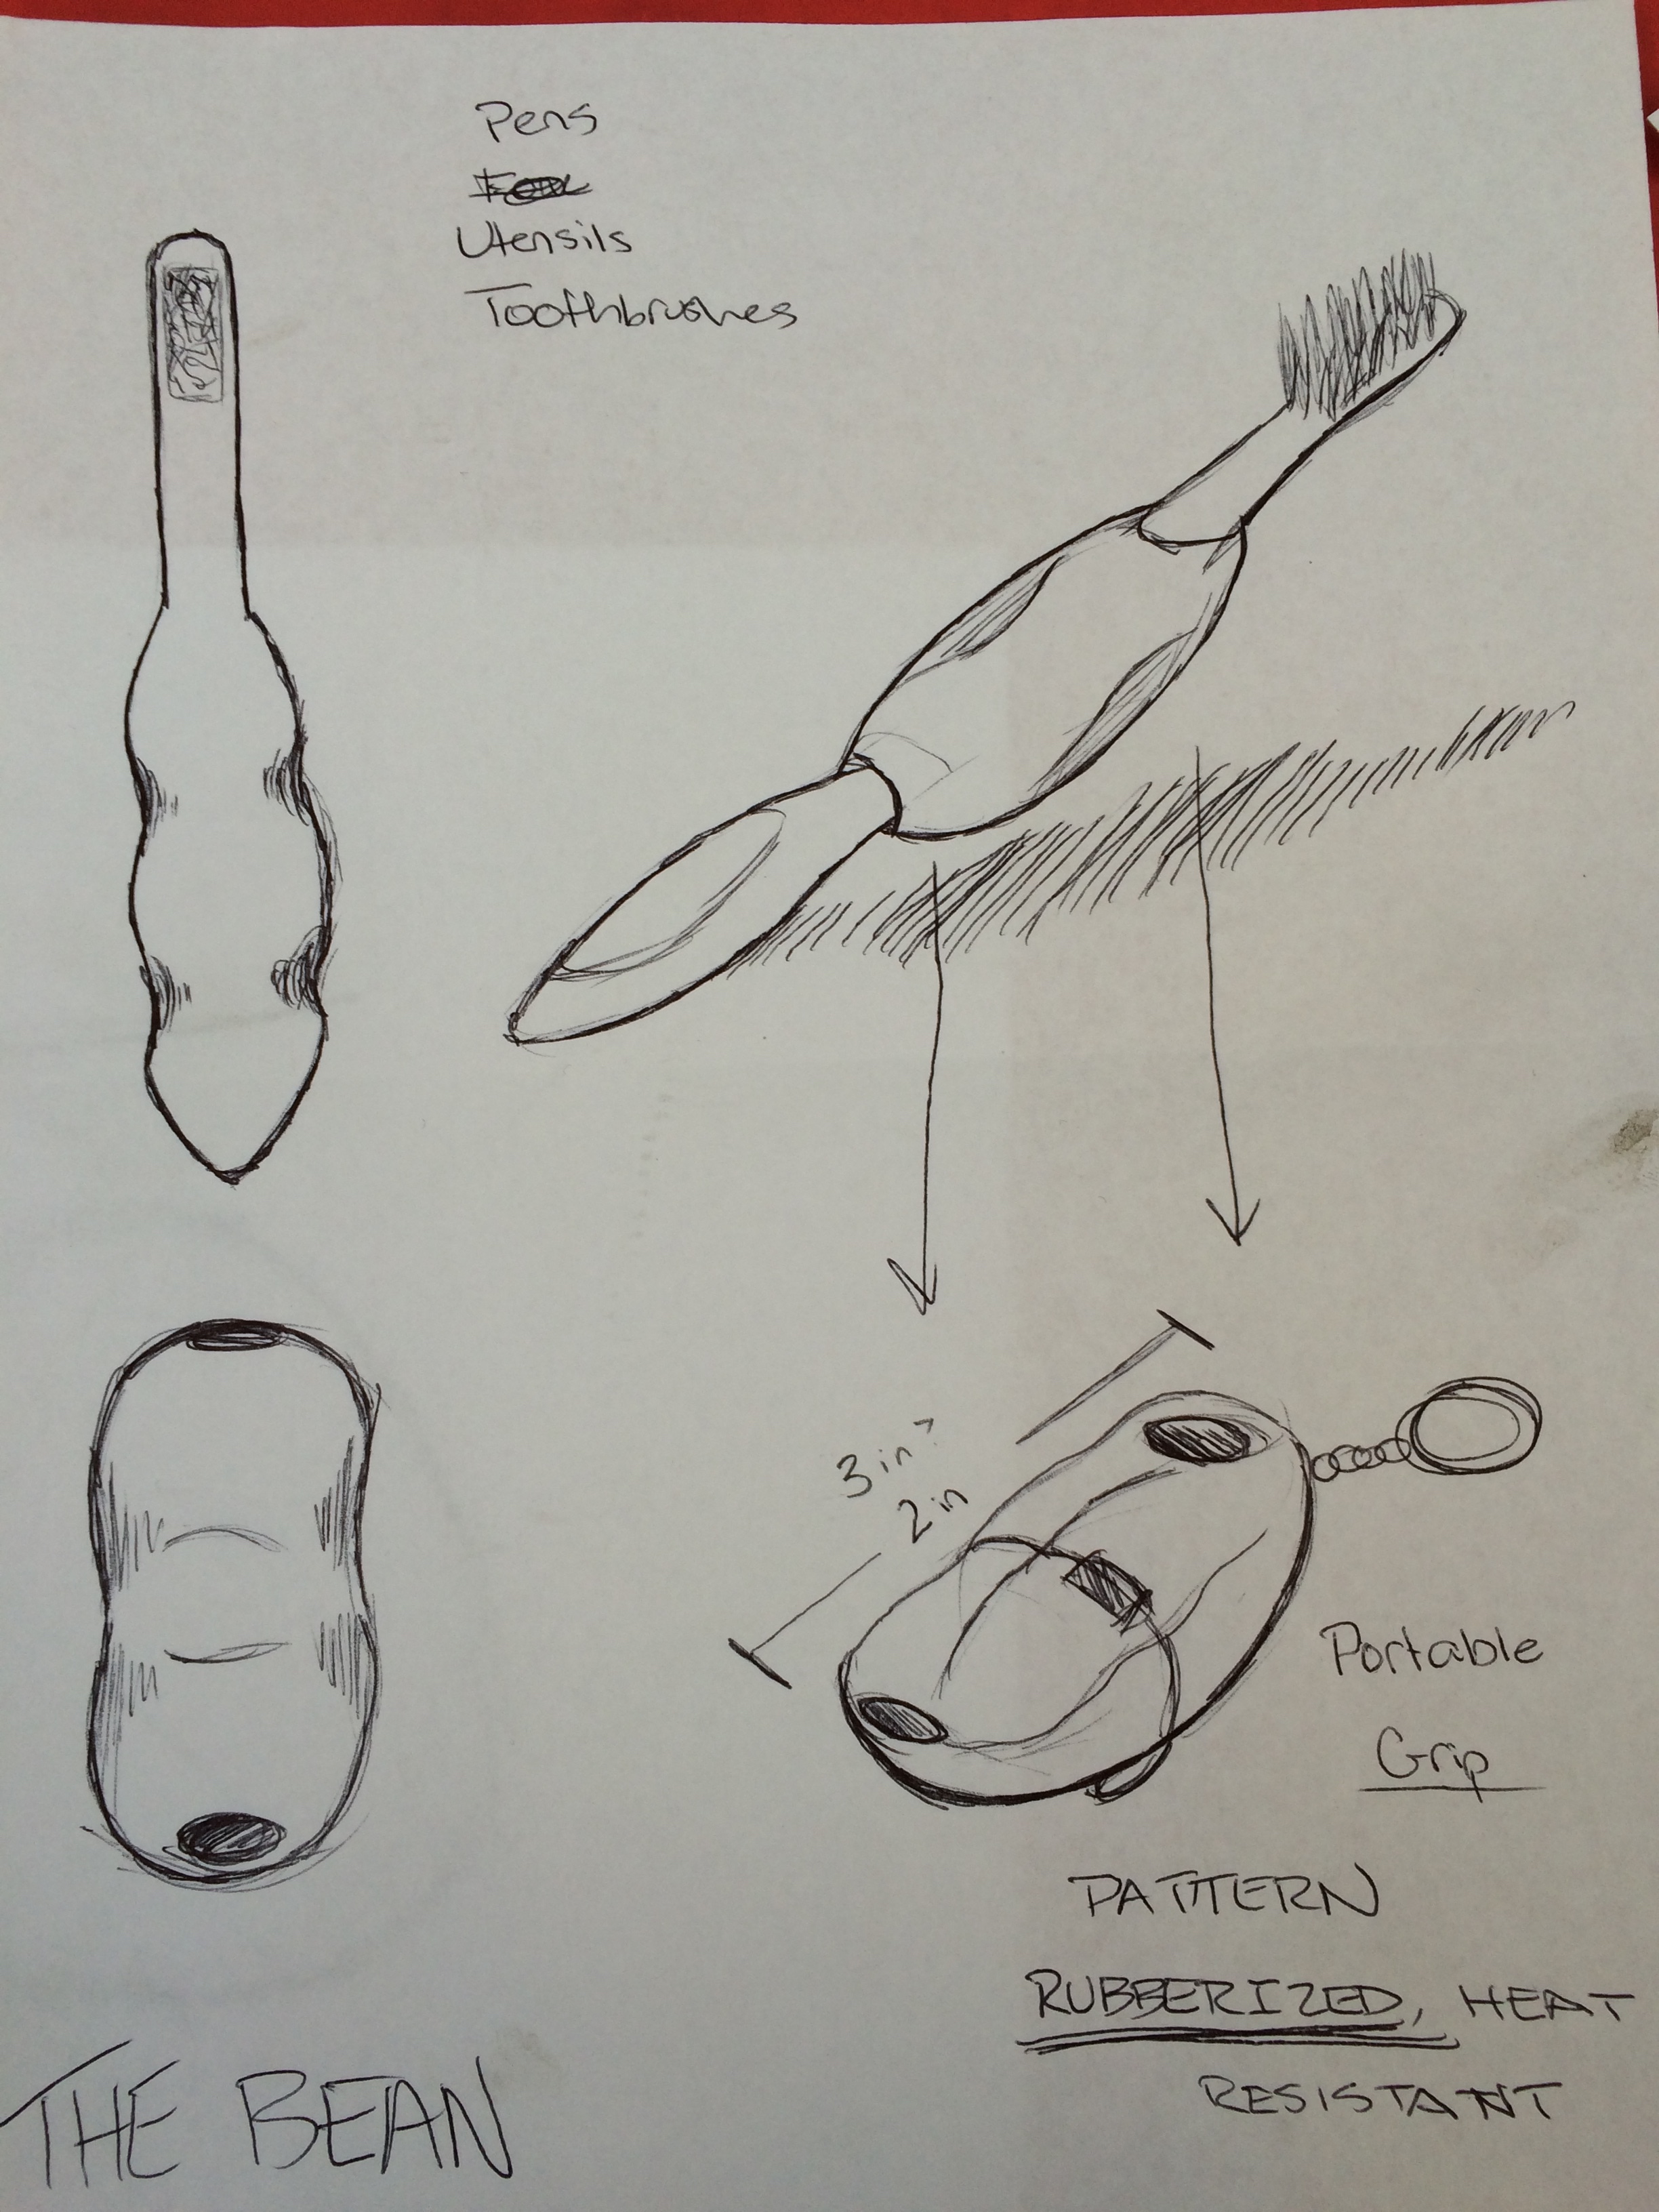
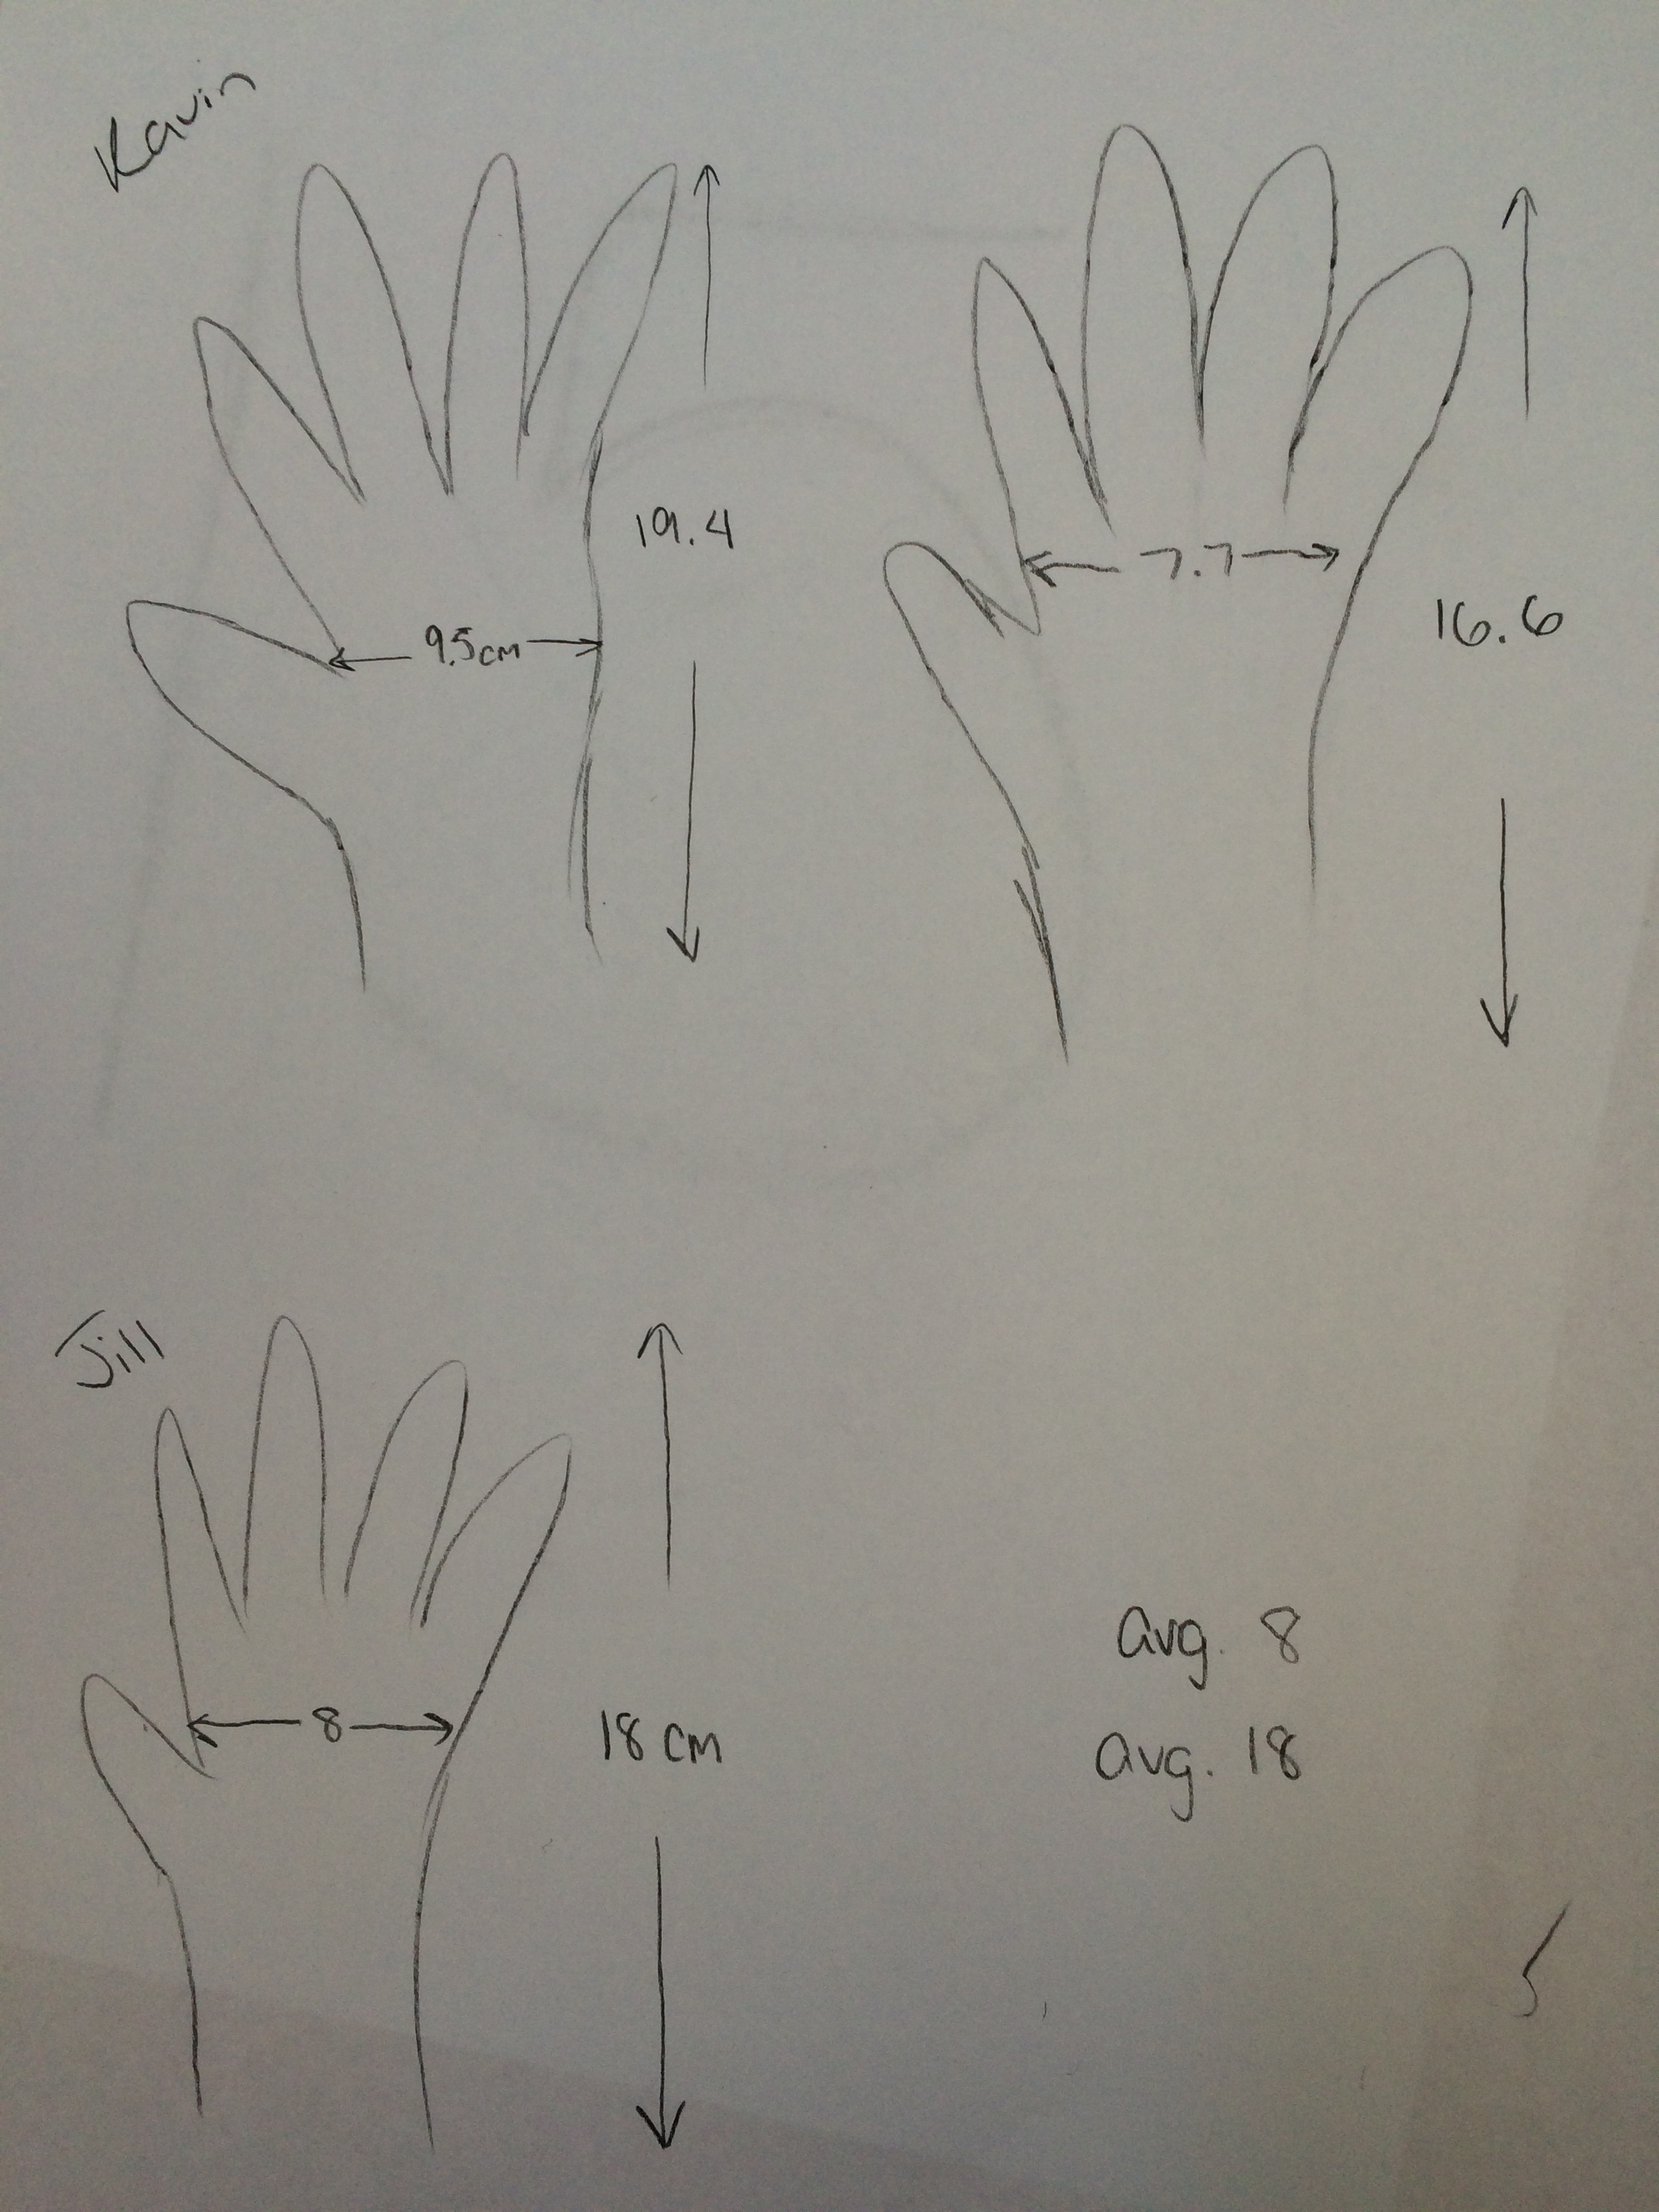
We created the LimaGrip! This process was a lesson on patience that’s for sure. Filaments were a struggle, sizing was obnoxious, and I had to CAD this thing like a jillion times to get it right, but the idea was that we created something. The whole premise behind this Lima Gripper
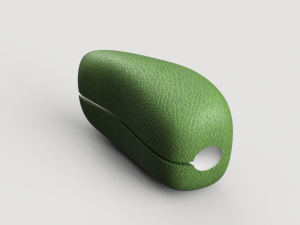
course was to ideate something new and learn our resources to create it. We teamed up with the FabLab to make a bean that would improve grip in the elderly, and those affected with Parkinsons or tremors.

Thus, the bean was born. Kavin and Lin and I worked together to bring in knowledge from all aspects of life to create a product that made a difference. Kavin even pulled influenceIMG_20150412_101551 from body-building for the materials used in the bean. This experience in itself was a massive lesson on product creation and everything in between and that’s extremely applicable to what I intend to do with my career. GroupIMG_5933IMG_5935

The FabLab: 

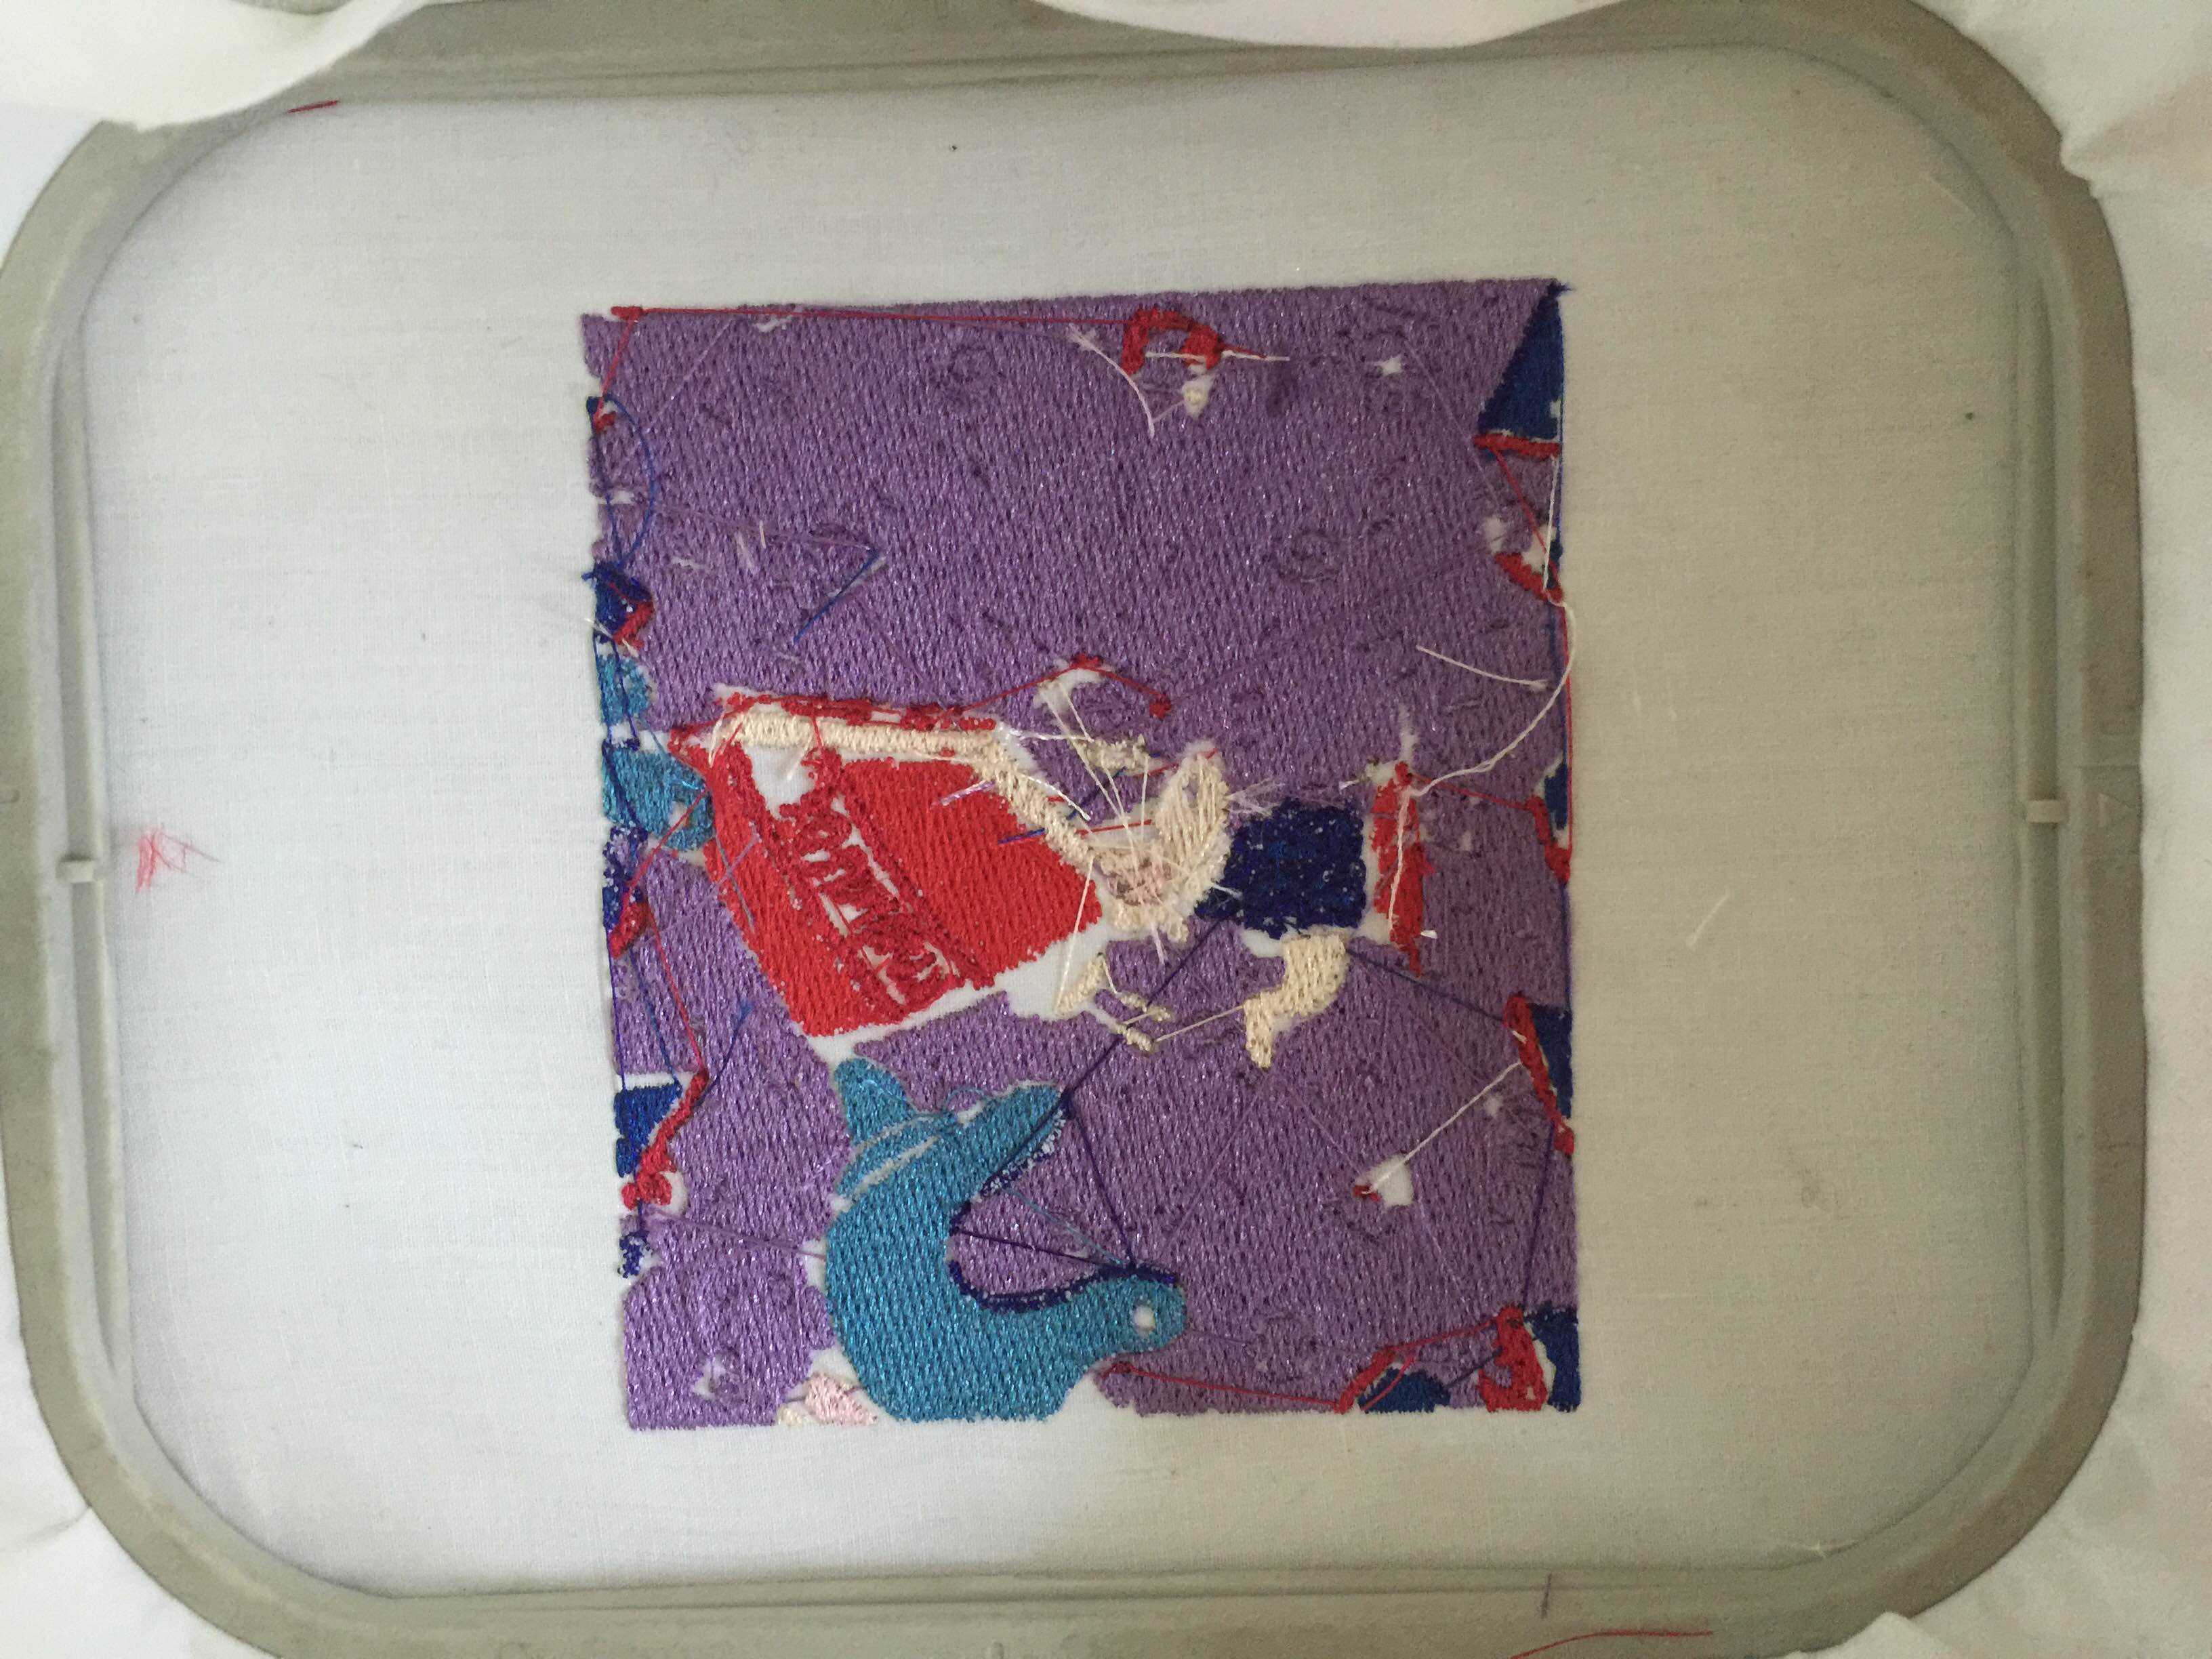
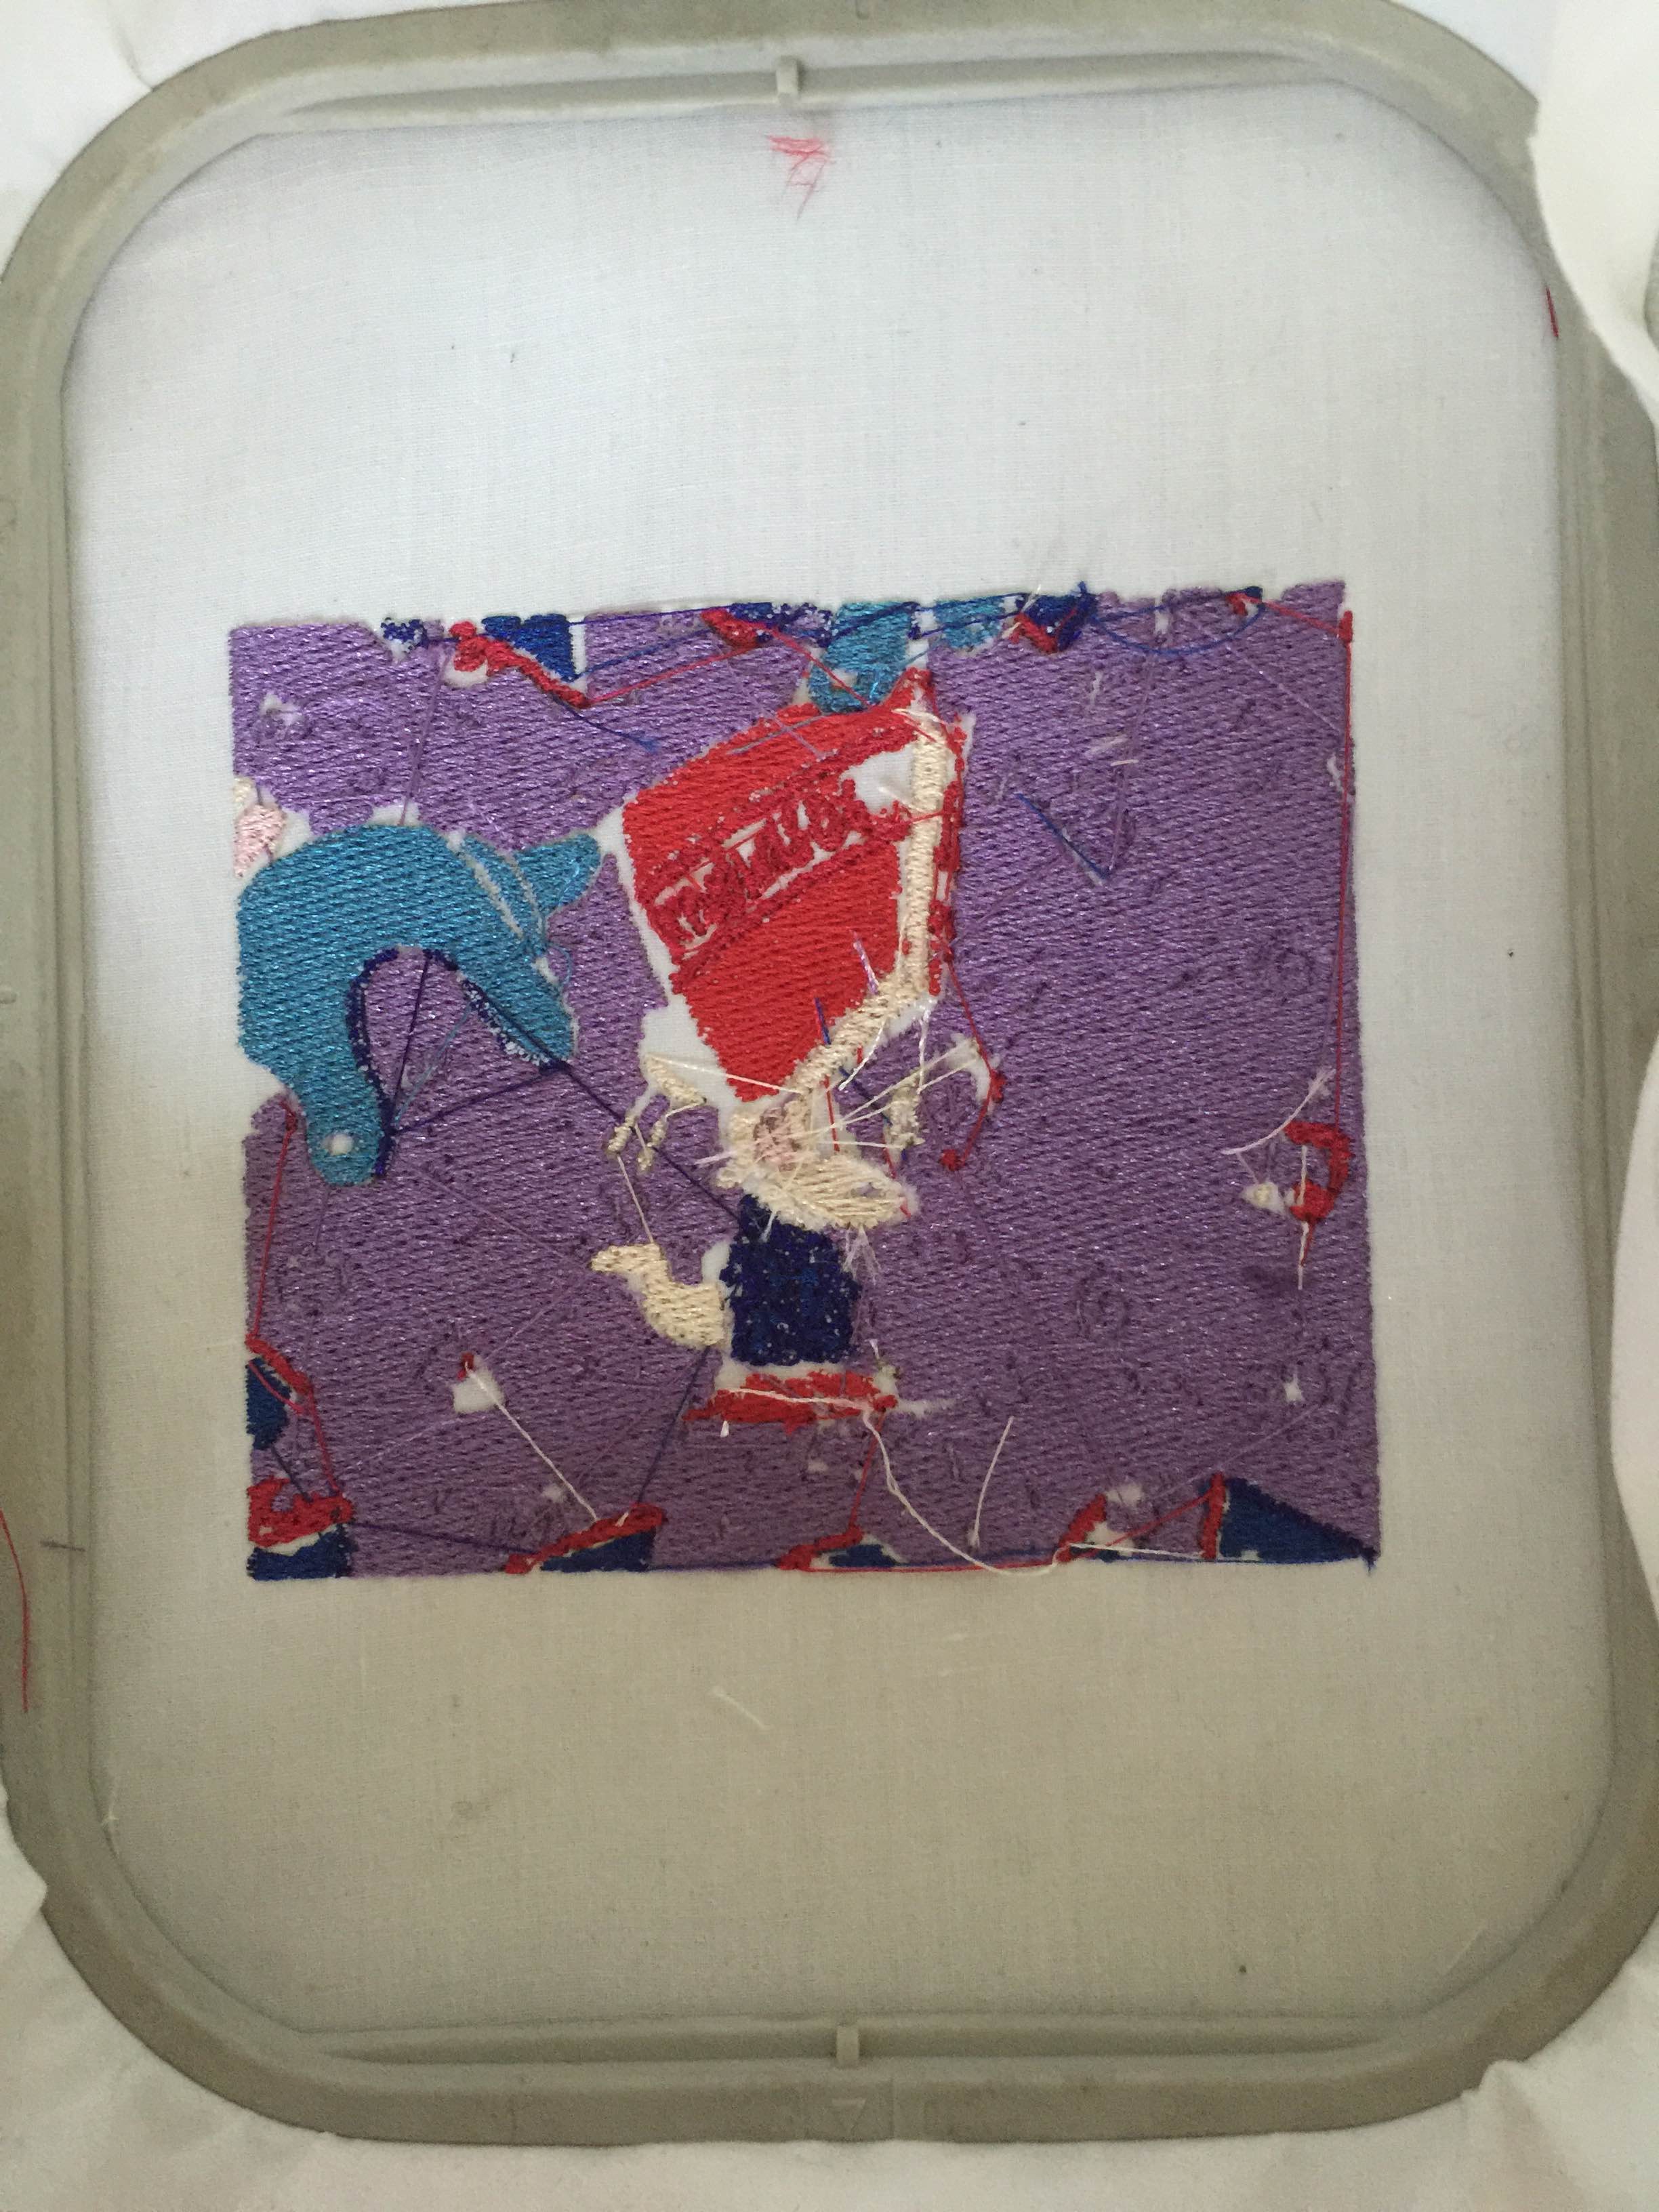
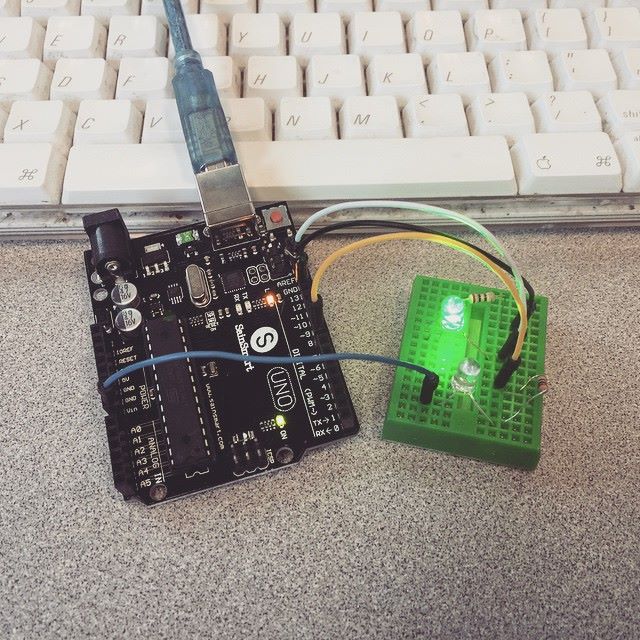
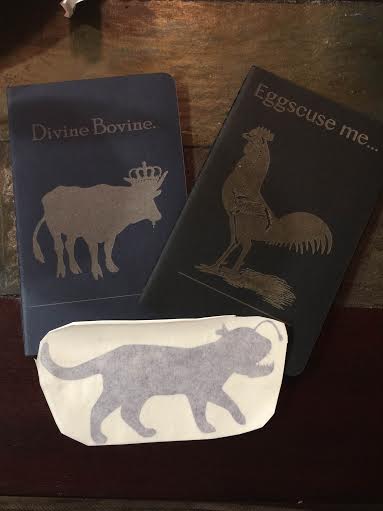
We created all sorts of cool things here. I engraved journals, made stickers, (tried) digital embroidery, and learned how to code. Those basic tools can be now applied to all sorts of things through laser engraving, basic coding, and embroidery. All leading to my grand plans of making it big on Etsy.

IMG_4221Lights

BovineFab Lab


This course was different than anything I’ve experienced. I learned in a way that was unstructured, yet provided me with any opportunity to explore all sorts of avenues that I had never considered. Vishal was an incredible instructor who was able to bring us all together, teach us how to use our Kavin
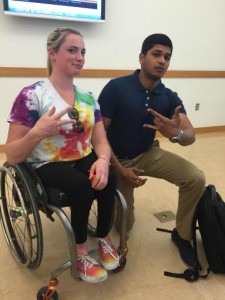
resources and what he didn’t know, he worked hard to find out for us and point us in the right direction. There were tons of laughs and frustrations, but all of us came together to create some pretty cool stuff.

I highly recommend opportunities similar to this for anyone who is presented with the chance to get involved. Maker Spaces are on the rise as is digital creation and it’s imperative to get your foot in the door because this is the future, and it’s important to know how to use it.

The Filament War of 2015

So bean prototype number 2 was a bit of a bust. The bean printed way too small, and the support material was impossible to remove from the center. We THINK we got the final product ready to rock though! We redid the cad model, again, making it a little bigger, and rounding it a bit more. Thankfully it’s a simple enough design that this process isn’t super tedious. With a new filament in hand, I marched on over to the FabLab to put an end to it all.

The new filament was a super-cool flexible filament known as Filaflex, by Recreus, a company out of Spain. The diameter of the filament was too thick for the Makerbots, so this was a job for the FabLab team. I brought it in, and we did our research. We had to download the proper settings for it, and we spent forever figuring out perfect extrusion temperature, how to make it work, the best way to orient the figure, and then we pressed the big “PRINT” button, and waited. Problem, it didn’t stick to the bed. By that point, the lab was closing and we had to reconvene the next day.

Upon reconvening, they had broken the glass bed with a different print in the day and the glass they replaced it with was just too big. We made it work and got it leveled, struggled with the extrusion temperatures, and again, the lab closed. I promise I wasn’t going last minute, this process just ended up being super lengthy. In the end, we couldn’t make the filament work in time for Tuesday’s class. I’m heading back today to continue the battle and hopefully, we’ll have a squishier version of the gripping bean that works!

Sew Close…

I was really bad at hand embroidery when I learned in high school. Turns out, I’m not too much better at digital embroidery. After another fabulous FabLab day, another means of 3D output is under the belt. Sort of.

Step one is to choose an image. I chose a scene from my all time favorite 90’s TV show, Rocko’s Modern Life.

Screen Shot 2015-04-26 at 8.17.45 PM


Next step, was to turn the image into as few colors as possible. After working tirelessly on this, powered by the aid of Mt. Dew and Cheezits, my file crashed. Sooo I did it again. With more Mt. Dew and Cheezits. After my colors were well consolidated, I threaded the machine up, and let that bad boy do its thing. I changed the spools when directed to, and eagerly awaited the sewing machine to finish my creation.

It had some really creative names for colors, and I had to Google a few of them, ask people which purple was more “lavender in shade” and thread that machine more times than I could count. In the end, I think I totally #nailedit.

IMG_4221

Get a Grip on the Grip

So our GrippingBean came out a little bit massive. Kavin pointed out that it actually totally defeated the purpose of creating a comfortable grip experience for the user. So we put our heads together, and came up with a new sketch, and MUCH more ideal dimensions. After re-cadding it, we threw that bad boy on the printer in a bright yellow filament to create another rapid prototype. After fighting with Makerware for an embarrassing amount of time, hopefully we’re on the right track to a better print.

IF this one works, Vishal showed us two different types of flexible filament that in the end would be super perfect for what we’re trying to accomplish. We want a material that contrives enough friction to get a firm grip on a variety of products. He had me do some research on these flexible filaments, as they need a bit more “TLC” when putting them through a printer.

This week, we’re headed to the FabLab again, in which as we work with new technologies, we’ll also be able to put our print through. In the end, if we decide that the design is ideal, we’re looking to get it cast in silicon. If that works, Boom. We’ve made a product that would aid the elderly or those afflicted with tremors in a ton of everyday activities.

Ideate. Make. Made.

I held off on this reflection until after we finished our Make-a-thon creations, but this weeks “making” stepped up to a whole new level.

We kicked it in the FabLab again back on Tuesday and did some super cool work with Arduinos. I have absolutely NO background when it comes to coding. If I ever found myself looking at code, it was because I pressed the wrong button on my laptop and something weird happened and I was panicking. Suddenly, I was writing my own code to make something light up, eventually making my own motion sensor which was so freakin’ cool! It was so simple what I was doing but it still yielded a really really exciting result. I was so proud of my little light that I was ready to jump into the electrical engineering career path

Lights


The next endeavor was the Make-A-Thon. I hopped in bright and early on Saturday morning and got to thinking about what could truly better the lives of the elderly. I was toying with the idea of a toothbrush with an easier grip, but then it occurred to me, why just a toothbrush? Why not create something adaptable to all sorts of different tools? (pens, pencils, utensils ect.) So I sketched out an adaptable gripper that looked like a bean with a hole in it. Kavin and Lin joined me and we all put our ideas together when it came to uses, material, and how we were gonna get this thing done.

We toyed with the idea on Fusion, but I was having a ton of trouble learning the command to cut the hole. Anyone I asked seemed to find this seemingly simple task super difficult as well, so there we sat. Befuddled. I threw it into Solidworks to see if I could do it that way but that was a struggle as well. All hope was slowly disappearing until one of the staff members found us and he knew what to do! What had taken hours, we were able to complete in a few minutes with his help. In the end, we created the Lima-Gripper. It adapts to arthritic hands to ease simple tasks and create a comfortable hold on smaller objects. Dexterity becomes an issue for those with severe arthritis, Parkinsons, as well tremors. We wanted to create something that alleviated that problem. We wanted the grip to be adaptable, so it could fit onto a multitude of objects, but have enough friction to stay on the objects it was placed on. The outside would have a soft outer grip shell, while the inside would be silicon. Bada-bing, bada-boom, The Lima-Gripper.

sketchingBean1


Bean2Lima Gripper IMG_20150412_101551


It was a blast working with Kavin and Lin. We had a really fun team dynamic, and we had some super cool ideas together. Kavin was a huge contributor with his knowledge of some crazy product- FatGripz. They’re some ridiculous tool for body-builders to improve grip on weights, but they were strangely applicable to our idea. He did some solid research in regards to material, as well as how they can help with what we created. I had only signed up for Saturdays making session so him and Lin both rocked it for the presentation. We were a solid team, and the entire experience was SO much fun!


Fab-Lab-Fabulous

The FabLab is so stinkin’ cool.

I had no idea what a vector was or why in the world it was relevant to anything cool I could be doing. I tried to use a laser cutter before, but I struggled so hard, had no idea what I was doing, and it completely turned me off trying to learn the software. Jeff walked us through the easiest program possible, InkScape, made sense of all the ridiculous vectors, and showed us how do to some really cool stuff in a way that made so much sense.

I suddenly understood why each step was required, which is integral in how I learn. If I don’t get why I’m doing something, Nothing sticks. I created a super cool little notebook, enjoyed making that one so much, I made another one! After all of that, I was inspired to just up and open an Etsy account selling barnyard themed journals. IMG_4037


I also was super stoked about learning how to make a sticker. It’s proudly sitting on the back of my laptop as I type. I loved the experience because it made doing all of this cool stuff so so simple. It showed me all of the potential of things I could create in a way that got me excited to do it. I’m pumped to see what we do this week. I’m really interested in the Minecraft stuff they do there and I really would love to work with Jeff over the course of the summer to learn and teach it!

Creative Schlump is Over!

I had totally been in a dead zone when it came to inspiration for what to print and work on. My print of my head didn’t work out and I was struggling with that, and other than the Make-a-thon I had no idea what I was doing.

I got started on my final project, a workshop on the basics of Fusion 360 and found I was even having trouble there. I had to come up with something that was simple enough to show the controls, but create something that people could put their own spin on. I had done the tutorial on making headphones but I got frustrated with it because the final product had little room for making it “your own”. I got to working, and eventually created a basic version of a gummy bear! It didn’t take a ton of crazy controls, but it showed the basics of using the controls, as well as toggling the view and what not. For the first draft of the gummy bear I had a ton of fun trying to create and make my own. Gummy Bear


Gummy Bear 2

Jeff coming in was super interesting. I loved seeing everything they do over at the fab lab and I’m SUPER interested in working with the projects revolving around Minecraft. Jeff spoke to me even about working there over the summer to teach kids how to play the game which is a dream come true. I found it super interesting how you can scan the worlds the player creates and then print it! I’m eager to go to the lab next week and play around!

Lastly, Arielle found a really cool business card someone printed out for a bike touring company that popped out to turn into a little mini bicycle. The user could assemble the print. Arielle and I decided we wanted to make one of those for a wheelchair racer for the team! I’m eager to design that and then put it into cad. I’m mostly just excited to get out of that creative ditch.

Geo-Amazing!

This past week we delved into the program Geomagic. I had absolutely no idea what I was doing for a disgustingly long time. In the end, it proved to be a pretty useful tool! Only playing with scans of my head, I had little faith in the scanning process. Watching Travis scan a wheelchair racing glove gave me a different insight. As we played with correcting the racing glove and the clay “sculpture”, I truly learned the capacity of 3D scanning. Travis told us about the Smithsonian website in which we could download scanned files that were truly incredible in detail. That was so cool to play with because it gives the user an incredible idea of what can be scanned, and how detailed it can become.

I really want to further my knowledge in regards to converting Geomagic to Solidworks or Rhino files. I personally feel that that could be extremely applicable to my previous knowledge regarding CAD programs. I would love to be able to have a strong idea of how to edit a corrected file in other programs and add my own spin onto existing products. Until recently I had no idea how to correct a scan if there were messy portions but after Tuesday I’m really excited to play with some ideas I have. For example, I have a Tuperware container that I absolutely love to carry places when I want lunch on the go. Problem with it is, there’s no great way to carry cutlery with it. I want to scan this existing  container, and further add on a pocket that carries forks and knives.

I think there’s a ton of potential in adding onto existing products and scanning is a great way to start. I’m truly ecstatic that I can apply knowledge of Geomagic to do so.

Fusion 360 for Days.

I love Fusion 360. I’m in a class currently trying to learn how to use Solidworks and I think it’s the most difficult thing in the world. Fusion 360 takes the organic creation of shapes to an entirely new level. Rhino is great for organic shapes, but it’s very mathematically oriented, thus making it much harder to get an organic shape “just right”. Fusion 360 gives the user easy access to control points, and is extremely intuitive when it comes to usability.

I enjoyed listening to the guys teach today, especially since Jim is an industrial designer. I love the design jargon thrown around and I really loved looking at his sketching. Chris, (name check?) I think was a great teacher. He showed me how to integrate the use of Fusion tools into my CAD program of choice, Rhino, giving me the best of both worlds. I still need work on that though because I tried to render a computer mouse and I created more of a potato.

I’m eager to continue playing with Fusion. So far it’s the easiest program to learn out of all of the ones I’ve experienced. The “sculpt” tool is especially cool. Acquiring the exact curvature desired is a hard thing to do when it comes to shaping and Fusion makes it so easy to be precise.

I think it can get a little wonky in places, which is frustrating. I ran into issues making my lamp shade anything close to symmetrical. It was extremely abstract and looked like something that’d fit well on my chaotic desk, but I was proud of that bad boy.

Week 4 Reflection

This week was fun because I love doing scans. I’ve done one before and it’s fun to see yourself printed! There’s nothing quite like it. It’s especially cool to see other people do it. I loved interacting with everyone as they created themselves, adding shapes and words and doing everything possible to make it unique. It was fun to look around at the printers and put a “face to a face”.

Personally, I got a little too overzealous and excited with mine. When I did this last year, I had no idea how to work with any sort of CAD program. I was proud to make myself a little head and that was a good day for me. This time, I went nuts. I put myself in a flower pot with a flower coming out of my head. However, it got a little too thin for the supports and the Makerbot towards the top. I need to get a better idea of what I can get away with as far as 3D Printing goes, as I had this problem before with a design. I had to try to print the thing over 20 times (sadly not an exaggeration) but the design was simply too thin. I’m eager to experiment with this though and find better ways of doing it!

It was neat to see Aric come in and speak on his class. The videos and some of the things the other class was doing and has done was extremely impressive. It got me thinking of what I wanted to create and a problem to address so I have a few ideas floating around!