
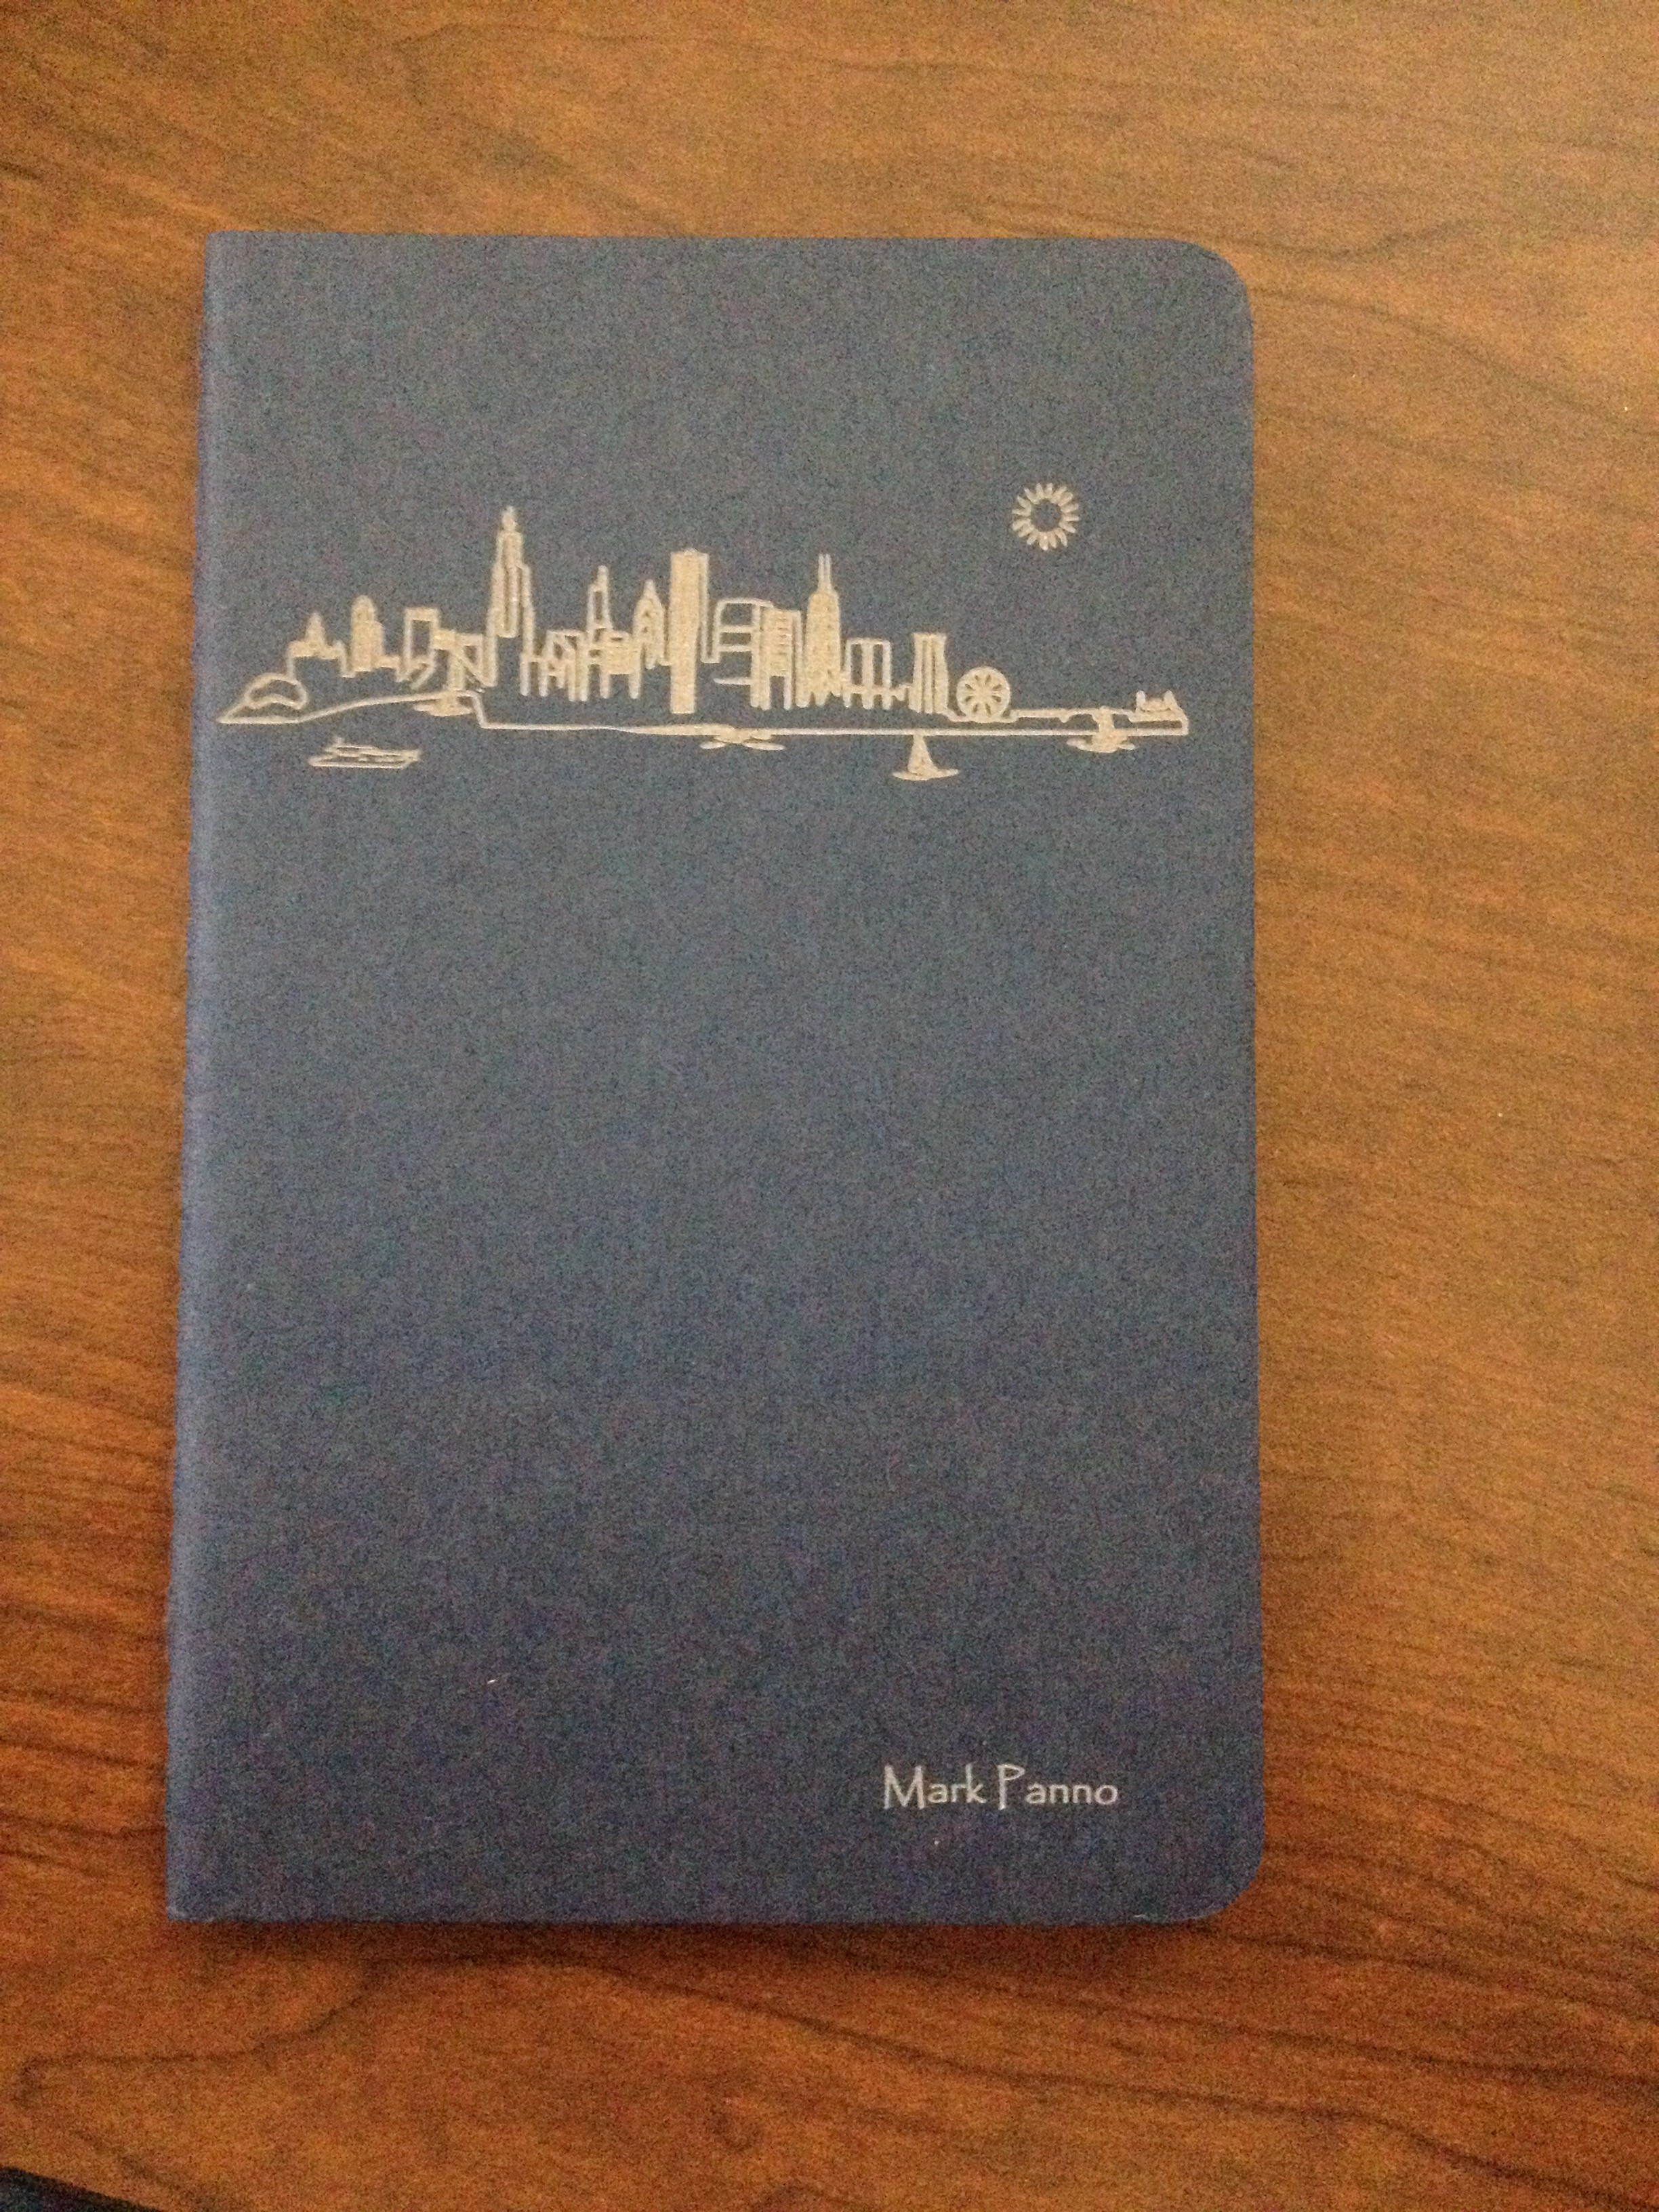
Tuesday April 21st was another day of class filled with new adventures into the “making things” world. For the final session at the Urbana-Champaign Community Fab Lab, I set out on using a laser to etch the front and back covers of a notepad. The first step to the process was getting familiar with InkScape, where the images would be laid out. In order to produce a high quality laser etch, I used a silhouette of the Chicago skyline to start. Our instructor for the day, Judy, walked us through how to take the image we found online, and create a path of the image used by the laser. After creating the path, you have to delete the original image, and finalized your path for printing. When I finalized my skyline path, I sought a better picture, and added a few special touches. First, I took away a sailboat from the skyline silhouette, and added a yacht type looking boat (a better depiction of Chicago boating scene and a more stylish compliment to the skyscrapers). Next, I added the sun in the upper right corner, because why not. The final touch to the front cover of the notepad is my name in the bottom right. The final product can be seen below:
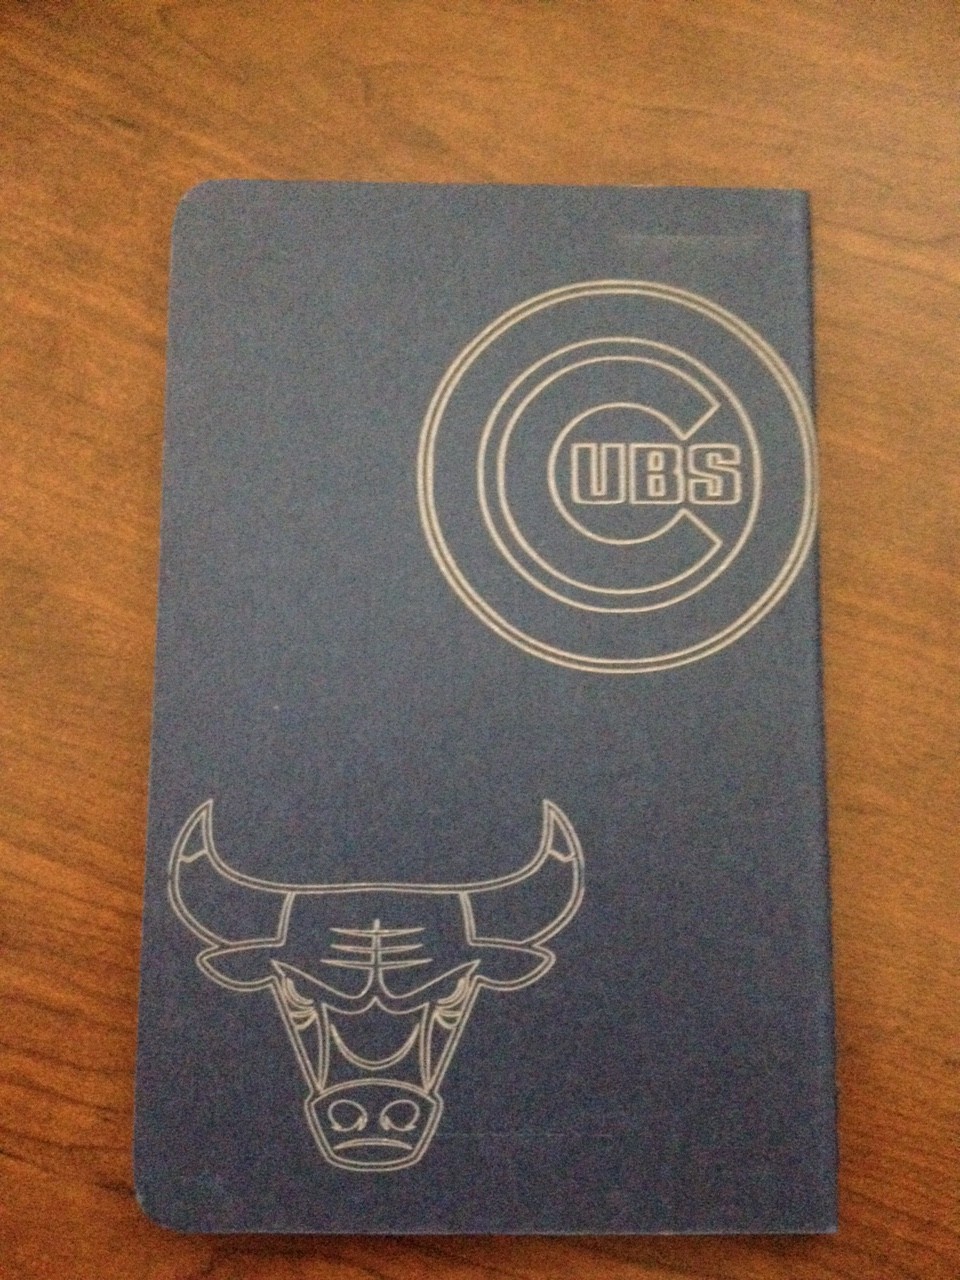
After completing the front of the notepad, I decided to keep the Chicago theme, and added some of my favorite Chicago sports team’s logos to the back cover. Chicago Cubs and Chicago Bulls.
Here is link to a video of the laser etching the Chicago Bulls logon onto the notepad: Video
Below is a picture of the Laser Printer:

Overall, I was surprised at how well the printer was able to etch detail of the skyscrapers. I look forward to using my notepad all the time and showing off my newly acquired maker skills to all my friends!
-Mark Panno