Strategies for Accessible E-Learning

Why Teach Accessible Classes?

No matter if you’re teaching a full semester class or a one-off workshop, you will be teaching disabled learners, whether they disclose their disabilities or not. All of your students deserve an equitable learning experience and accessible practices eliminate barriers for all users.

man using a braille keyboard writer
Image by Sigmund on Unsplash

Web Content Accessibility Guidelines (WCAG)

One of the most important standards when it comes to accessibility on the web is the Web Content Accessibility Guidelines. These guidelines are split into four components: Perceivable, Operable, Understandable, and Robust, or POUR.

Perceivable

  • Everyone can identify your content not matter how they perceive information.
    • Use text, audio, and video alternatives for content.
    • Make your lessons adaptable for different student needs.

Operable

  • Learners should be able to navigate your course with ease.
    • Have large and obvious navigation buttons.
    • Give enough time or eliminate timed progression counters.
    • Make your content keyboard navigable.

Understandable

  • Content should be clear and concise.
    • Avoid using jargon and keep text content simple.
    • Use specific language: Instead of “click here” use “click next.”

Robust

  • Content can be accessed by assistive technologies (such as screen readers).
    • Make sure your content is compatible with assistive technology.
    • Update any dead links or finicky buttons.
    • Learners should be able to access course materials with reasonably outdated software.
a teacher with a student, pointing to something on a laptop
Image by Desola Lanre-Ologun on Unsplash

Best Practices

Now that I’ve gone over the basic web accessibility standards, here are some practical tips that use can use to make your class materials more accessible.

Course Structure

  • You want your course structure to be easily digestible, so break up lessons into manageable chunks.
  • Asynchronous courses are courses that allow learners to complete work and attend lectures at their own pace. You may want to consider some form of this to allow your students flexibility.

Text and Links

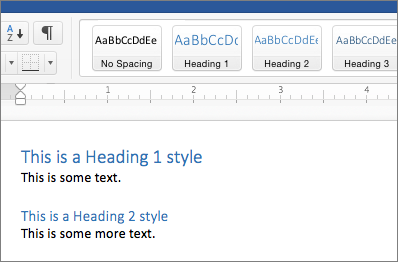
  • Headings and titles should be formatted properly. Instead of just bolding your text, use headings in numerical order. In Word, you can accomplish this by selecting Home > Styles and selecting the heading you want.
heading one and heading two in the Word styles interface

Images

  • Always include alt-text with your images. There will be different ways of doing this in different programs. Alt-text describes the image for users who cannot see it. For instance, in the alt-text I describe the image below as “a beagle with its tongue out.”
  • If the image is purely decorative, you can set it as such.
a beagle with its tongue out
Image by Milli on Unsplash

Videos

  • Videos should have error-free captioning. It can be useful to include a written transcription.
  • Video interfaces should be navigable using a keyboard (spacebar to start and stop).

Tables

  • Avoid using tables if you can, they can be challenging for screen readers to decipher.
  • Tables can be made accessible with proper web design. For a instructions on how to create accessible tables visit WebAIM’s Accessible Tables Guide.

Color Contrast
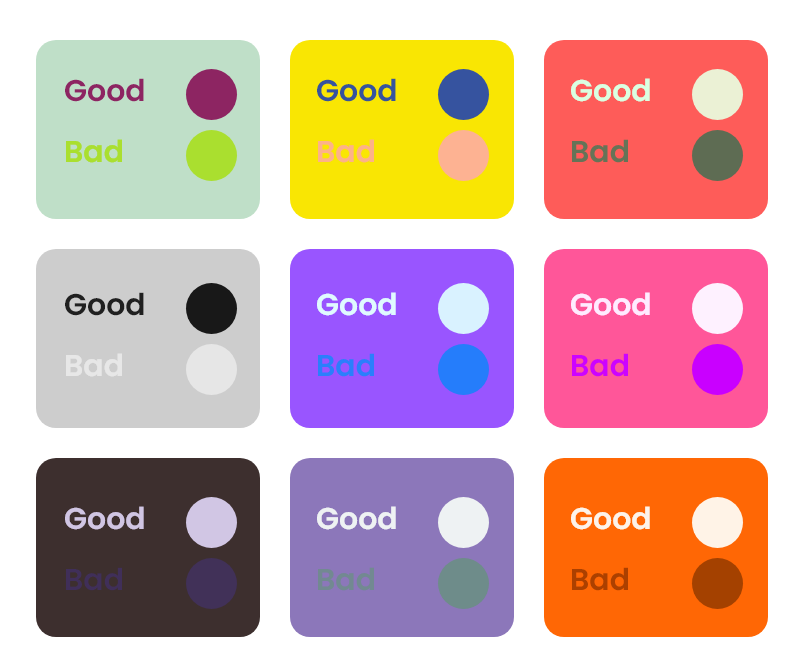
examples of good and bad color contrast
Image made with dopelycolors
  • Make sure that your content is readable, whatever colors you use. Avoid going wild: dark text on light backgrounds and light text on dark backgrounds are standard.
  • If you want to check your color contrast, try the WCAG Color Contrast Checker.
  • Avoid providing information that solely relies on the student being able to distinguish color i.e. red meaning “stop” and green meaning “go.”

Resources to Learn More

When it comes to accessible practices, there’s a lot of information to cover. If you want to learn more, here are some resources to get you started.

By working to make your classes accessible, you can create a better learning experience for all your students.

HTML & CSS Games

Welcome back from Spring Break!

I’m fortunate to be taking Web Content Strategies & Management this semester with Dr. David Hopping. Here are some games and tools I learned about in class to help me practice my HTML and CSS knowledge. These games are helpful whether you’re just starting web development or looking to improve your skills.

Grid Garden

CSS Grid Garden Homepage

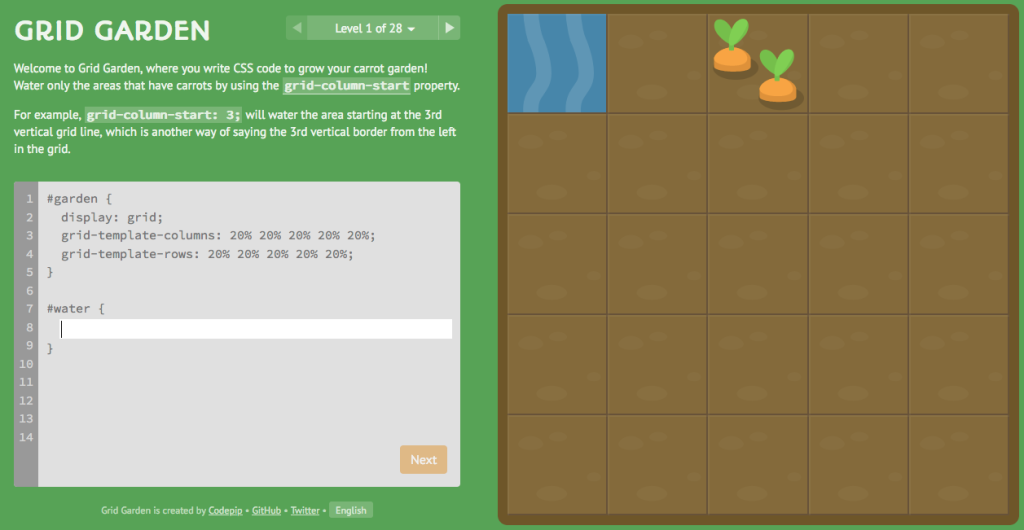
Grid Garden is a great way to practice placing items on a page using the CSS 2-dimensional grid layout. Water your carrots by moving the water placement on the grid using the grid-column-start property.

Flexbox Froggy

Flexbox Froggy Homepage

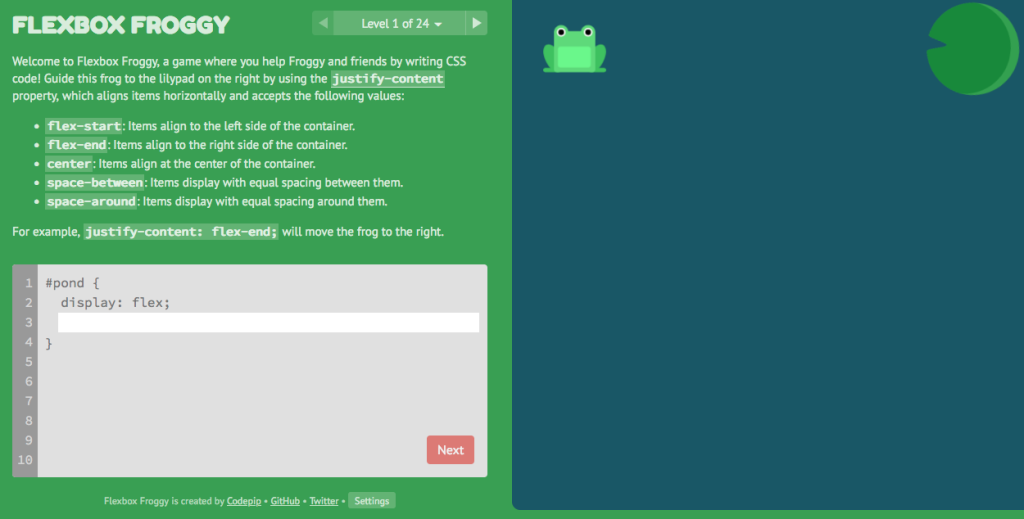
Flexbox Froggy teaches you how to justify items within a flexbox by writing CSS to move the frog to the lily pad.

CSS Diner

CSS Diner Homepage

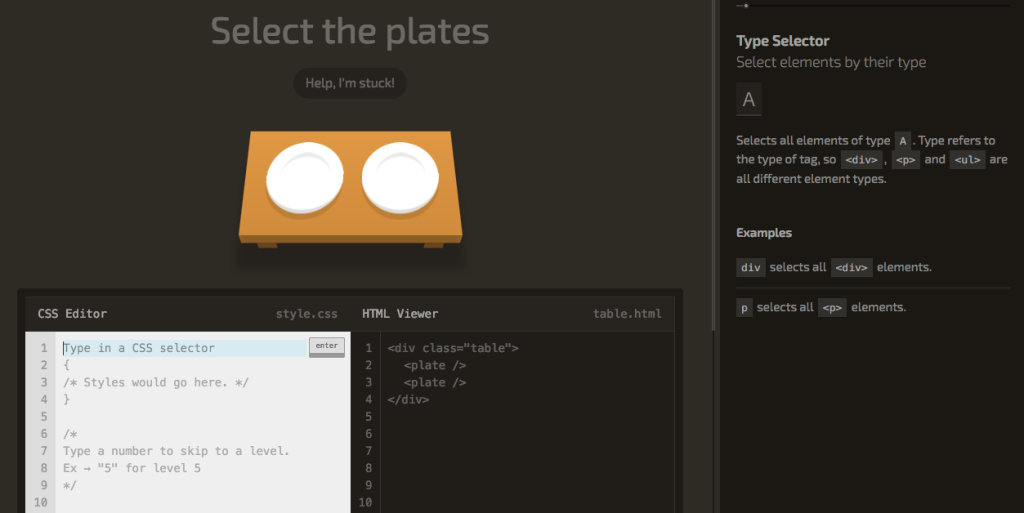
When learning CSS, it’s essential to know how to select which specific items you want to change with your CSS code. In CSS diner, you can practice writing CSS selectors to select elements by their type.

CSS Challenges

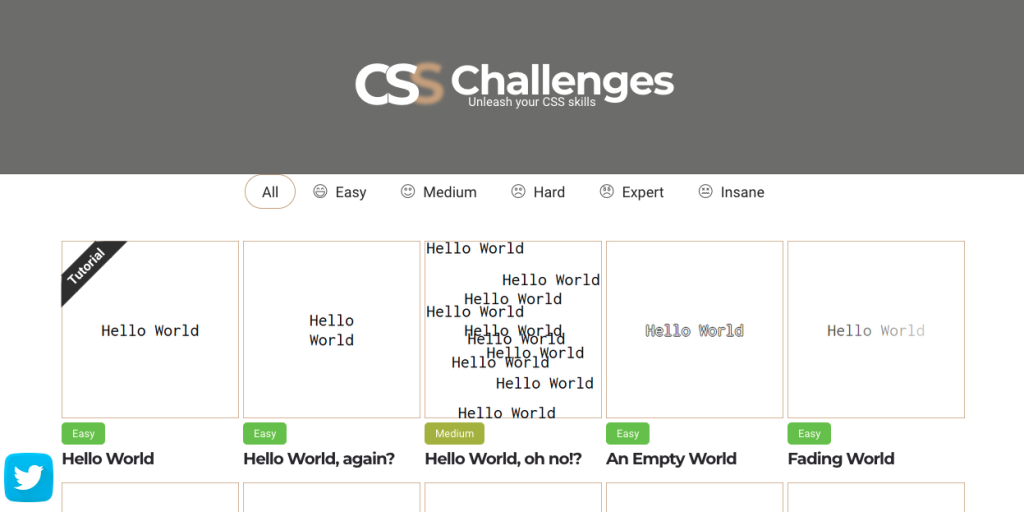
CSS Challenges Homepage

See how far you can get in these CSS challenges! Try to copy the format shown in each example to progress.

W3 Schools

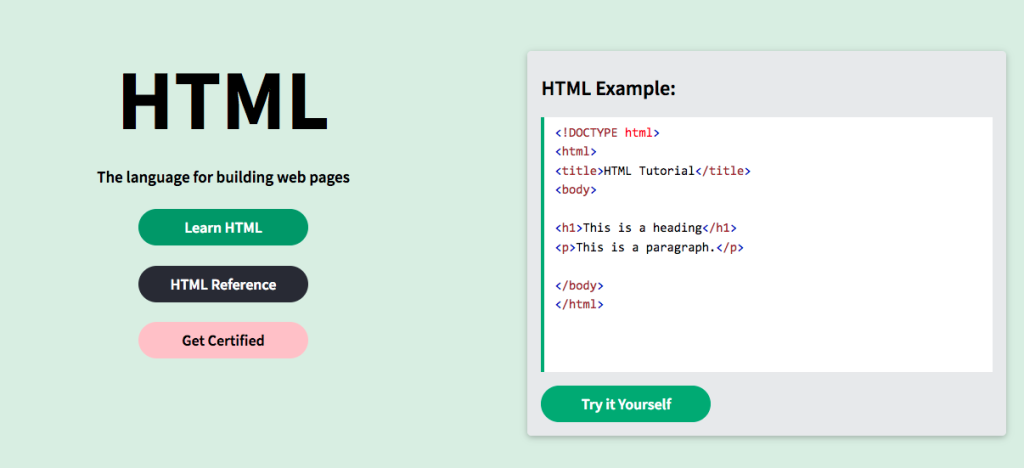
W3 Schools Homepage

For more resources on learning HTML, CSS, or other major web languages, visit W3Schools. This website has step-by-step lessons and tutorials for self-guided learning. If you get stuck on any of the previous games, W3 Schools might be able to help you figure it out.

These games and tools have helped me enjoy learning basic web development skills, I hope they help you have fun with the process too. Happy coding!

Bad Web Design with e-Portfolio Software

E-portfolios (sometimes spelled ePortfolio) and digital portfolios are websites where you can display your academic achievements and works for the world to see. These professional websites are often created with a specific career goal in mind and display examples that demonstrate how you meet the competencies of your career goal. Digital portfolios can be used to supplement a LinkedIn profile, and some graduate programs even require the creation of an e-portfolio in lieu of writing a master’s thesis or even as a graduation requirement.

Should I make an e-portfolio with e-portfolio software?

A lot of online portfolio software creation tools aimed at educators make sites that tend to look very formatted. Essentially, what you end up working with is close in appearance to a Google Sites page. Oftentimes, individuals pay for their own site, if funds are not provided by your university. The University of Illinois supports use of the ePortfolio site Digication, which is free to faculty, students, and staff. That being said, default templates for e-portfolios tend to be… ugly. You may consider using these if your school subscribes to them, or if you want a free portfolio site for your fifth graders. Otherwise, probably not.

Issues to consider when choosing an e-portfolio software: digital preservation, usability, aesthetics, and cost. You also want to consider the most important question here: Am I better off using Google Sites?

Mahara

Mahara is a New Zealand-based open source e-portfolio software. You need your own server to use Mahara, but you can customize the software to your liking if you know how or have a very supportive IT department. For all of my server-free readers, FolioSpaces is a web application based on Mahara, but feels a lot more like a social network for third graders. Users are unable to customize the background of their sites unless you pay up to $9.95 a year. On FolioSpaces you create “portfolios” that are actually sections where you can store different aspects of your work. FolioSpaces is an odd public space where you are likely to see posts from high school students from Michigan who really could benefit from spell check. Still, this could be a good free option for folks looking for a portfolio creation tool for their students’ classwork. However, you will probably save a lot of time and trouble, as well as have more control over privacy settings, by just using Google Sites, especially if you have Google for Education (and if you are a student at Illinois, you do).

Digication

Digication is an e-portfolio alternative. U of I students, faculty, and staff can easily create, share, and access ePotfolios for free, and continue to access them after graduation. Digication has pretty intuitive steps for creating an ePortfolio. One great aspect is the easily editable custom URLs you can create for your portfolio. With Digication, you can either use a pre-made template (some more aesthetically pleasing than others), or customize your own theme. Because we have access to Digication through the University of Illinois, it has some themes that are better suited to our needs than some of the other ePortfolio options on this list, because they are geared to a UIUC audience.

One of the best parts of Digication are the options to allow comments and “conversations” on your ePortfolio, which are a great social aspect that encourage interaction between yourself and your audience.

Like all of these options, there are pros and cons to using Digication, but it’s definitely a path to explore. For more information on Digication at the U of I, head to the ePortfolio Resources at Illinois page.

Portfolio Gen

Portfolio Gen provides free pages, as well as paid options that have more space and no “Powered by Portfolio Gen” widget on the page. Frankly, most of the themes on Portfolio Gen seem very childish, and seem to cater to an audience of younger students creating (tacky) portfolios. They are, however, the easiest to use e-portfolio software, and it would be nice if they could expand their theme options to have some better-suited for adults.

My default portfolio and landing page took about five minutes to make and looked like this:

Portfolio homepage with default settings

Pathbrite

In my opinion, this is probably the most promising e-portfolio builder that is specifically built for this purpose. Pathbrite is free for individual users but costs money for institutions. You can create a free, simple site with a Google account and incorporate documents like a resume/CV and a writing sample directly from your Google Drive from the side bar “Add Work” tab and/or by dragging and dropping the icon of the type of work you want to add to your portfolio site. Although this looks similar to the Weebly drag and drop, it will give you options to upload from all sorts of places. You can arrange uploaded items by dragging and dropping them around on your page. A particularly nice feature is that you can also incorporate screenshots and links to websites you have created by simply clicking “Web link” and including the link to the website you want to share so you don’t have to screenshot it yourself.

add items mode in pathbrite

That being said, on the “Style and Settings” tab on the side bar you have a very limited amount of control over the way that the different items are arranged on your site. You can choose between light and dark and resume views and a couple of different ways to arrange the layout of how your work will appear, but that’s about it.

Pathbrite Style and Setting Editor

My default portfolio and page took about 15 minutes to make and this is how it turned out:

demo pathbrite portfolio

Overall, I am not a big fan of any of these options. At the end of the day, I still think you’re probably better off working with a regular CMS like WordPress, Weebly, or even the most basic of site creation tools, Google Sites. If you are an artist, photographer, or some other kind of all around creative genius there are web site builders and e-portfolio designs that specifically cater to you that look nice; however, this post is focusing on researcher/educator e-portfolios that aren’t as image heavy.

And if you’re a UIUC faculty member you’re in luck, because soon you will be able to create an e-portfolio through an Illinois Experts where you can showcase your research and accomplishments.

UPDATE 11/14/2017: Those post initially and incorrectly stated that the University of Illinois at Urbana-Champaign does not provide free access to any ePortfolio site. However, we just learned that we do! University of Illinois students, faculty, and staff can create a free ePortfolio on Digication, which they can continue to access even after they have left the school. We apologize for our mistake, and hope that this news comes as a pleasant surprise for our readers!

More resources:

And make sure to check out our two fabulous LibGuides on online scholarly presence:

Life after I Drive: Setting up a website for yourself or your project!

What happened to the I: Drive?

It’s been retired, everything on it is in read only, the hardware has been left to die and will be dead by January 3rd 2018, and everything will go where these things go when they die (that great server in the sky I suppose).

Always free options:

Weebly, Wix, etc. As we’ve discussed before on this blog, Weebly is one of the easiest to use, including WYSIWYG editor with customization based on dragging and dropping components, and still has a professional look. And to learn more about Weebly and other free website platforms, check out these site builder tutorials from the iSchool!

Are there still hosted options on campus?

Yes!

Basic hosted options on campus:

Google Apps
Don’t have a lot of experience building websites and looking for something really really simple?  Definitely check out Google Sites through your Illinois Google Apps. It is possible to get a hosted sites dot google dot illinois dot edu site/[yoursitename]/[pagename]  for yourself or or your organization. Google Sites has a WYSIWYG editor where you can drag and drop site elements such as text and image boxes as well as  elements from your Illinois Google Apps, such as Google Docs and YouTube videos. With Google Sites you have the option to publish either to the web or to Illinois users. For more information check out https://answers.uillinois.edu/illinois/page.php?id=55049

Reminder: Omeka.net

For all our digital humanists, virtual exhibit creators, and potentially anyone looking to make a snazzy portfolio website, we can set up an Omeka.net account through the Scholarly Commons that has more storage than the default account. To learn more and request a page check out http://www.library.illinois.edu/sc/services/Digital_Humanities/Omeka.html 

Publish @ Illinois.edu  (PIE)

To learn more click here for instructions and advice on using PIE at https://answers.uillinois.edu/illinois/page.php?id=54679

Although you or your group’s site will never reach the absolute stunning magnificence of the Commons Knowledge blog, you too can create a micro-site through WordPress at the University of Illinois. WordPress features a WYSIWYG editor and is fairly easy to learn even with limited programming experience. There is a limited amount of space available to save media, luckily you can attach links to images from Box in order to get around these limits. There are also custom designs available to University of Illinois units, these are especially important for meeting our state’s website accessibility standards! You can learn more and request your own small slice of the PIE at https://techservices.illinois.edu/services/publishillinoisedu/details Definitely check out the PIE blog and documentation pages and contact Technology Services for more help.

Setting up a Wiki with Confluence

Need to create a space for members of your team to collaborate on projects or want a site for a course beyond Moodle? Do you have team members from outside of the University of Illinois that you want allowed to contribute to content?  Technology Services can get you set up  with a wiki through Confluence. Check out https://wiki.illinois.edu/wiki/dashboard.action to request and https://wiki.illinois.edu//wiki/display/HELP/Getting+Started+and+Help to learn more and see what one of these wikis looks like in action!

Web services through your college’s IT department:

These sites also provide a lot of information about web resources on campus in general!

More advanced options:

Are you a web developer looking for a server?

Consider looking into the Virtual Server through Technology Services, yes this is a service that costs money and is based on how much space your site uses. However, if you want a more stable hosting solution for the long term this is a great option!