
The sections for your course appear in the center column of the course site. The number of sections and their overall appearance can be changed by editing the Course Format. Activities and Resources are added inside of sections.
› The Top Section
› Section Summaries
› Moving and Arranging Sections
› Hiding and Showing Sections
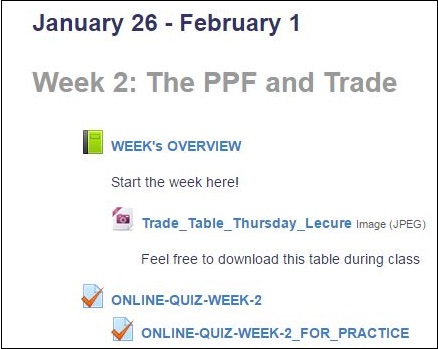
The Top Section
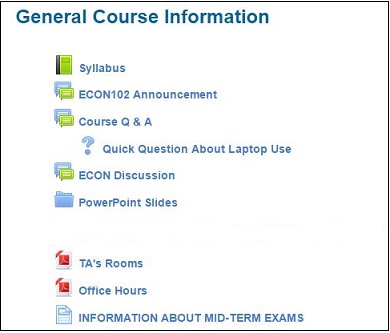
The top or “General” section introduces students to your course. It will always stay at the top of the page and cannot be moved or hidden. By default, it includes a link to the News Forum for your course. In this image are examples of some information an instructor might want at the top of their course. For instructions on adding content to the top section, see Section Summaries.
Section Summaries
Use the section summary to provide a description of the section or any information not included in activities or resources.
To edit the section summary:
- In the upper right, click on the green button that says “Turn editing on”.

- To the right of the section title you want to add or edit a summary, click the drop down menu next to “Edit” and select “Edit Section.”

- Change the Section name by unchecking “Use default section name” and typing a new name into the text box.
- Add content to your section Summary using the content editor.
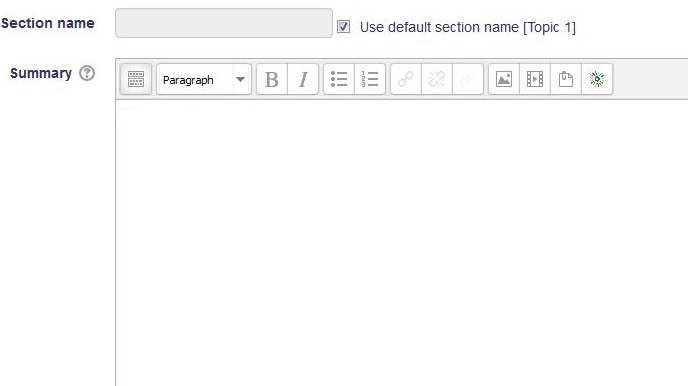
- Click “Save changes” when finished.
![]()
Moving and Arranging Sections
- In the upper right, click on the green button that says “Turn editing on”.
- Click on the compass arrows icon next to the title of the section you want to move and hold down the mouse button.

- Drag the section up or down to move it to a new location.
- Release the mouse button.
Hiding and Showing Sections
- In the upper right, click on the green button that says “Turn editing on”.
- Click on the eye icon to the right of the section title to hide or show a section from your students. When hidden, the section will be replaced with a message that says, “Not available”.
![]()