
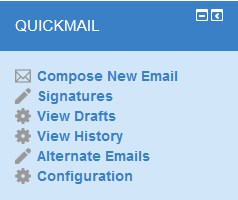
The quickmail block provides emailing within your course site. It allows you to send bulk messages to users within certain groups and/or roles, and has the optional feature of allowing students to email people within their group.
› Configure the Quickmail Block
› Compose and Send Emails
› View Drafts and Sent Emails
› Create and Edit Email Signatures
› Use alternate Email Addresses
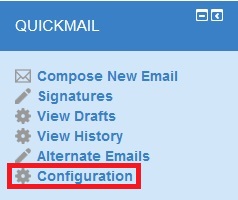
Configure the Quickmail Block
- Click the “Configuration” link next to the gear icon in the Quickmail Block.
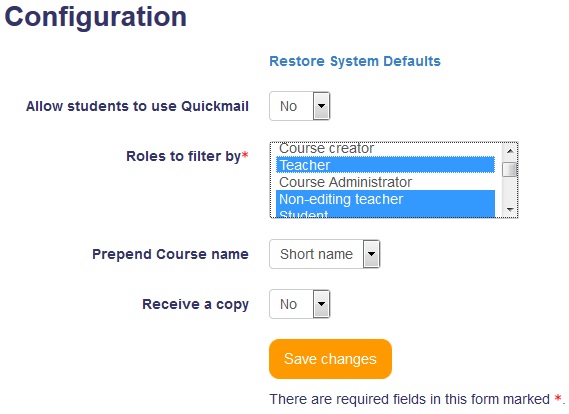 Use the “Allow students to use Quickmail” dropdown list to determine whether or not students will be able to see Quickmail in the course and use it to send emails.
- Use the “Roles to filter by” dropdown list to choose which user roles you can select while composing a bulk e-mail. By default, you can choose to send bulk emails to teachers, non-editing teachers or students. If you would like to send bulk e-mails to additional roles, select them here.
- Use the “Prepend course name” dropdown list to automatically add course short names or ID numbers to the title of your e-mails. We recommend leaving this set to the course short name.
- Use the “Receive a copy” dropdown list to determine whether a copy of the email will be sent to your email address. Email copies will be stored in your View History regardless of this configuration.
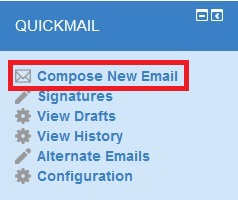
Compose and Send Emails
- Click the “Compose New Email” link next to the envelope icon in the Quickmail Block.
- The “From” e-mail address will default to your registered address. If you have set up alternate e-mail addresses, you can select them from this dropdown list.

- Use the “Role filter” dropdown list to highlight users with a specific role.
- Use the “Potential Sections” list to highlight users from a certain group or set of groups.
- Use the “Potential Recipients” list to highlight users individually.
- Once the correct users have been highlighted, click the “Add” button to move those users to the “Selected Recipients” list. Highlight users in the “Selected Recipients” list and click the “Remove” button to remove them. You can also use the “Add All” and “Remove All” buttons.
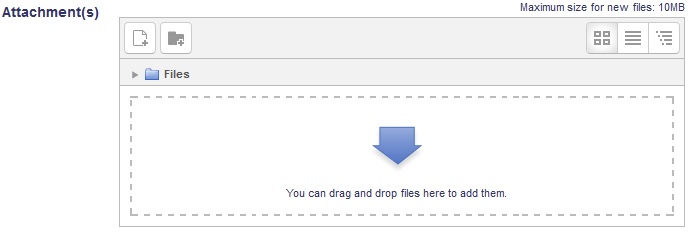
- Use the file uploader to add attachments to your email.
- Type a subject line for your email into the “Subject” text box.
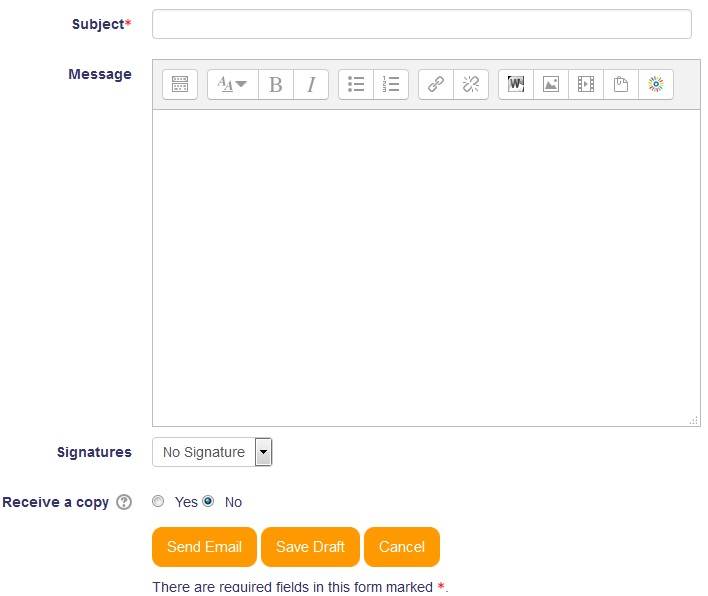
- Use the “Message” content manager to add content to your email.
- If you have set up any signatures, you can select them from the “Signatures” dropdown list.
- Use the “Receive a copy” radio buttons to select whether or not you want a copy of the email sent to your inbox.
- To save the email as a draft without sending it, click the “Save Draft” button. To send it, click the “Send Email” button.
You may mistakenly email dropped students if “student” is not selected from the role filter and “add all” is selected.
View Drafts and Sent Emails
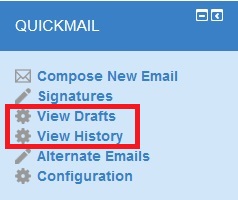
- In the Quickmail Block, click the “View Drafts” link to access draft emails or the “View History” link to access sent emails. The emails will appear in a list.
- Use the “Select Users” dropdown list to filter by user.
- Click the magnifying glass icon to continue editing a draft or to resend a sent email.

- Click the “X” icon to delete a draft or sent email.
Create and Edit Email Signatures
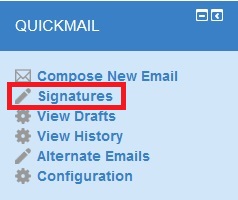
- Click the “Signatures” link next to the pencil icon in the Quickmail Block.
- Type a title for your signature in the “Title” text box. This allows you to choose between multiple signatures.
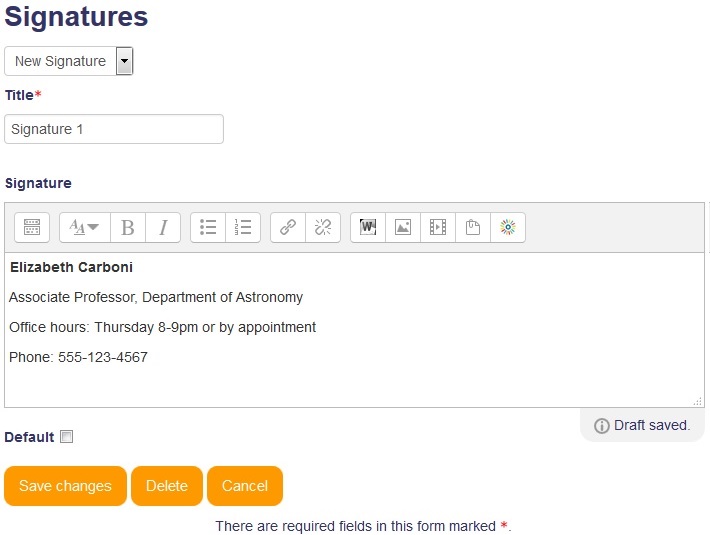
- Use the content manager to create the content for your signature.
- If you want the signature to automatically be added to your emails, click the “Default” check box.
Click “Save changes”. - To edit a previously created signature, select it from the dropdown list at the top of the page.
Use Alternate Email Addresses
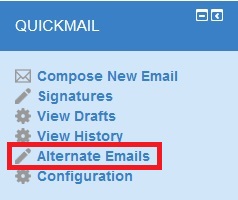
- Click the “Alternate Emails” link next to the pencil icon in the Quickmail Block.
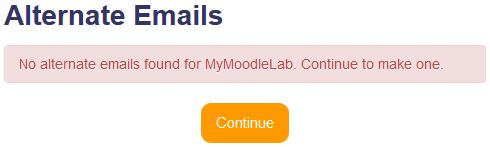
- To create your first alternate email address, click the “Continue” button.
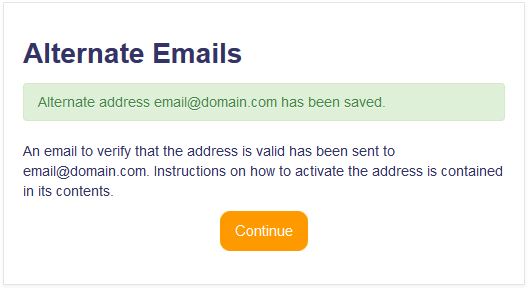
- Type the alternate address into the “Email address” text box and press the “Save changes” button.

- A message will appear notifying you that you need to verify the alternate address. Click the “Continue” button.
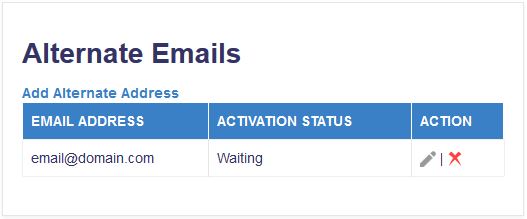
- A list of alternate e-mails and their activation statuses will be displayed. You can use the actions in the column on the right to edit or delete the alternate e-mail addresses.
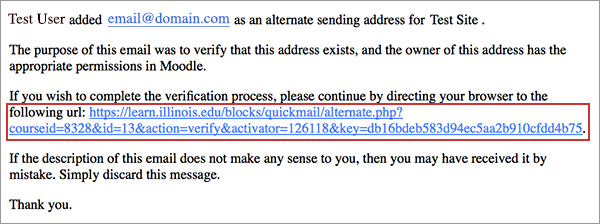
- To complete the verification process so you can begin using your alternate address, open the e-mail sent to your alternate account and click the verification link.
- The activation status will be changed to “Approved”. To add another alternate email address, click the “Add Alternate Address” link at the top and repeat the steps above. Click the pencil icon to edit an email address or the “X” icon to delete an email address.

Working with blocks:
› Add a Block
› Configure a Block
› Hide a Block
› Allow a Specific User Certain Permissions When Using a Block
› Delete a Block
Add a Block
- In the upper right, click on the orange button that says “Turn editing on”.
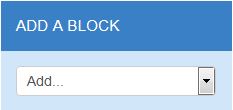
- Scroll down to the bottom of the page. In the lower left, click on the dropdown menu under “Add a block” and choose the type of block you want to add.
Configure a Block
The options available for configuring your block depend on the type of block you’re working with. However, all blocks have some basic settings that can be configured.
To configure a block:
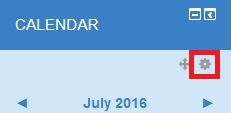
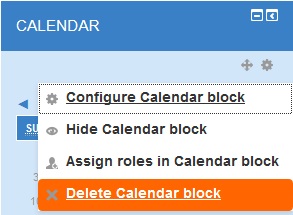
- Click on the gear icon under the block’s name and a drop-down menu will appear.
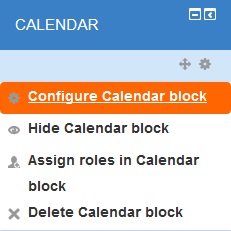
- Click on “Configure…block” from the menu.
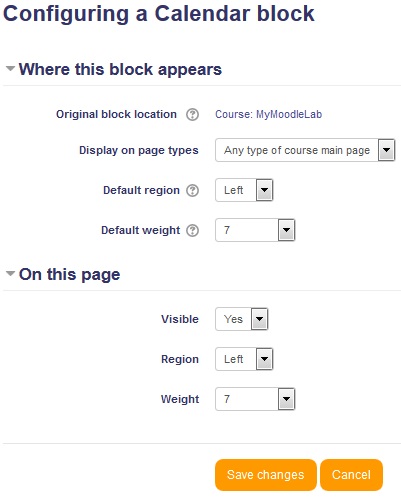
- The original block location lets you know where the block was created.
- Choose what types of pages the block can be displayed on using the Display on page types drop-down list.
- Choose which region of the page the block will be displayed on by default using the Default region drop-down list.
- The Default weight drop-down list assigns a ranking to the block which will determine how high up it will appear on the page when it is added to a course site.
- Show or hide the block using the Visible drop-down list.
- Choose which region of the page the block will be displayed on using the Region drop-down list.
- The Weight drop-down list assigns a ranking to the block which will determine how high up it appears on the page.
Hide a Block
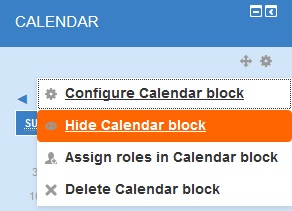
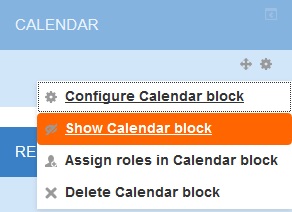
- Click on the gear icon under the block’s name.
- Click on “Hide…block” next to the eye icon.
- To show the block again, click on the gear icon and then “Show…block” next to the painter’s palette icon.
Allow a Specific User Certain Permissions When Using a Block
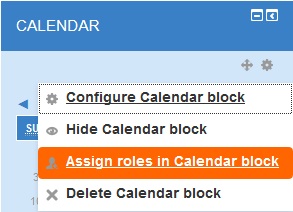
- Click on the gear icon under the block’s name.
- Click on “Assign roles in…block” from the menu.
- Choose the type of roll you want to assign to a specific user. The details of that role are listed in the “Description” column.
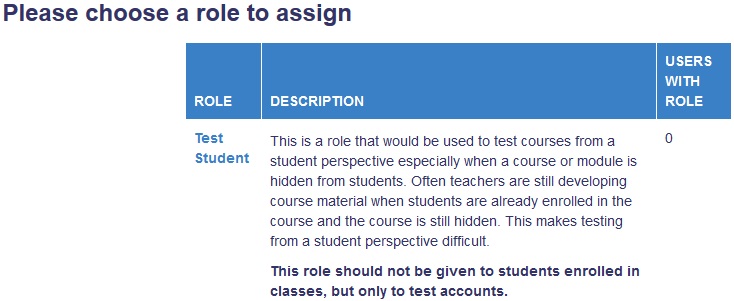
- Choose the specific user from your list of potential users on the right. Click the arrow buttons to add or remove them to the “Existing Users” list on the left. You can also use the search boxes at the bottom to find a specific user.

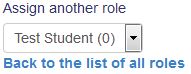
- The names in the “Existing Users” list will be assigned the role you chose on the previous page. When you’re finished, you can choose another roll to add from the drop-down list at the bottom, or you can return to the previous page by clicking on “Back to the list of all roles”.
Delete a Block
- Click on the gear icon under the block’s name.
- Click on “Delete…block” next to the X icon.
- A message will display in the center of the page asking you to confirm your action. Click Yes to confirm it.
