
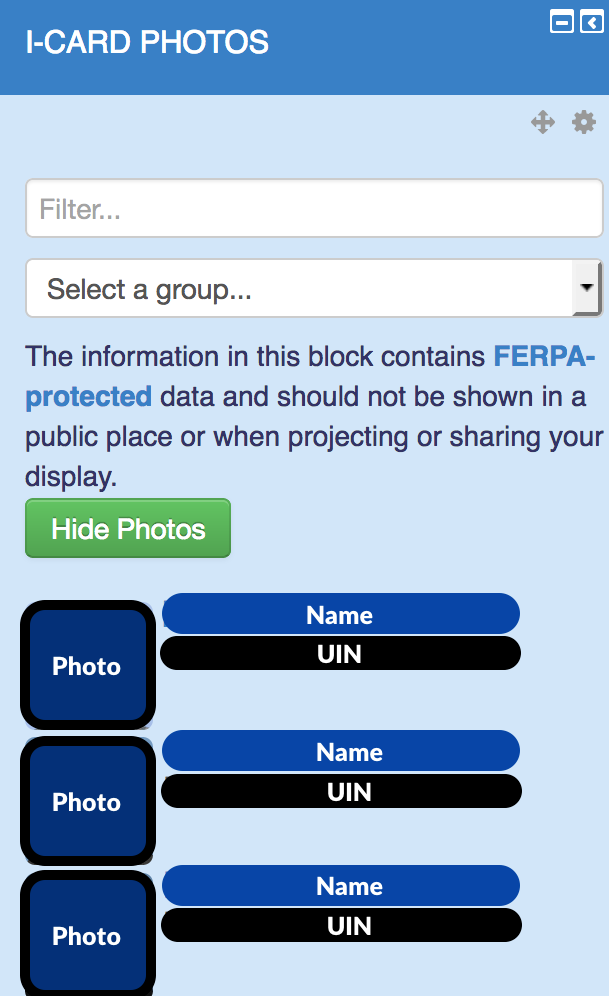
You can use this block to view the i-card photos, names, and UINs of the students officially enrolled in your course website. Only course administrators, teachers, and non-editing teachers can see the block once it is added. To help protect student data, the “show photos” button will need to be pushed each time the page is loaded.
You can search for students by typing their name or organize by group. Hovering over the photo will enlarge it slightly. You can see a larger version of the image by clicking the student name. This will take you to the student’s profile page. An enlarged version of the i-card photo will appear in a block on the lower-left side of the screen (you may need to scroll down to see it).
Working with blocks:
› Add a Block
› Configure a Block
› Hide a Block
› Allow a Specific User Certain Permissions When Using a Block
› Delete a Block
Add a Block
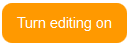
- In the upper right, click on the orange button that says “Turn editing on”.
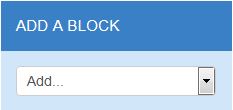
- Scroll down to the bottom of the page. In the lower left, click on the dropdown menu under “Add a block” and choose the type of block you want to add.
Configure a Block
The options available for configuring your block depend on the type of block you’re working with. However, all blocks have some basic settings that can be configured.
To configure a block:
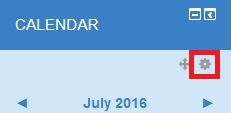
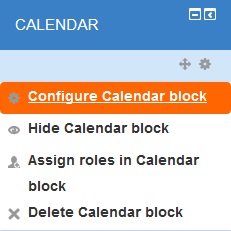
- Click on the gear icon under the block’s name and a drop-down menu will appear.
- Click on “Configure…block” from the menu.
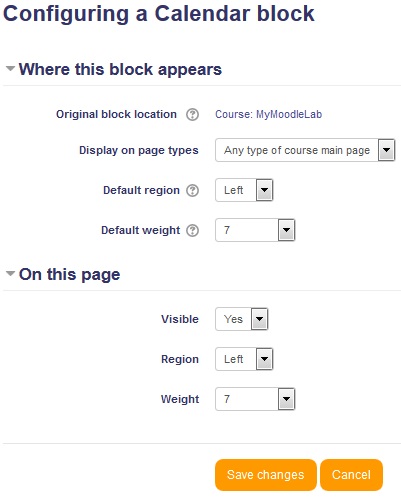
- The original block location lets you know where the block was created.
- Choose what types of pages the block can be displayed on using the Display on page types drop-down list.
- Choose which region of the page the block will be displayed on by default using the Default region drop-down list.
- The Default weight drop-down list assigns a ranking to the block which will determine how high up it will appear on the page when it is added to a course site.
- Show or hide the block using the Visible drop-down list.
- Choose which region of the page the block will be displayed on using the Region drop-down list.
- The Weight drop-down list assigns a ranking to the block which will determine how high up it appears on the page.
Hide a Block
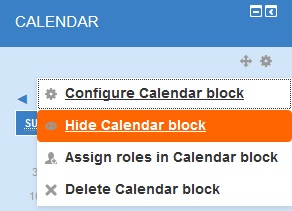
- Click on the gear icon under the block’s name.
- Click on “Hide…block” next to the eye icon.
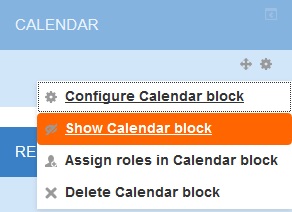
- To show the block again, click on the gear icon and then “Show…block” next to the painter’s palette icon.
Allow a Specific User Certain Permissions When Using a Block
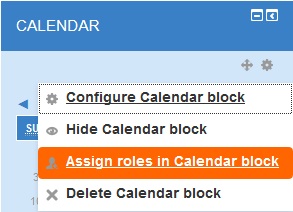
- Click on the gear icon under the block’s name.
- Click on “Assign roles in…block” from the menu.
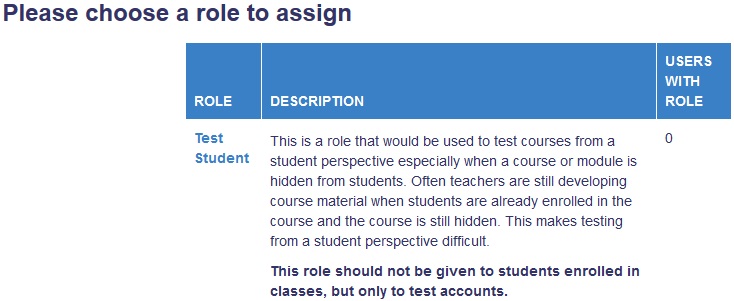
- Choose the type of roll you want to assign to a specific user. The details of that role are listed in the “Description” column.
- Choose the specific user from your list of potential users on the right. Click the arrow buttons to add or remove them to the “Existing Users” list on the left. You can also use the search boxes at the bottom to find a specific user.

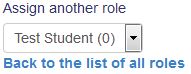
- The names in the “Existing Users” list will be assigned the role you chose on the previous page. When you’re finished, you can choose another roll to add from the drop-down list at the bottom, or you can return to the previous page by clicking on “Back to the list of all roles”.
Delete a Block
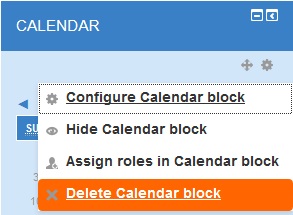
- Click on the gear icon under the block’s name.
- Click on “Delete…block” next to the X icon.
- A message will display in the center of the page asking you to confirm your action. Click Yes to confirm it.
