
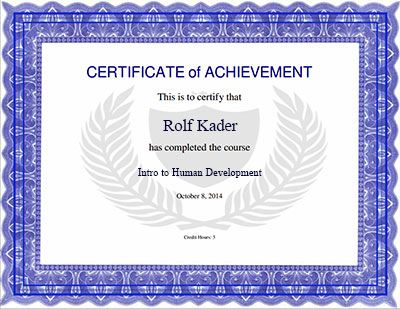
The certificate activity allows you to create customized certificates that your students can download as PDF files. You can specify when and how the certificate is issued using the “Restrict Access” settings.
Certificate Settings
› General
› Issue Options
› Text Options
› Design Options
› Common Module Settings
› Restrict Access
› Activity Completion
Certificate Module
› View Issued Certificates
› Preview Certificate
General
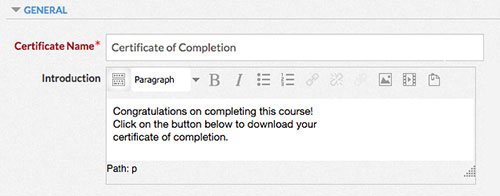
- In the “Certificate Name” text box, type in a name for the certificate as it will appear on your course site.
- Use the “Introduction” text box to add text to the top of the Certificate module.
Issue Options
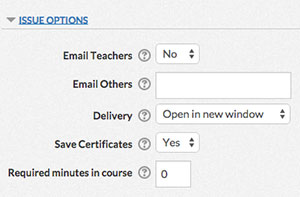
- Use the “Email Teachers” dropdown list to choose whether or not Teacher-level users will be notified by e-mail when a certificate is issued.
- Use the “Email Others” text box to send e-mail notifications when a certificate is issued. Type the e-mail addresses into the text box, separated by a comma.
- Use the “Delivery” dropdown box to choose a delivery method for the certificate. The methods are described below:
Open in a new window – Opens the certificate in a new web browser window.
Force Download – A download window opens in the student’s web browser and they can choose where to save the certificate.
Email (Must also choose save!) – The certificate is sent to the student as an email attachment. The student will also be able to review their received certificate from the certificate link on the course site.When using the Email delivery option, be sure to also choose “Yes” from the “Save Certificates” dropdown list. - Use the “Save Certificates” dropdown list to determine whether a copy of each student’s certificate pdf file is saved to the course site.
- Use the “Required minutes in course” text box to enter the minimum amount of time, in minutes, that a student must be logged into the course before they will be able to receive the certificate.
Text Options

- Use the “Print Date” dropdown list to choose which date is printed on the certificate. If the course completion date is selected but the student has not completed the course, the date received will be printed. You can also choose to print the date based on when an activity was graded. If a certificate is issued before that activity is graded, the date received will be printed.
- Use the “Date Format” dropdown list to determine how the date will appear on the certificate.
- Use the “Print Code” dropdown list to determine whether a unique 10-digit code of random letters and numbers will be printed on the certificate.
- Use the “Grade Format” dropdown list to determine how the grade will appear on the certificate.
- Use the “Print Outcome” dropdown list to determine whether the student’s outcome will appear on the certificate.
In order to use this option, you must have at least one outcome added to your course. See Outcomes for more information.
- Enter the number of credit hours to be printed on the certificate in the “Print Credit Hours” text box.
- Use the “Print Teacher Name(s)” dropdown list to determine whether to include the teacher name(s) on the certificate.
- If you want the certificate to print different names for the teacher other than those who are assigned the role of teacher, Enter the teacher names in the “Custom Text” text box as you would like them to appear.
When using the “Custom Text” box, make sure you also select “No” from the “Print Teacher Name(s)” dropdown list.
Design Options
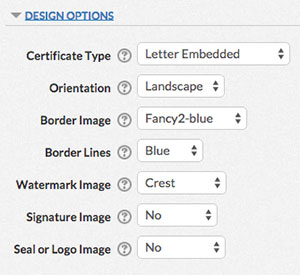
- Choose the size of the certificate you want to issue from the “Certificate Type” dropdown list. The “Embedded” certificate types will include embedded fonts.
- Choose whether the certificate is issued in Landscape or Portrait format from the “Orientation” dropdown list.
- Use the “Border Image” dropdown list to select a border style for your certificate.
- Use the “Border Lines” dropdown list to select a border color for your certificate.
- Use the “Watermark Image” dropdown list to select a faded image for the background of your certificate.
- Use the “Signature Image” dropdown list to select a signature image or a line on which a signature can be written.
- Use the “Seal or Logo” Image dropdown list to select a seal or logo for your certificate.
Common Module Settings
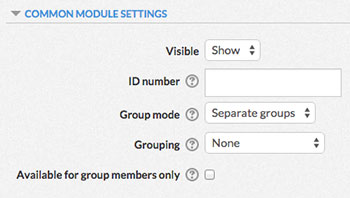 Choose whether or not to hide or show the Assignment module using the “Visible” dropdown box.
- If desired, type a number into the “ID number” text box. Setting an ID number provides a way of identifying the activity for grade calculation purposes.
- Choose a group mode for the activity. The different group modes are described below:
No groups – Students will not be separated into groups for the activity. In interactive activities, students will see the contributions of every class member.
Separate groups – Students will be separated into groups for the activity. In interactive activities, students can only contribute to their group and only view their group’s contributions.
Visible groups – Students will be separated into groups for the activity. In interactive activities, students will see the contributions of every class member, but they can only contribute to their group. - Use the “Grouping” dropdown list to determine the grouping for the activity. See Groups and Groupings for more information.
- To only make the activity available to students assigned to groups within the selected grouping, check the “Available for group members only” box. See Groups and Groupings for more information.
Restrict Access
Use the restrict Access settings to control when and how students are issued a certificate. See Restricting Access to Content for more information.
Activity Completion
Use the Activity Completion settings to track the completion of the activity. For more information, see Activity Completion.
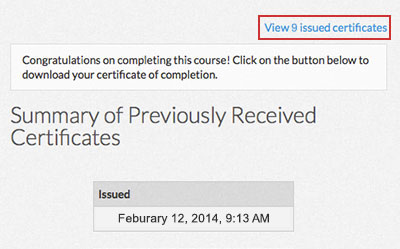
View Issued Certificates
To see a report of issued certificates, click on the “View…issued certificates” link at the top of the module.
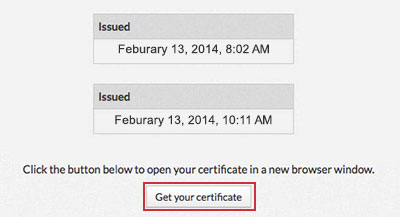
Preview Certificate
To see an example of what a student’s certificate will look like, click the “Get your certificate” button at the bottom of the module.
Working with Activities and Resources
› Add an Activity or Resource
› Move or Arrange an Activity or Resource
› Rename an Activity or Resource
› Edit the Settings of an Activity or Resource
› Hide or Show an Activity or Resource
› Copy an Activity or Resource
› Allow a Specific User Certain Permissions When Using an Activity or Resource
› Delete an Activity or Resource
› Change the Group Mode of an Activity or Resource
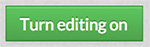
Add an Activity or Resource
- In the upper right, click on the green button that says “Turn editing on”.
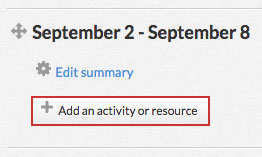
- Locate the section where you want to add an activity or resource. At the bottom of the section, click on the button that says “Add an activity or resource”
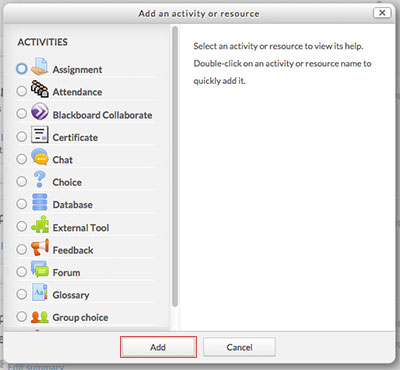
- A window will pop up with a list of activities and resources. When you click on one of the items in the left column, a description will appear in the right column. Choose the activity or resource you want and click the “Add” button.
Move or Arrange an Activity or Resource
To rearrange the order of an activity or resource:
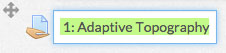
- Click on the compass arrows icon next to the title of the activity or resource you want to move and hold down the mouse button.

- Drag the section up or down to move it to a new location.
- Release the mouse button.
To add or remove an indentation to an activity or resource:
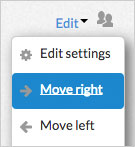
- Click on the “Edit” button to the left of the activity or resource.
- From the drop-down list, choose “Move right” or “Move left” next to the arrow icons.
Rename an Activity or Resource
- Click on the pen icon to the right of the activity or resource’s name.

- Type in a new name for the activity or resource
- Press enter to save or escape to cancel.
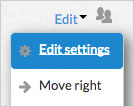
Edit the Settings of an Activity or Resource
- Click on the “Edit” button to the right of the activity or resource.
- From the dropdown list, choose “Edit settings” next to the gear icon to hide the activity or resource.
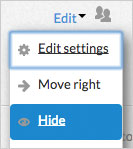
Hide or Show an Activity or Resource
- Click on the “Edit” button to the right of the activity or resource.
- From the dropdown list, choose “Hide” next to the eye icon to hide the activity or resource.
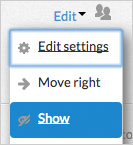
- Once the activity or resource has been hidden, return to the “Edit” menu and choose “Show” to show it again.
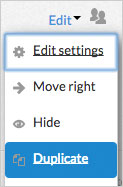
Copy an Activity or Resource
- Click on the “Edit” button to the right of the activity or resource.
- From the dropdown list, choose “Duplicate” next to the pages icon.
Allow a Specific User Certain Permissions When Using an Activity or Resource
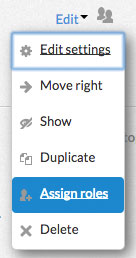
- Click on the “Edit” button to the right of the activity or resource.

- From the dropdown list, choose “Assign roles” next to the user icon.
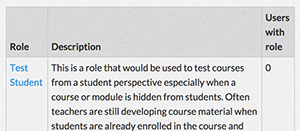
- Choose the type of role you want to assign to a specific user. The details of that role are listed in the “Description” column.
- Choose the specific user from your list of potential users on the right. Click the arrow buttons to add or remove them to the “Existing Users” list on the left. You can also use the search boxes at the bottom to find a specific user.

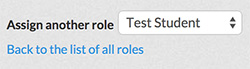
- The names in the “Existing Users” list will be assigned the role you chose on the previous page. When you’re finished, you can choose another roll to add from the drop-down list at the bottom, or you can return to the previous page by clicking on “Back to the list of all roles”.
Delete an Activity or Resource
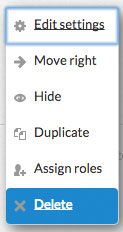
- Click on the “Edit” button to the right of the activity or resource.
- From the dropdown list, choose “Delete” next to the X icon.
Change the Group Mode of an Activity or Resource
- Click on the user icon next to the “Edit” button of the activity or resource.

- Every time you click, the icon will change. Each icon represents a different group mode. The different group modes are described below:
 No groups – Students will not be separated into groups for the activity. In interactive activities, students will see the contributions of every class member.
 Separate groups – Students will be separated into groups for the activity. In interactive activities, students can only contribute to their group and only view their group’s contributions.
 Visible groups – Students will be separated into groups for the activity. In interactive activities, students will see the contributions of every class member, but they can only contribute to their group.