
NOTE: This page is currently undergoing maintenance. Some content may not be available at this time. We are adding new content regularly. Thank you for your patience.

Activities and Resources are added within sections. They include the majority of tools students will use while engaging with your course site.
Activities allow students to interact with the instructor and other students, such as assignments, quizzes, and the Blackboard Collaborate online classroom tool. Resources are items that an instructor can use to support learning, such as a book, file, or link.
When an activity or resource is added to a section, a link appears. When the link is clicked, the interactive module for that activity or resource displays on a new page.
Working with Activities and Resources:
› Add an Activity or Resource
› Move or Arrange an Activity or Resource
› Rename an Activity or Resource
› Edit the Settings of an Activity or Resource
› Hide or Show an Activity or Resource
› Copy an Activity or Resource
› Allow a Specific User Certain Permissions When Using an Activity or Resource
› Delete an Activity or Resource
› Change the Group Mode of an Activity or Resource
Types of Activities:
Attendance
Blackboard Collaborate
Certificate
Chat
Choice
Database
External Tool
Feedback
Forum
Group Choice
Journal
Illinois Media Space Assignment
Lesson
Open University (OU) Blog
Open University (OU) Wiki
Pearson MyLab & Mastering Link
Questionnaire
Quiz
Add an Activity or Resource
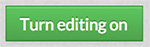
- In the upper right, click on the green button that says “Turn editing on”.
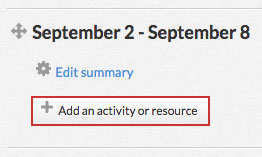
- Locate the section where you want to add an activity or resource. At the bottom of the section, click on the button that says “Add an activity or resource”
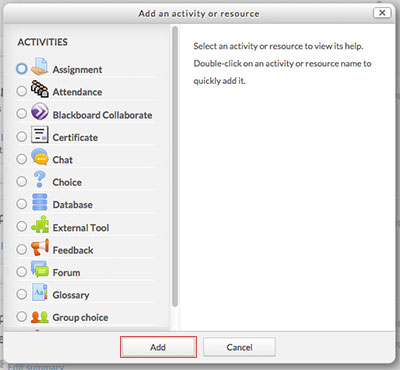
- A window will pop up with a list of activities and resources. When you click on one of the items in the left column, a description will appear in the right column. Choose the activity or resource you want and click the “Add” button.
Move or Arrange an Activity or Resource
To rearrange the order of an activity or resource:
- Click on the compass arrows icon next to the title of the activity or resource you want to move and hold down the mouse button.

- Drag the section up or down to move it to a new location.
- Release the mouse button.
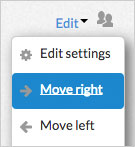
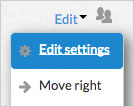
To add or remove an indentation to an activity or resource:
- Click on the “Edit” button to the left of the activity or resource.
- From the drop-down list, choose “Move right” or “Move left” next to the arrow icons.
Rename an Activity or Resource
- Click on the pen icon to the right of the activity or resource’s name.

- Type in a new name for the activity or resource
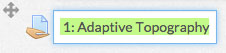
- Press enter to save or escape to cancel.
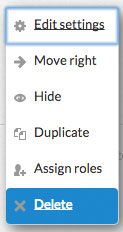
Edit the Settings of an Activity or Resource
- Click on the “Edit” button to the right of the activity or resource.
- From the dropdown list, choose “Edit settings” next to the gear icon.
Hide or Show an Activity or Resource
- Click on the “Edit” button to the right of the activity or resource.
- From the dropdown list, choose “Hide” next to the eye icon to hide the activity or resource.
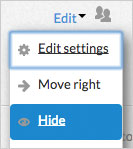
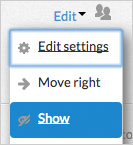
- Once the activity or resource has been hidden, return to the “Edit” menu and choose “Show” to show it again.
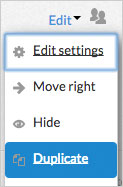
Copy an Activity or Resource
- Click on the “Edit” button to the right of the activity or resource.
- From the dropdown list, choose “Duplicate” next to the pages icon.
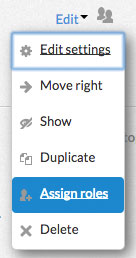
Allow a Specific User Certain Permissions When Using an Activity or Resource
- Click on the “Edit” button to the right of the activity or resource.

- From the dropdown list, choose “Assign roles” next to the user icon.
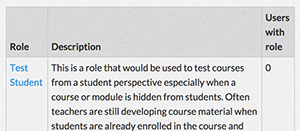
- Choose the type of role you want to assign to a specific user. The details of that role are listed in the “Description” column.
- Choose the specific user from your list of potential users on the right. Click the arrow buttons to add or remove them to the “Existing Users” list on the left. You can also use the search boxes at the bottom to find a specific user.

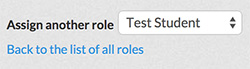
- The names in the “Existing Users” list will be assigned the role you chose on the previous page. When you’re finished, you can choose another roll to add from the drop-down list at the bottom, or you can return to the previous page by clicking on “Back to the list of all roles”.
Delete an Activity or Resource
- Click on the “Edit” button to the right of the activity or resource.
- From the dropdown list, choose “Delete” next to the X icon.
Change the Group Mode of an Activity or Resource
- Click on the user icon next to the “Edit” button of the activity or resource.

- Every time you click, the icon will change. Each icon represents a different group mode. The different group modes are described below:
 No groups – Students will not be separated into groups for the activity. In interactive activities, students will see the contributions of every class member.
 Separate groups – Students will be separated into groups for the activity. In interactive activities, students can only contribute to their group and only view their group’s contributions.
 Visible groups – Students will be separated into groups for the activity. In interactive activities, students will see the contributions of every class member, but they can only contribute to their group.